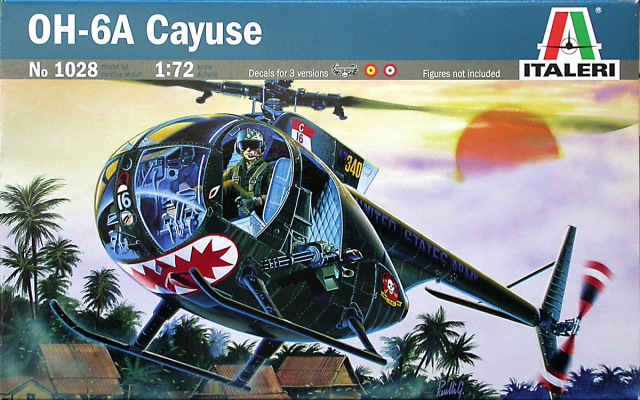
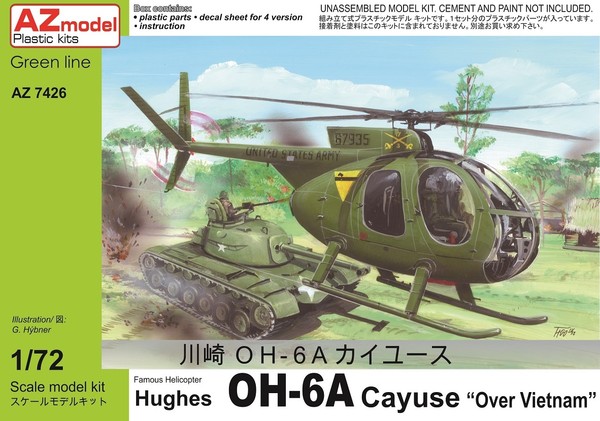
I started the double build of the OH+6A helicopter with two kits in storage: Italeri (number 1028) and AZ Model (number 7426):
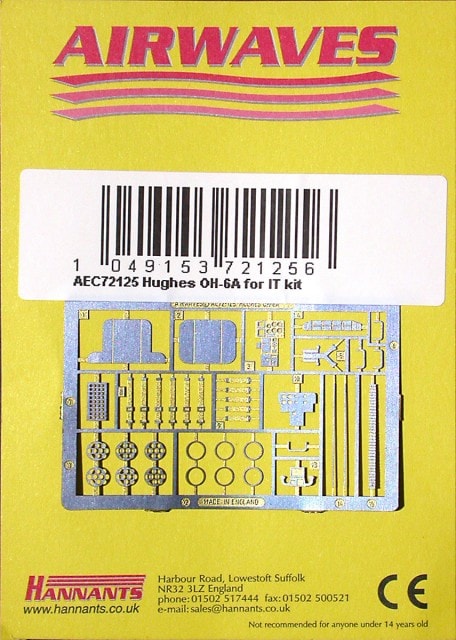
Trying to improve the quality of my models I have bought the Airwaves AEC72125 photoetched set:
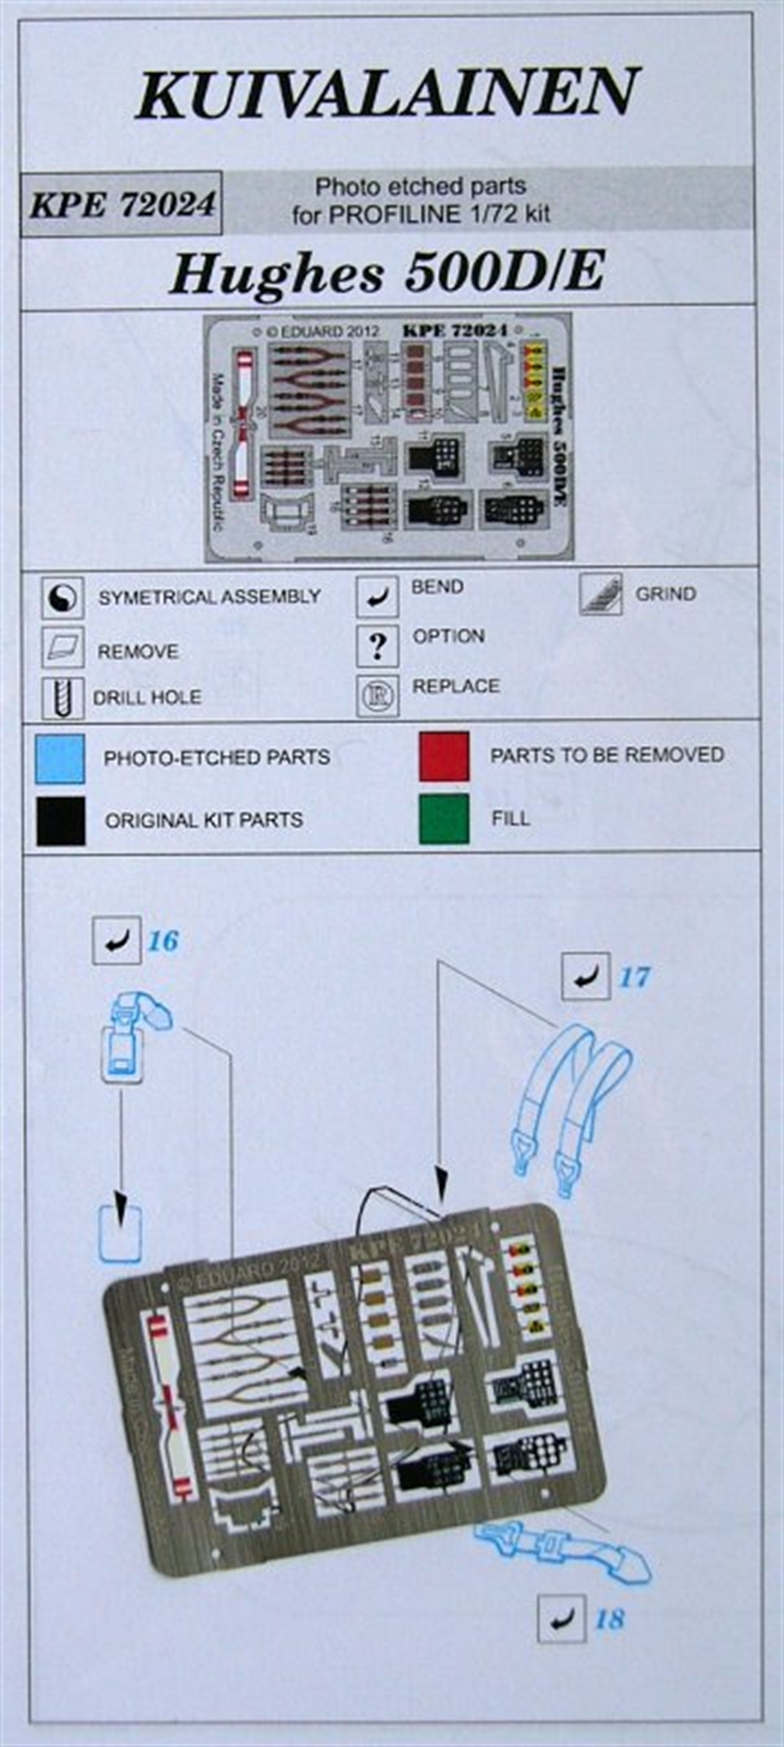
Because the above set didn't quite fulfill the expectations, I have also bought another set - the Kuivalainen KPE 72024:
I have also used crew figures from diverse sets, CMK number F72080:

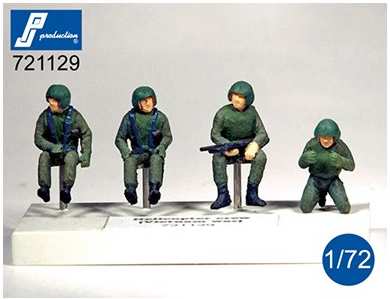
and PJ Productions number 721129:
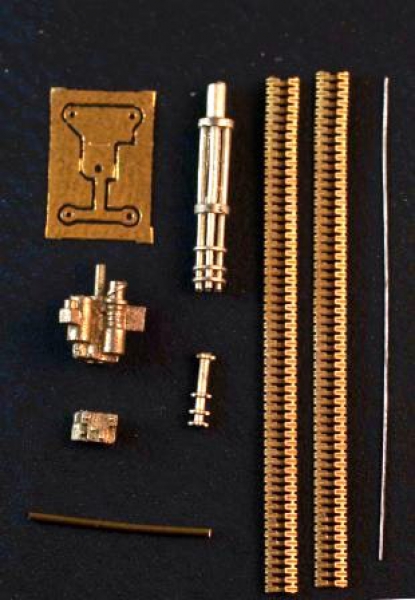
Instead of the kit Minigun I have used the Mini World A72 39a set:
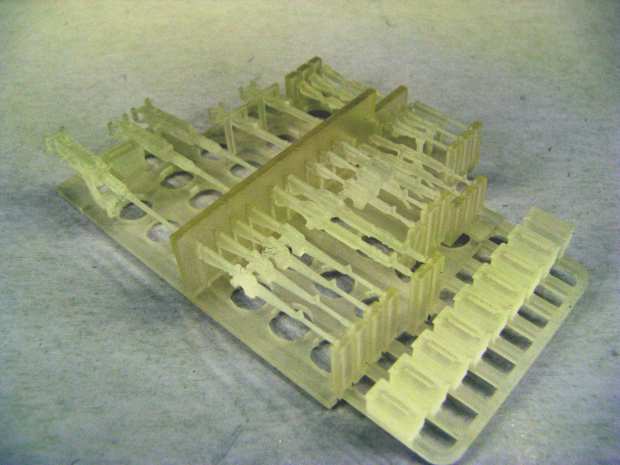
Additionally a 1:72 weapons set was very useful:
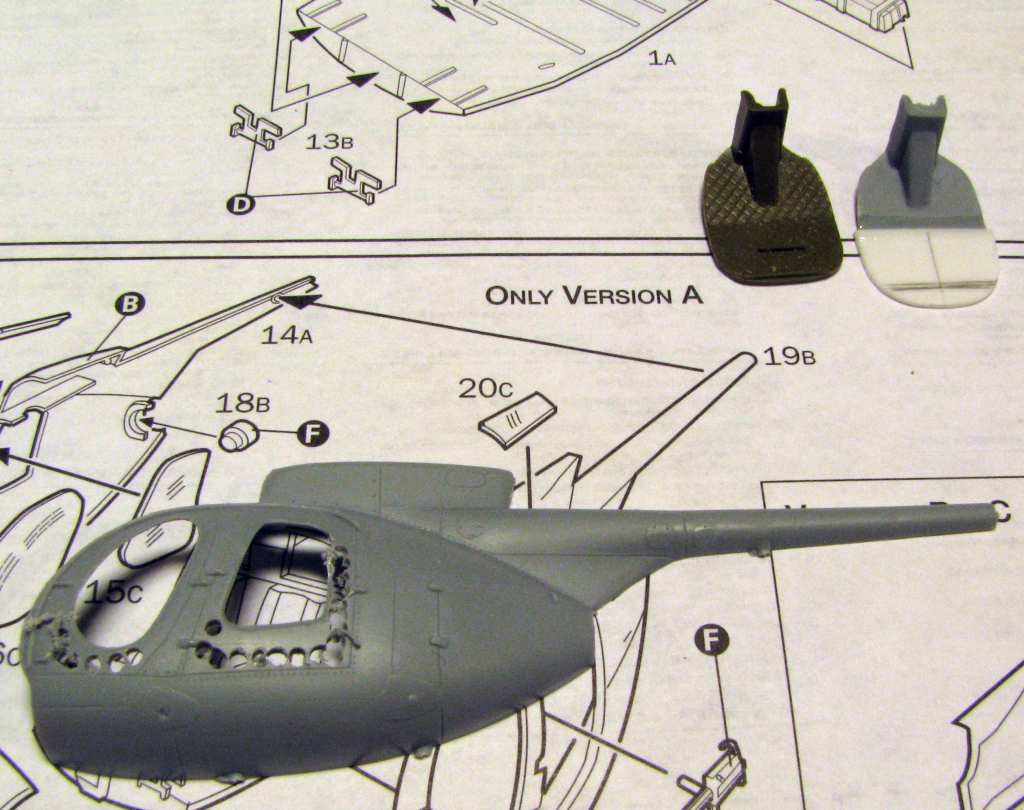
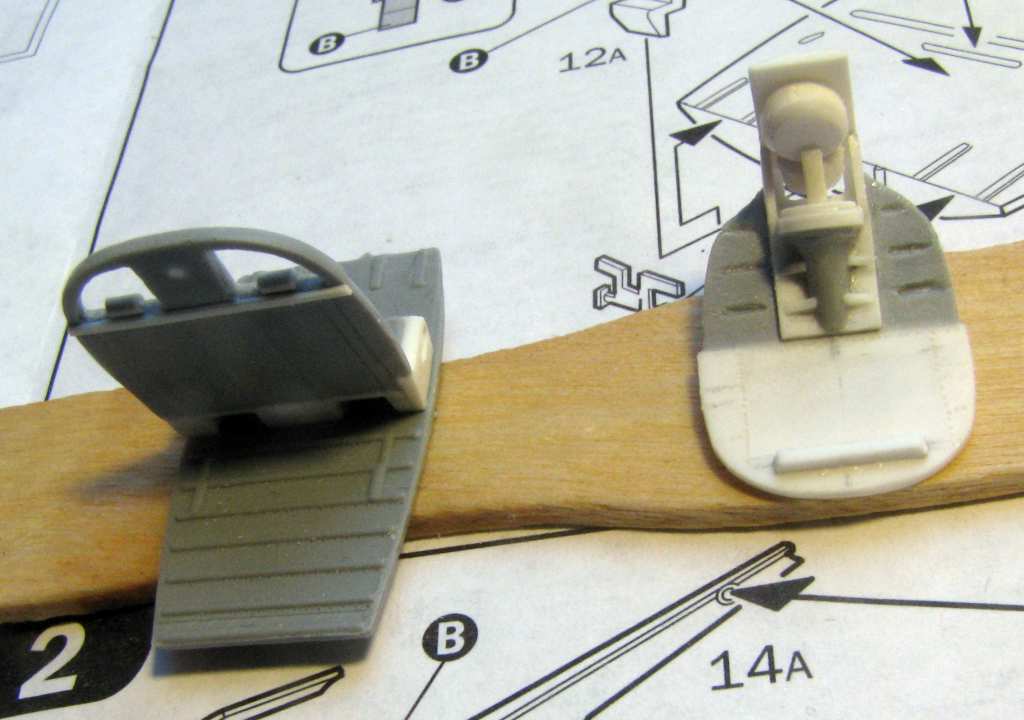
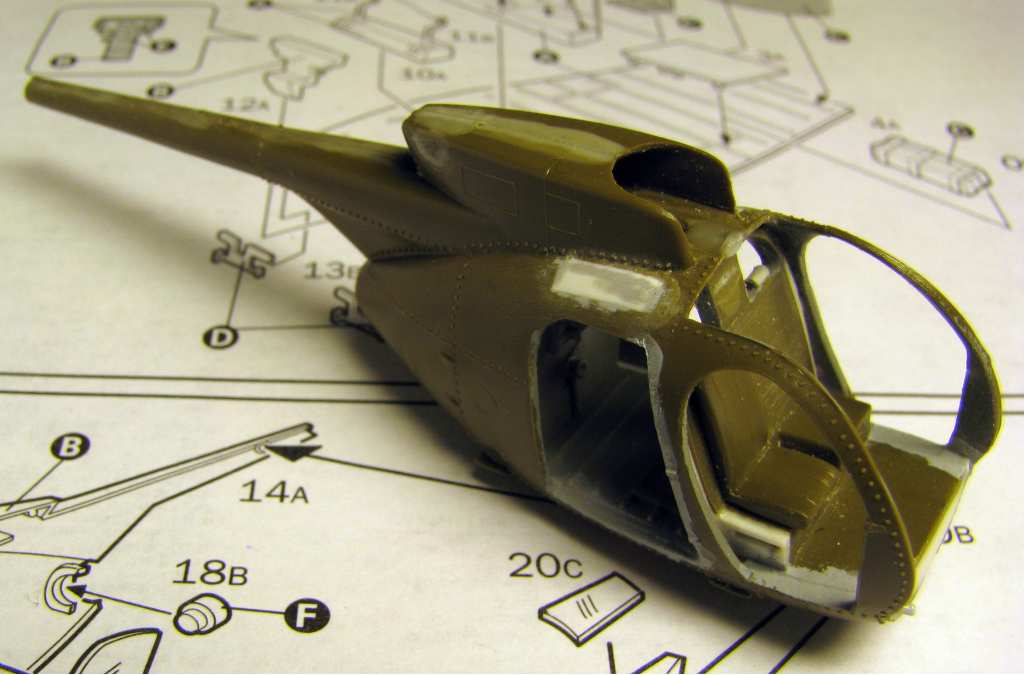
I have started working with the fuselage parts that are visible on the photo below:
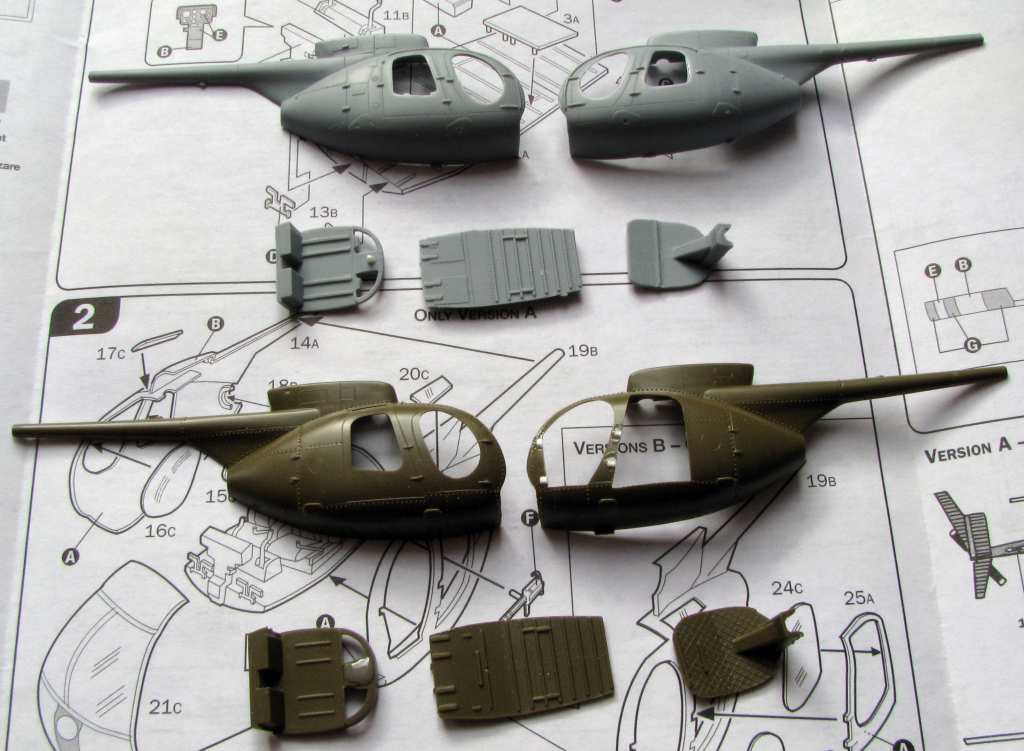
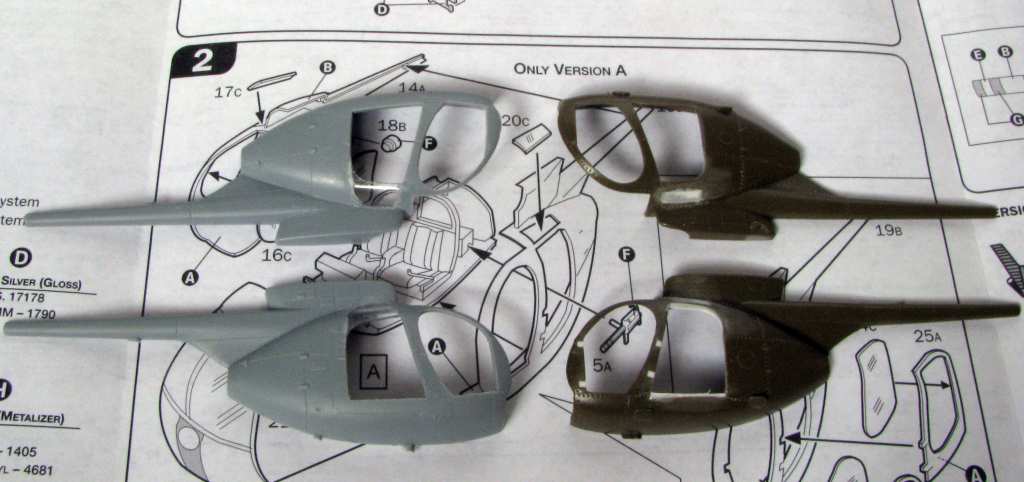
The grey parts come from the AZ Model kit, and the olive green parts – from the Italeri kit. The AZ Model kit will be built as the C/1/9 cavalry chopper, with glazed rear cabin windows and no Minigun, and the Italeri kit will end up as C/16 Darkhorse chopper with rear cabin windows covered in sheet metal and with Minigun installed.
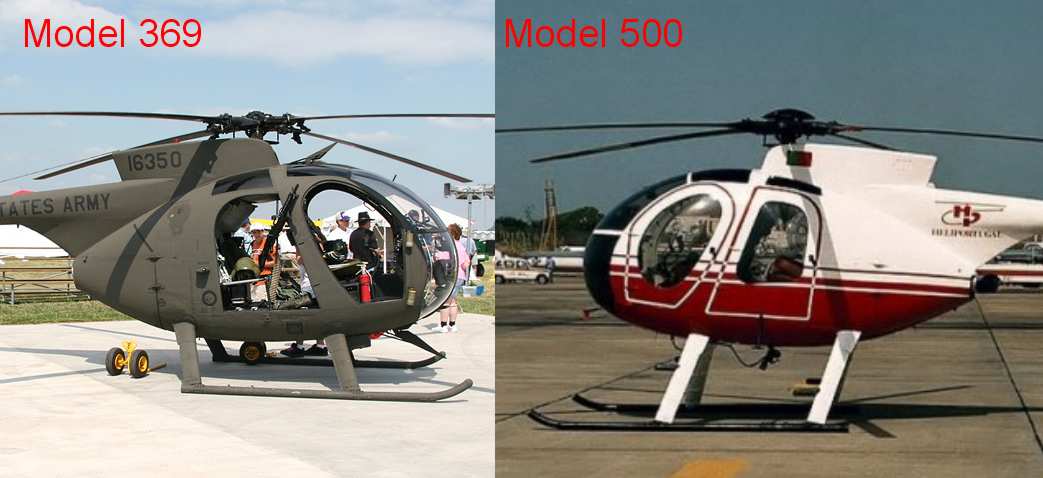
As can be seen in the photo above the AZ Model kit shows all the doors installed - for a chopper flying in Vietnam this is not correct. Then again in the Italeri kit the doors are shown installed only on the right fuselage half - the one that needs it the least. On the left fuselage half there are no doors, but it has really ugly notches in places where the door hinges would be. But the worst thing about both of the models is that they really show the civilian Model 500 version instead of the military Model 369/OH-6A version that was used in Vietnam. The basic difference between those two versions is the shape of the rear doors. Those doors were smaller in the Model 369 and so the windows above them were relatively large. In the Model 500 the rear doors were the same height as the front doors and that caused the windows located above them to be smaller - and that's how it looks like in both kits. The photos below show the comparison between the Model 369 and Model 500:
The AZ Model kit has a rain gutter above both of the doors - that's exactly what it looks like in the more modern Model 500 helicopters, but the choppers used in Vietnam didn't sport this feature.
First thing to do was to cut out the doors, it was also the time to come up with a solution for the problem described above.
The above photo shows the holes I have drilled to start removing the unnecessary plastic. I have also started to enlarge the rear bulkhead, because it was much too small in relation to the fuselage. In one of the choppers the windows will be shown as covered with sheet metal - in this model I have glued a piece of styrene into the window opening. In the other model I have cut out a piece of the roof and I have replaced it with a curved piece of clear plastic sheet:
I have started detailing the rear cabin bulkhead. In both models, on the cabin roof there is something looking like the soundproofing around the main transmission, common in the civilian variant of the helicopter. In Vietnam the crews were trying to save weight where possible, so the soundproofing was usually left off, and so the transmission itself was clearly visible - what I also want to show in my models. But first I had to enlarge the bulkhead to make it fit the fuselage and to lower the floor to the right height - flush with the door thresholds:
The converted main bulkhead is shown on the photo below with the hollow spaces filled with styrene sheet and correct cutouts made. There is also the rear bulkhead with scratchbuilt main transmission and engine shaft cover:
And then I had to do it all over again - this time for the Italeri kit. I have also added one more detail, looking like a heating vent. The main transmissions aren't permanently attached yet to make painting at this stage easier:

Next thing to do was to close up the fuselage, but without the glass yet. I wanted to close the fuselage halves up before adding further detail to avoid breaking it all off. Many gaps have shown up at this stage that had to be closed up using plastic shims and plugs to help align everything correctly:

Making the front bulkhead (along the floor front edge) thicker helped to align the interior in the fuselage.
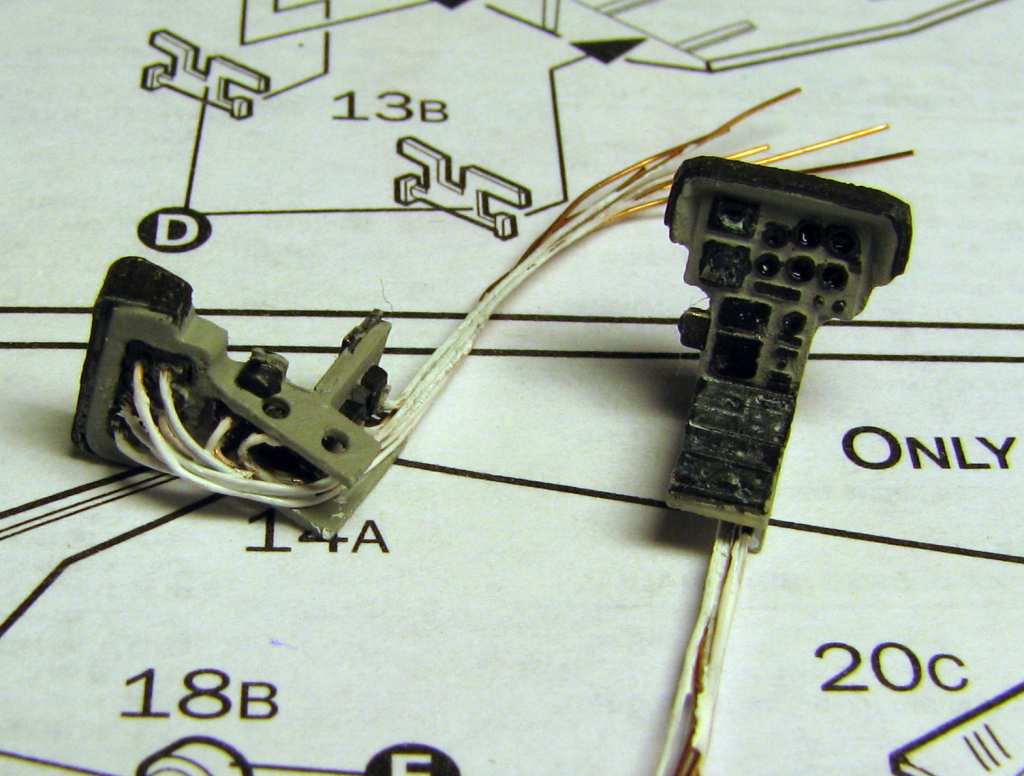
I have also started to build the instrument panel. I had to scratchbuid the floor console, that was completely missing from the Italeri kit and merely suggested in the AZ Model kit. The instrument panels from both kits were heavily thinned and cut up and constituted the base for the Airwaves photoetched parts:
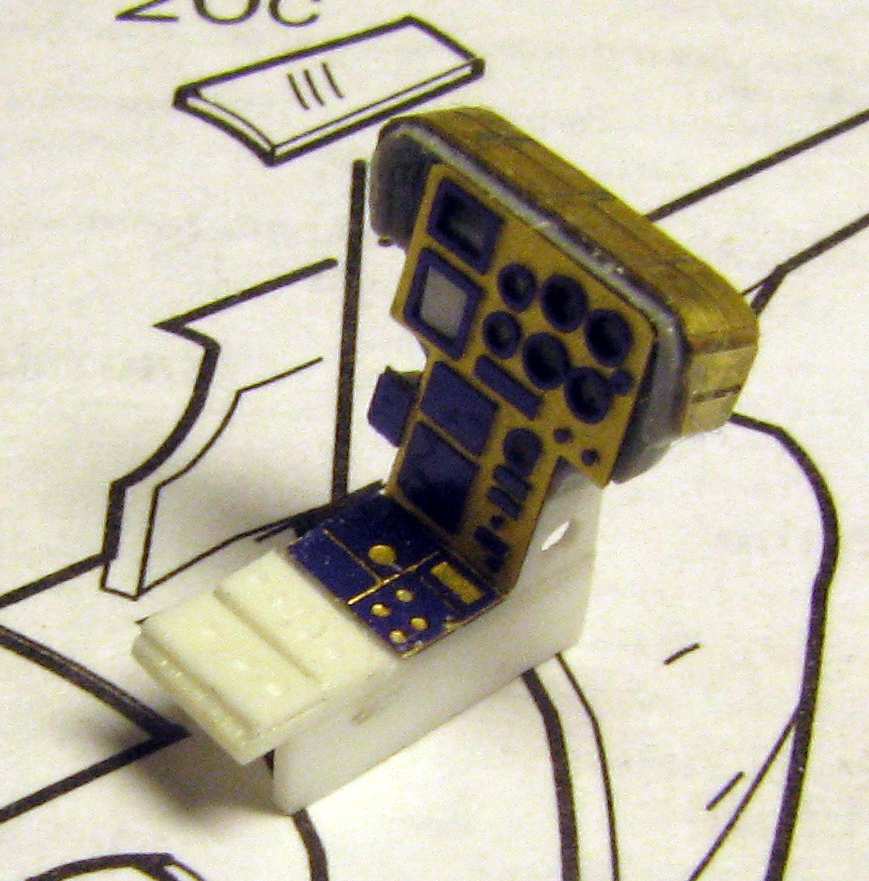
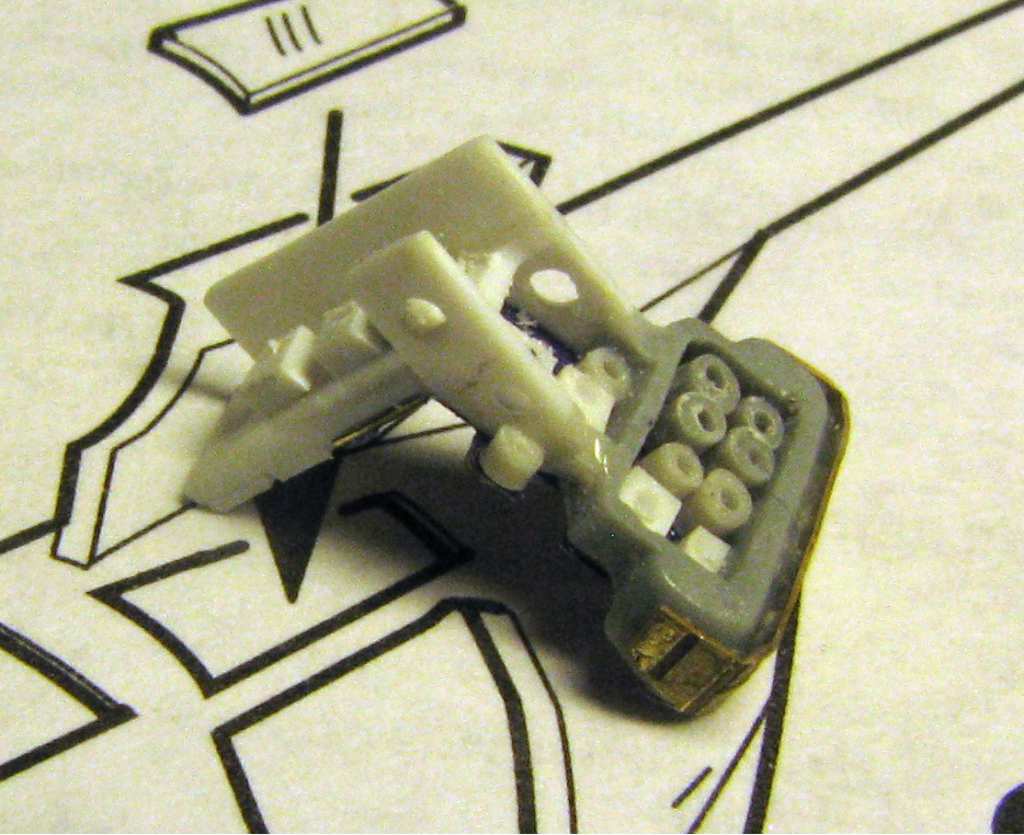
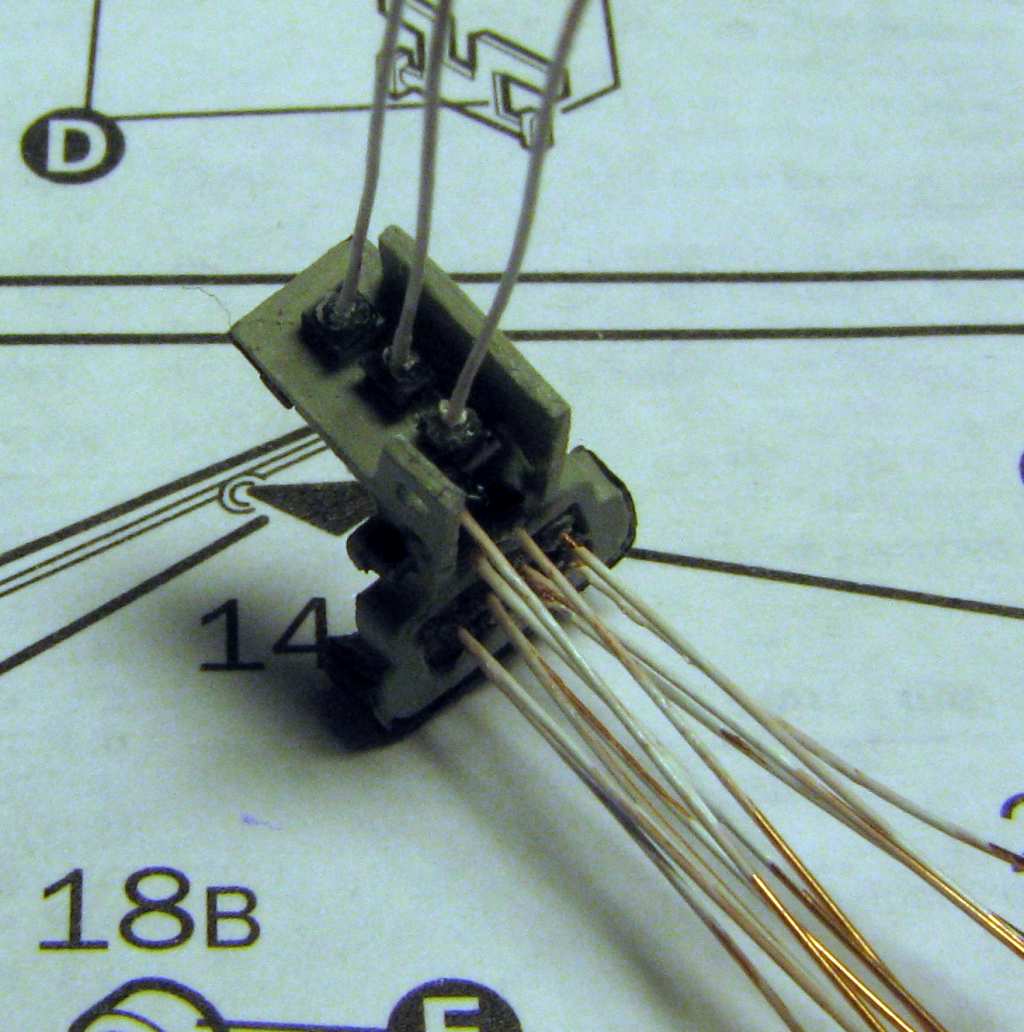
Before adding the wire harness imitation I have started painting the backsides of the instrument panels. Then I have added the copper wires to represent wiring harness - in hindsight I should have used thinner wire for that:
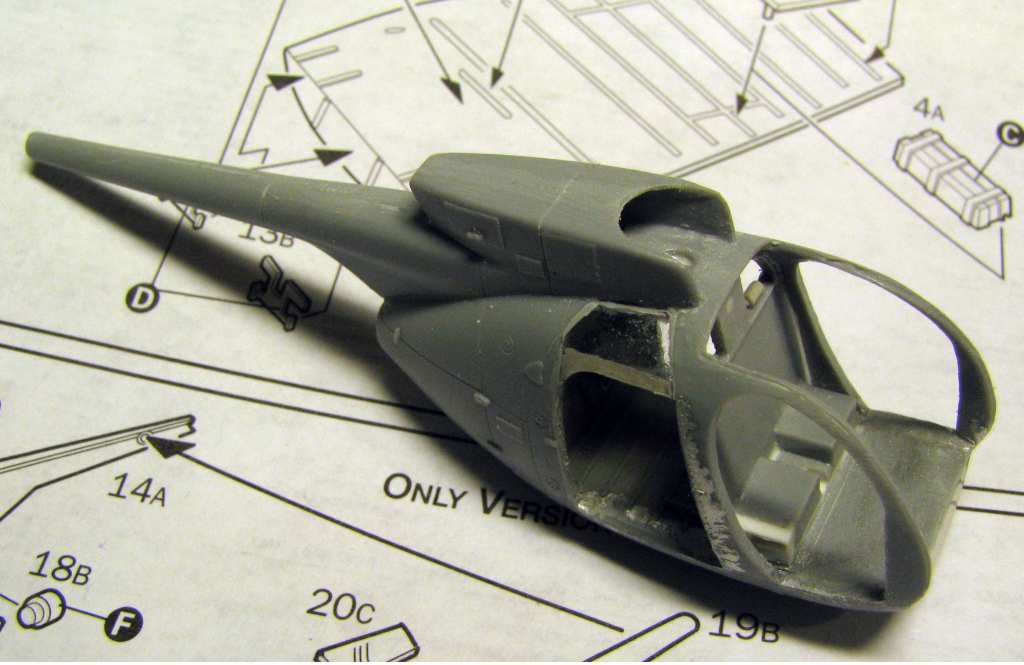
Here, the Italeri fuselage closed up, with most seams filled with molten sprue and the door thresholds were filled with Surfacer 500:
Shortly after that I have closed up the AZ Model fuselage. The interior had a big problems fitting in and after the fuselage was close up a test fit revealed that the top of the glass bubble is a bit too narrow... The front windows from both kits were so similar, that after cutting them out of their sprues it was impossible for me to tell them apart. After sanding the fuselage seams the surface of the models will have to be rescribed: Completely on the Italeri model and partially on the AZ Model kit:
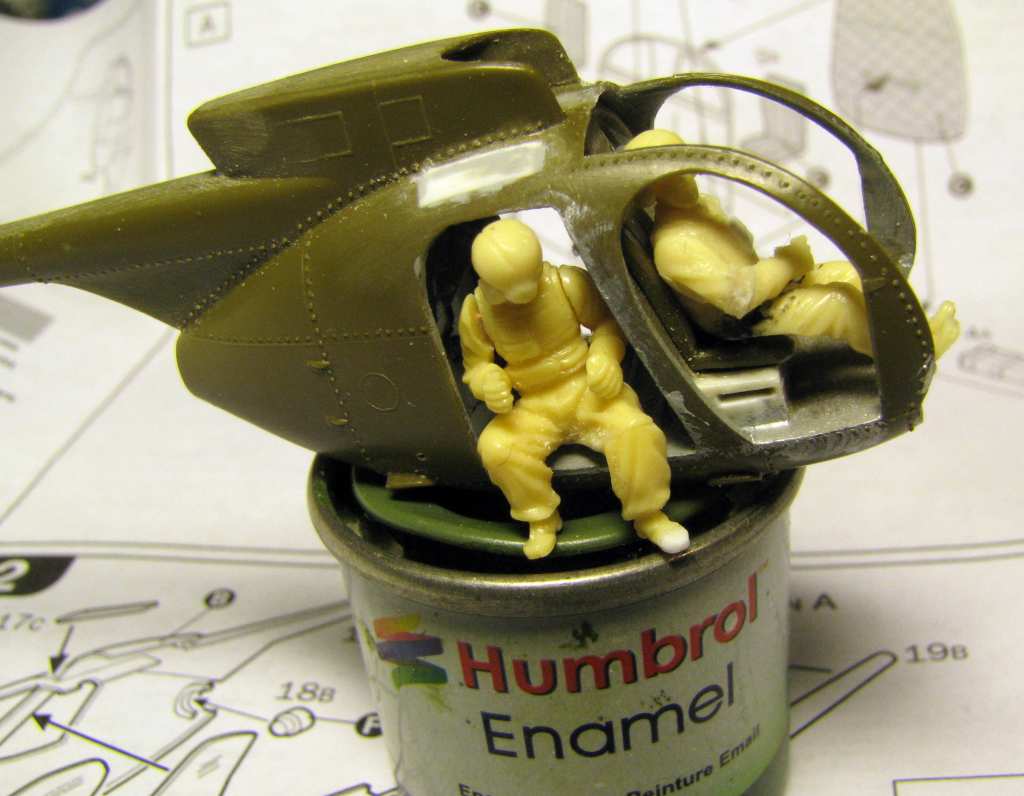
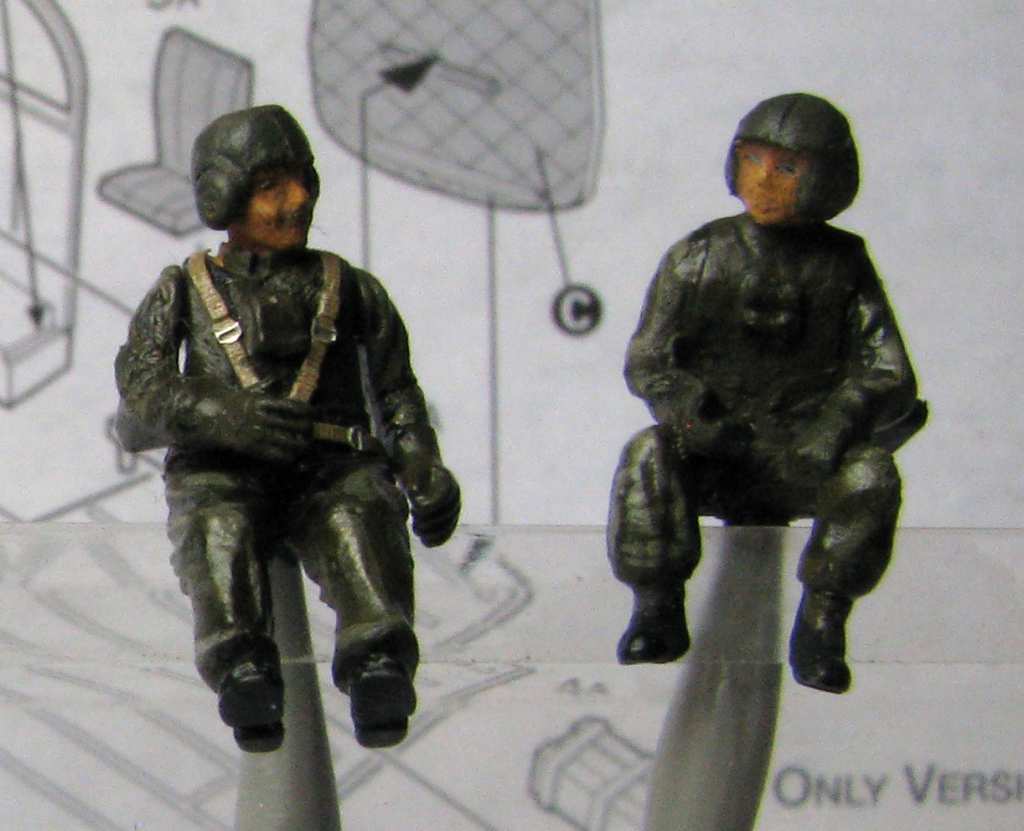
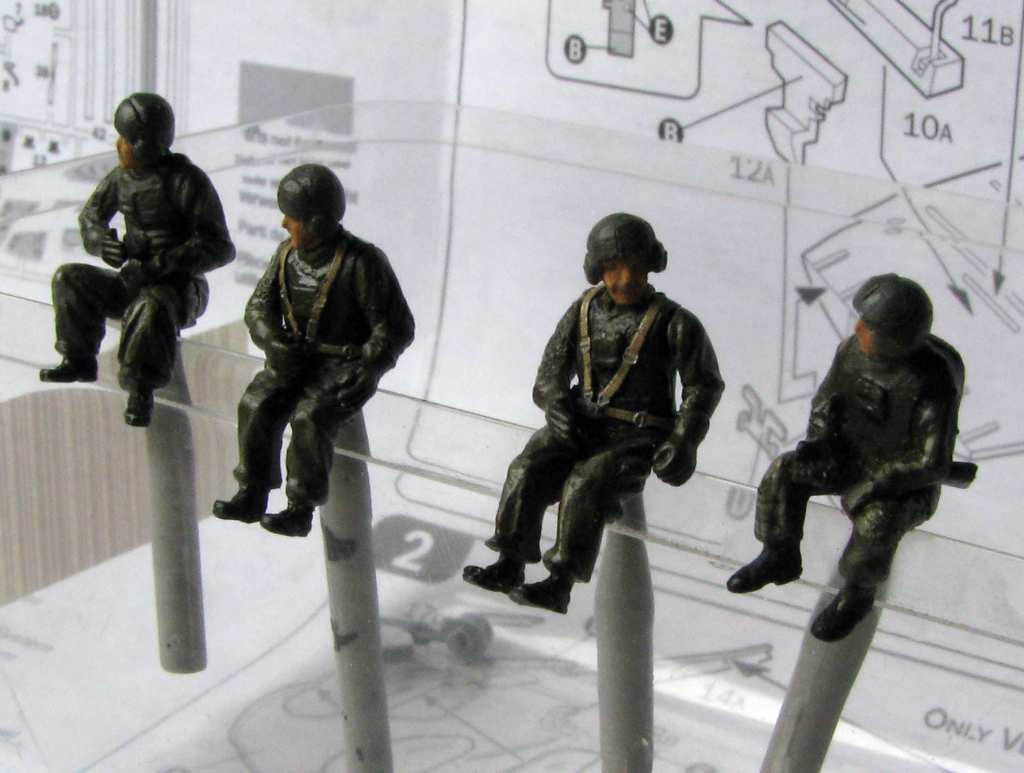
In the meantime I have started to work on the crew. I have started with CMK and PJ Productions resin kits. The figures needed heavy modifications - they were too big to fit inside the cabin and some of them didn't have the chest armor, the so-called Chicken Plate, I just had to add this detail. I had to cut the figures up at the joints, shorten the parts and reposition them to make the figures fit the cabin and assume the desired poses:
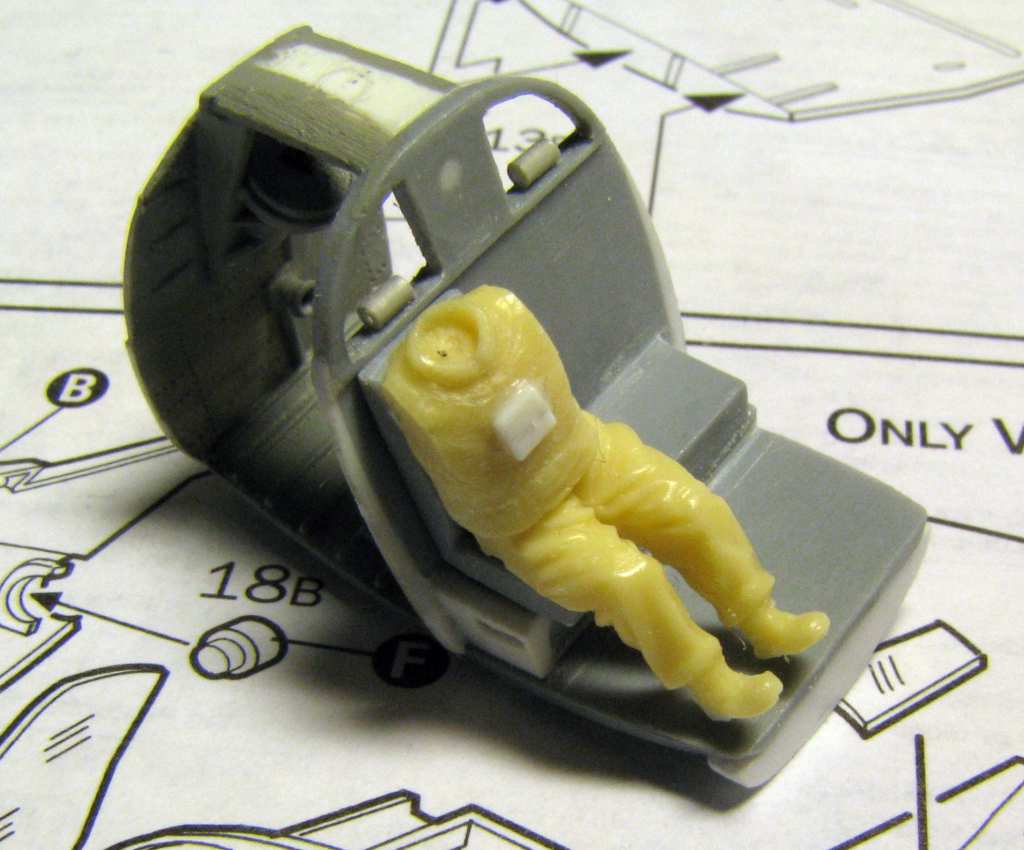
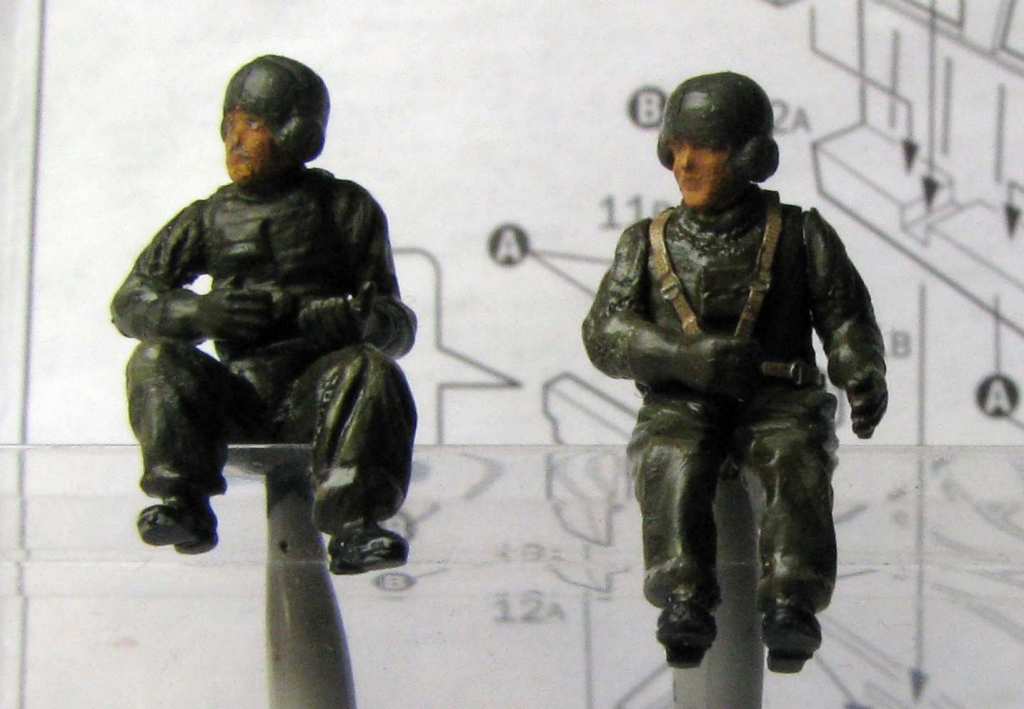
After fixing the crews' poses I started painting the figures. The seatbelts come from the Kuivalainen photoetched set:
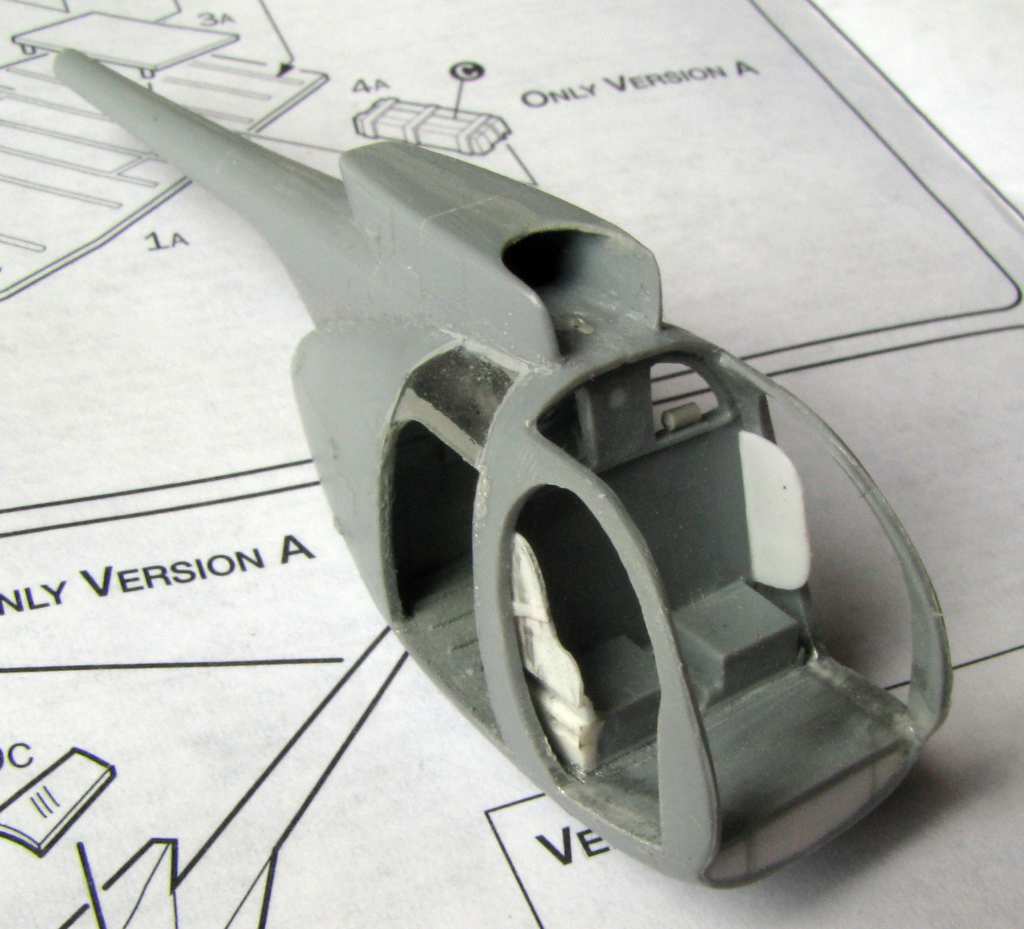
After rescribing the fuselages and installation of the front seat armor the models looked like on the photo below:

It's worth adding that the Airwaves photoetched parts fail completely at the seat armor - the shape of the parts is way off:
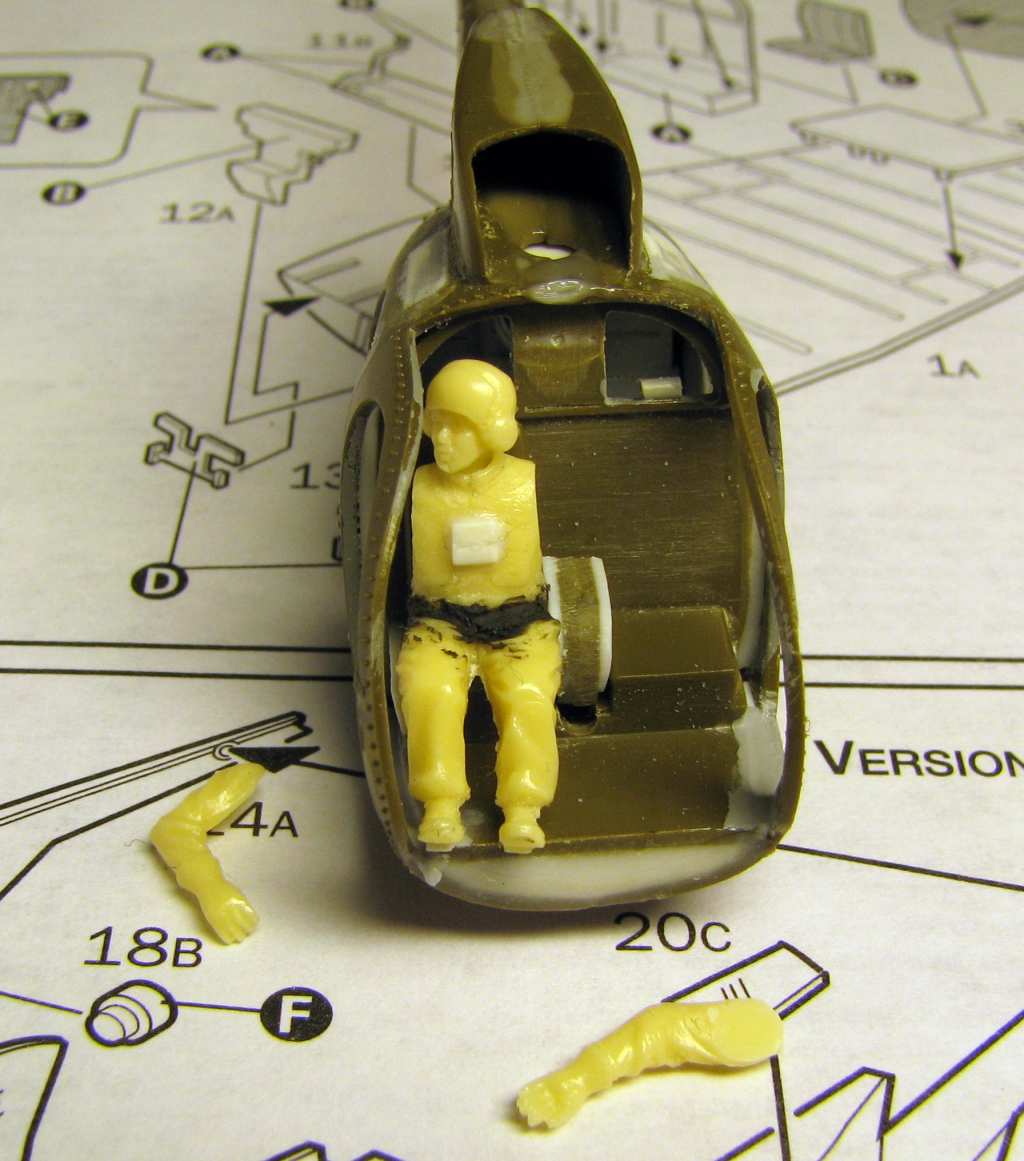
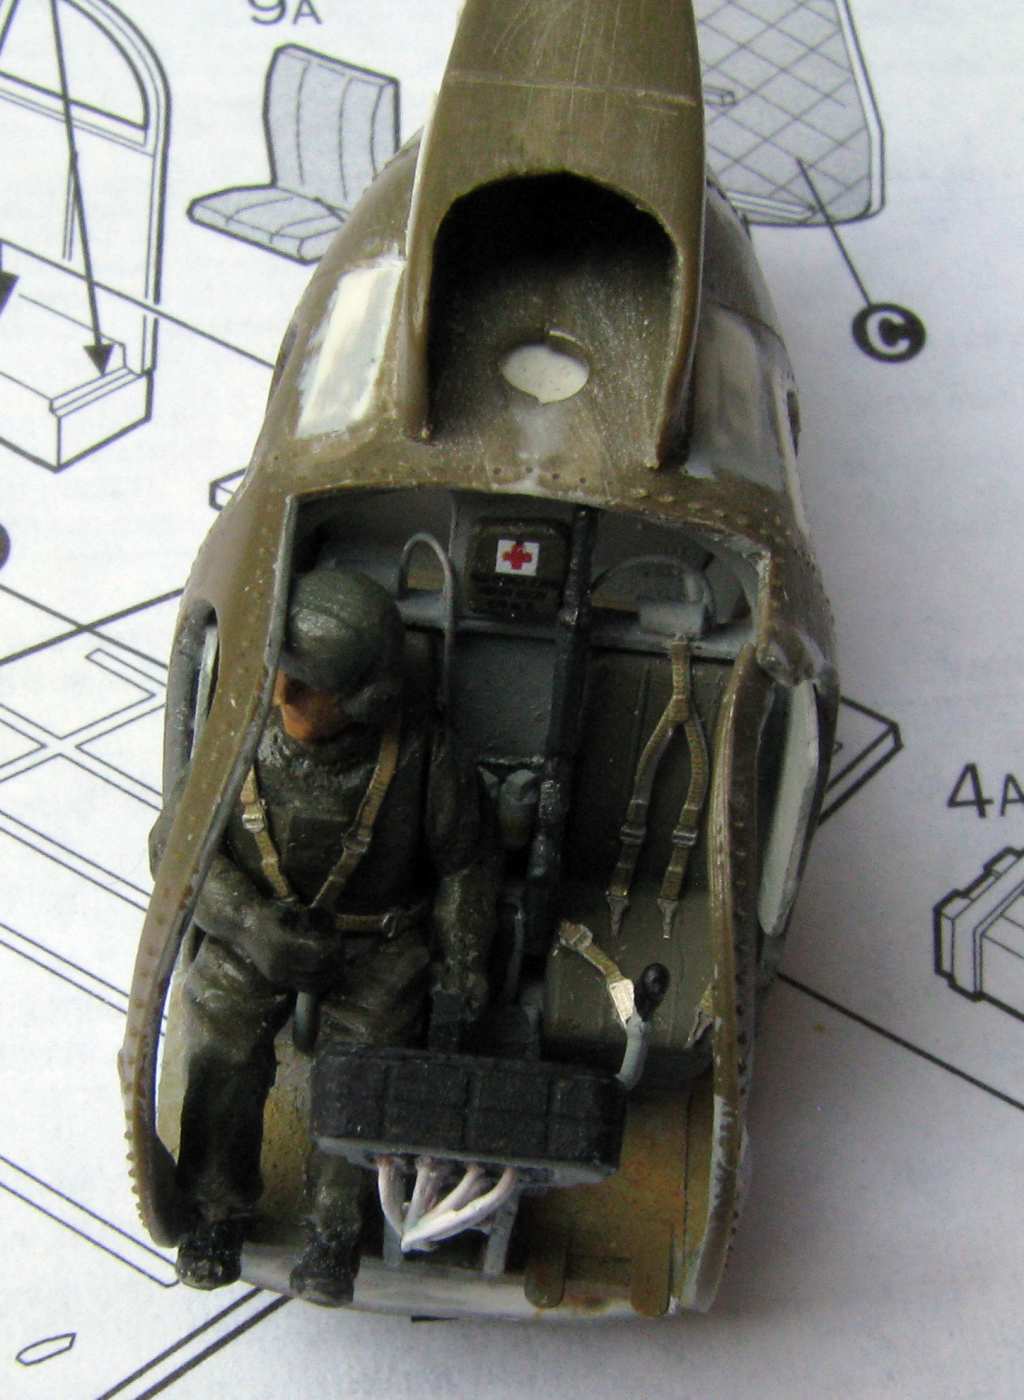
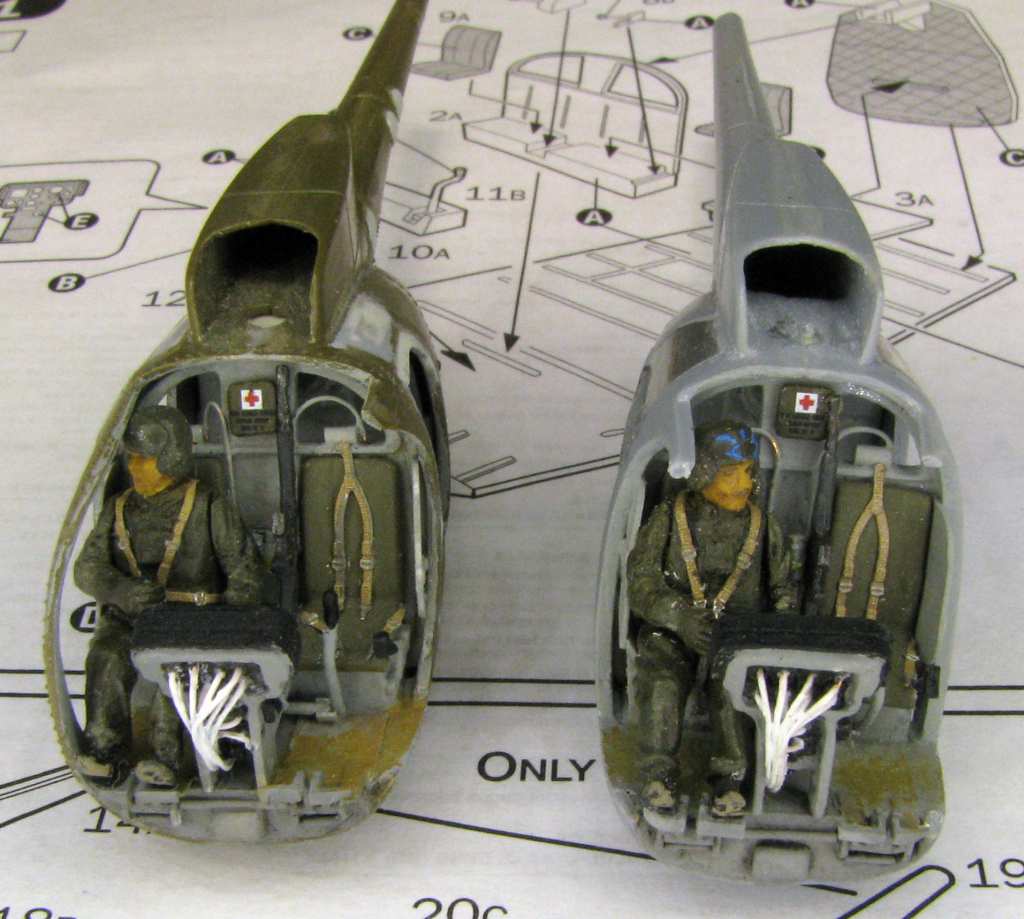
In the „Darkhorse” chopper most of the cockpit is already installed. The red arrow points to the cyclic stick linkage component:
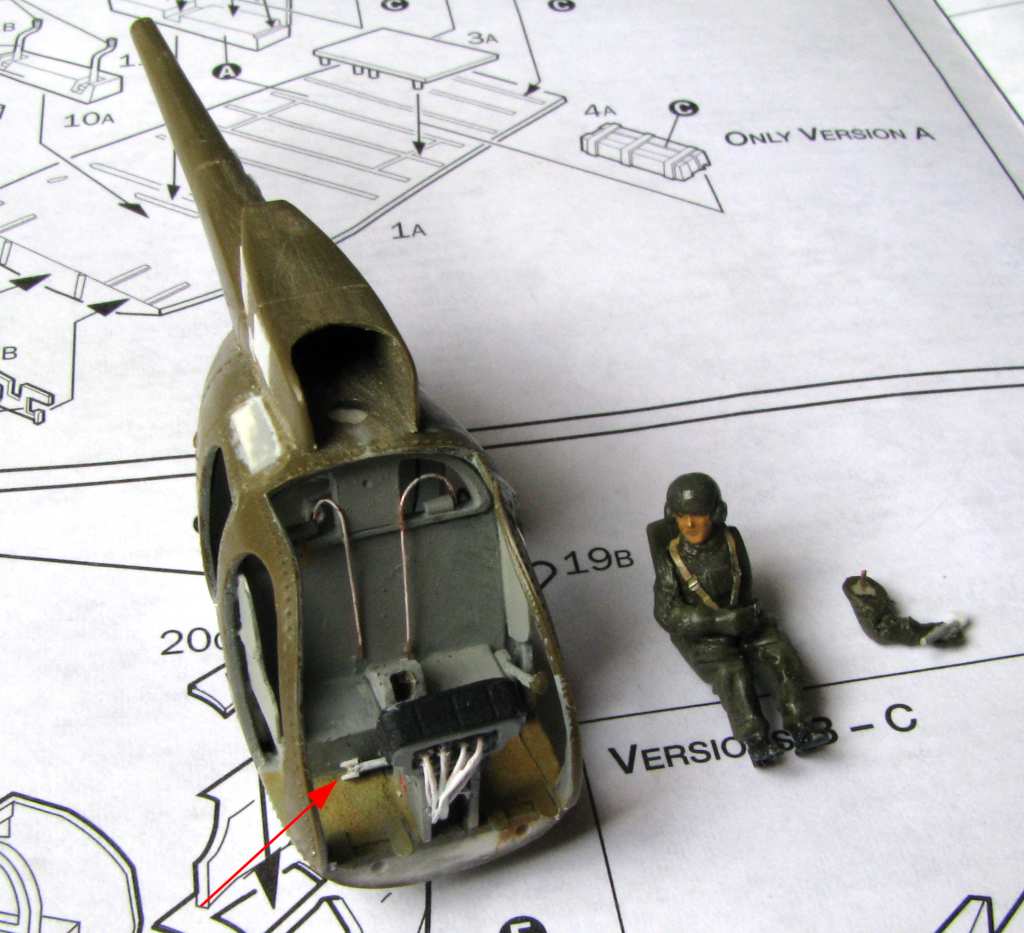
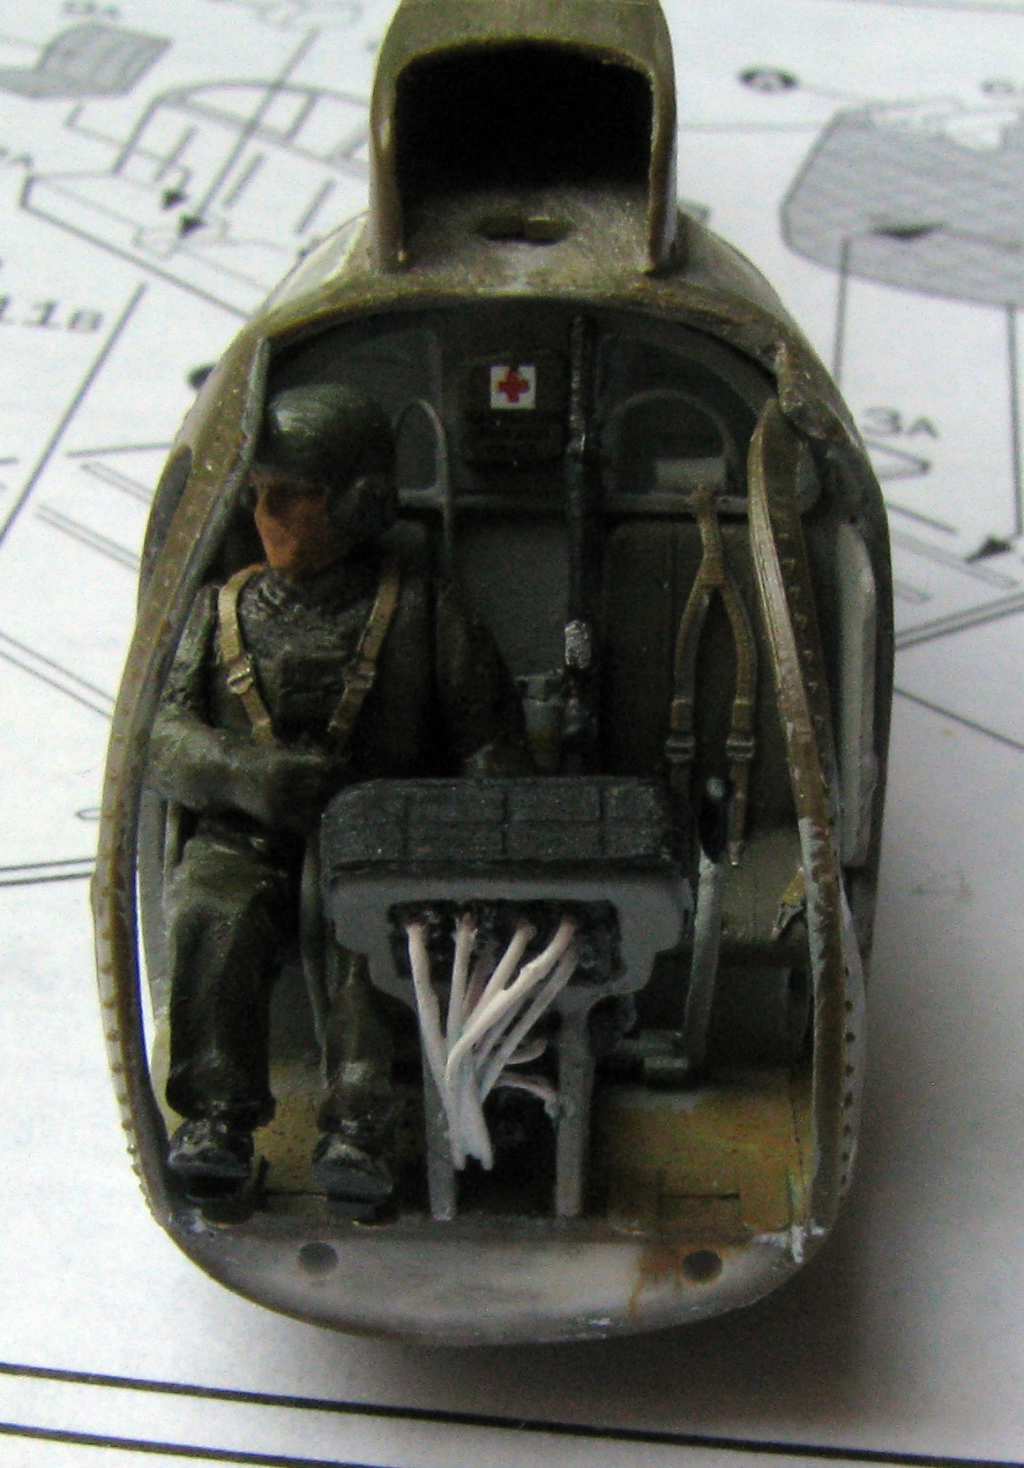
After installing the pilot the cockpit looks like on the photo below. The first aid kit, the M16 rifle and the WP grenades are also installed. Still absent are the fire extinguisher and the tail rotor pedals:
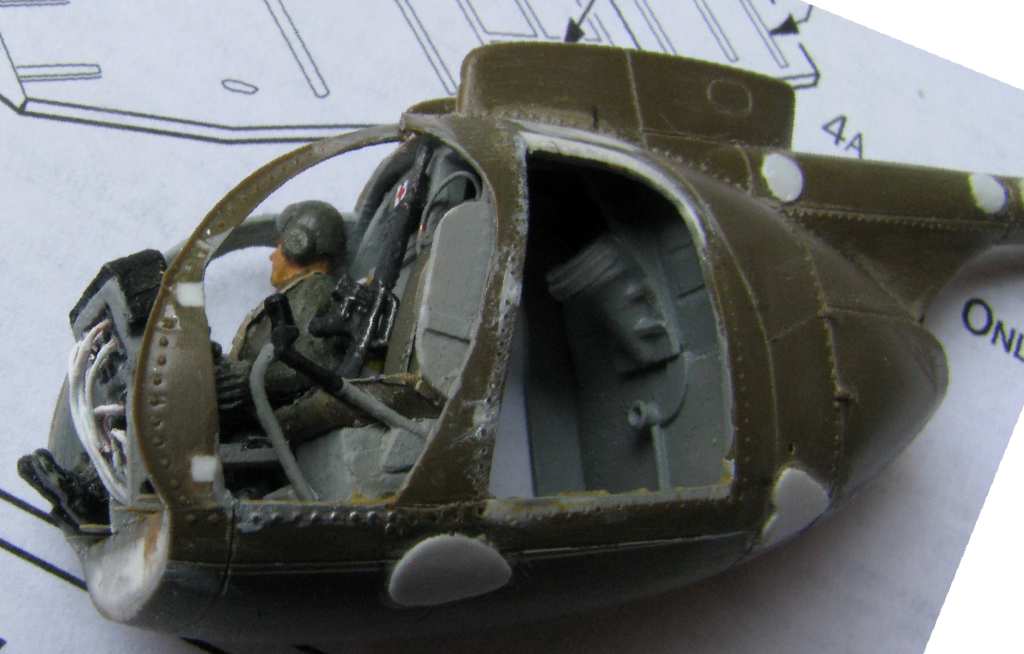
The insides of the glass "bubble" also needed detailing. I have added the cabin heating levers and the heating vents - the Airwaves photoetched parts came really handy here. The inner glass frames are made of decal sheet painted with Humbrol 140 grey paint and after that cut up into thin strips and applied from the inside of the cabin. In the lower part of the "bubble" there is a holder for the documentation:

Next, I have also equipped the second machine's cockpit and in both cockpits I have installed the tail rotor pedals. I have also cut out the "arches" to be able to better fit the glass to the fuselage at the later stage of the build:
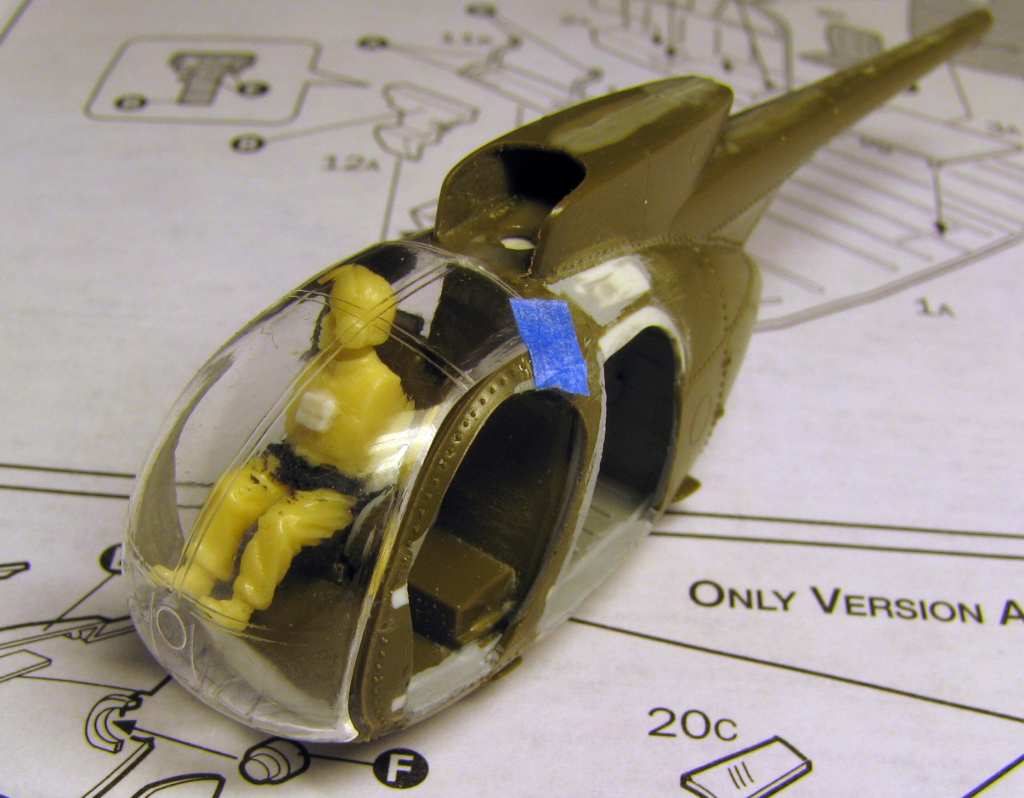
At this point the glass "bubbles" could be installed and the seams filled:
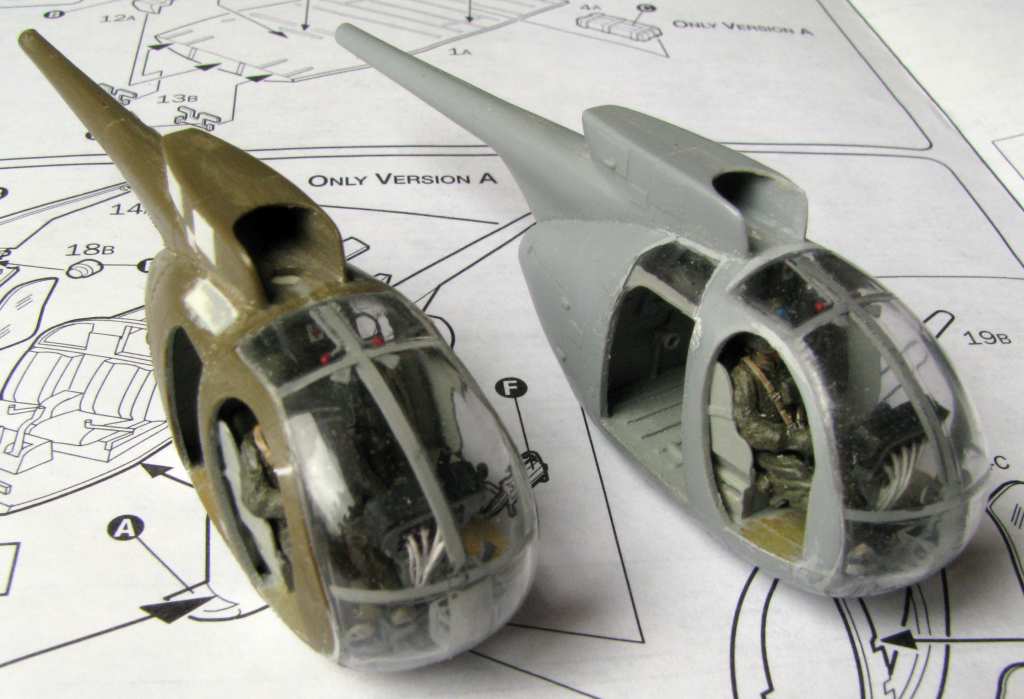
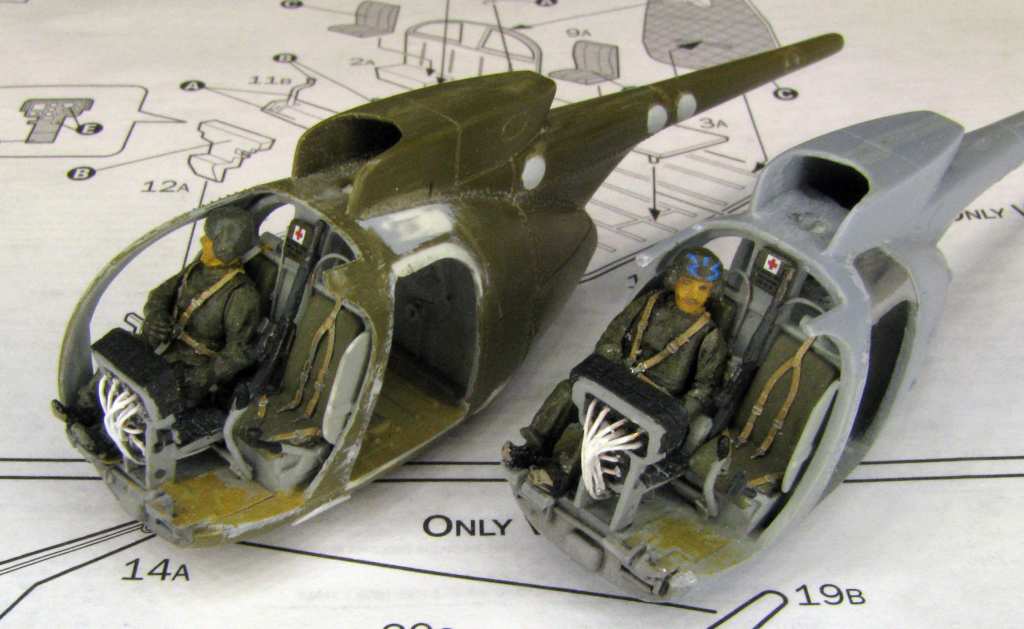
The upper windows were tinted using Tamiya X-19 acrylic "Smoke" paint. It is important to apply this paint in several thin layers - this way the coverage is even:
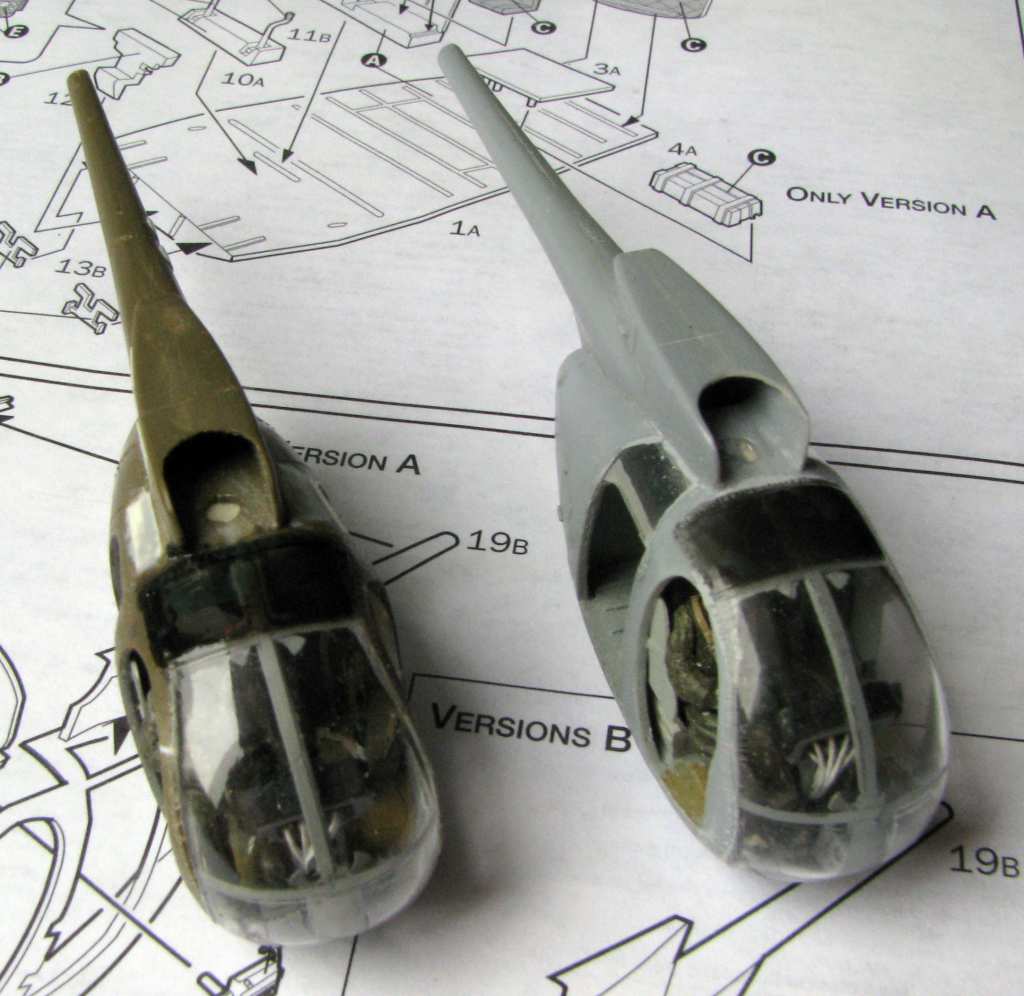
In case of the models shown above we're talking about 8 layers applied every half an hour. It is worth noting, that the rear cabin windows usually weren't tinted, but sometimes they were covered with sheet metal. In most cases the tinting color in the OH-6As is grey and not green as often shown in color profiles. On the model of the "1/9 Cav" chopper I have added some black wash to the "Smoke" paint - this has darkened the color, but also made the paint less translucent.
