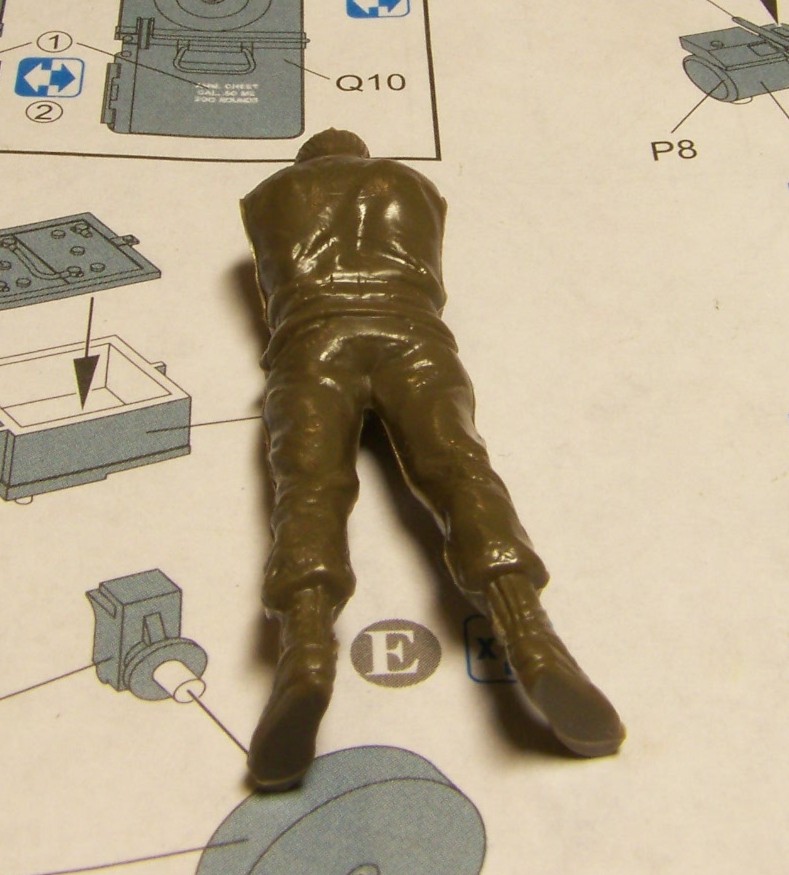
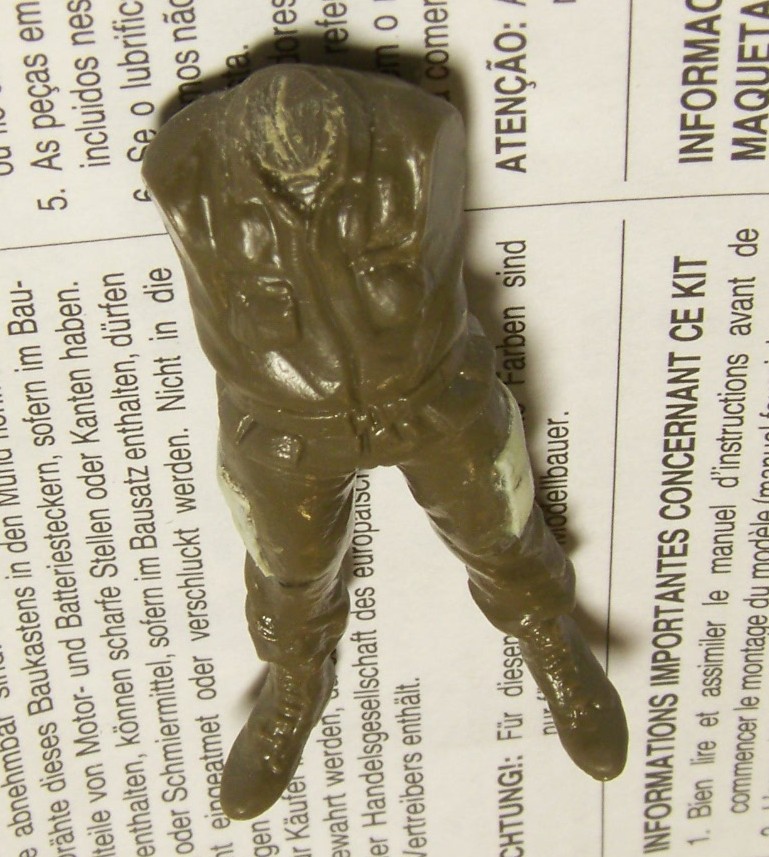
I started working on the Quad 50 crew's figures by tackling the Gunner's figure first. I used modified kit-supplied figure. The modification was necessary to convert the kit-supplied World War II style uniform to a Vietnam War style uniform.
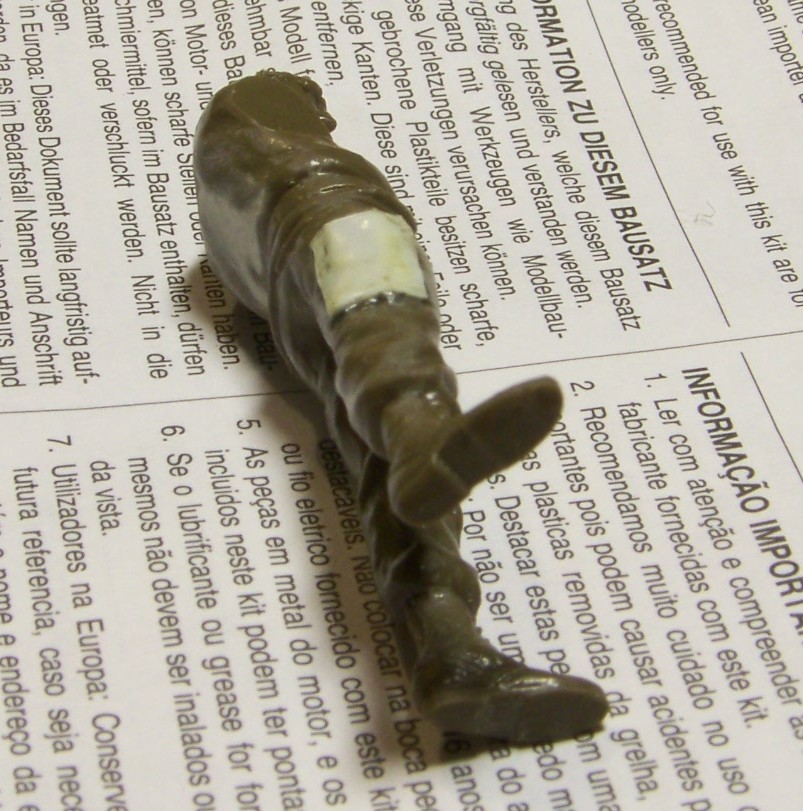
To do this I switched the Gunner's boots again jungle boots, taken from a Dragon 1/35 figure kit. The main difficulty here was to bend the tips of the boots up, which is necessary as there's a little space for the Gunner's feet under the armored shield. So I heated the boots and shaped them while they were soft. After that a little filling and sanding finally did the trick. I had to rescribe the soles too. I also worked on the cut of the uniform with needle files and the point of the hobby knife. I put new pockets on the uniform, made from styrene sheet softened with acetone and glued to the figure by a layer of modeling putty. After the pockets dried thoroughly (several days) I scribed their details, like sewing lines, flaps and so on.
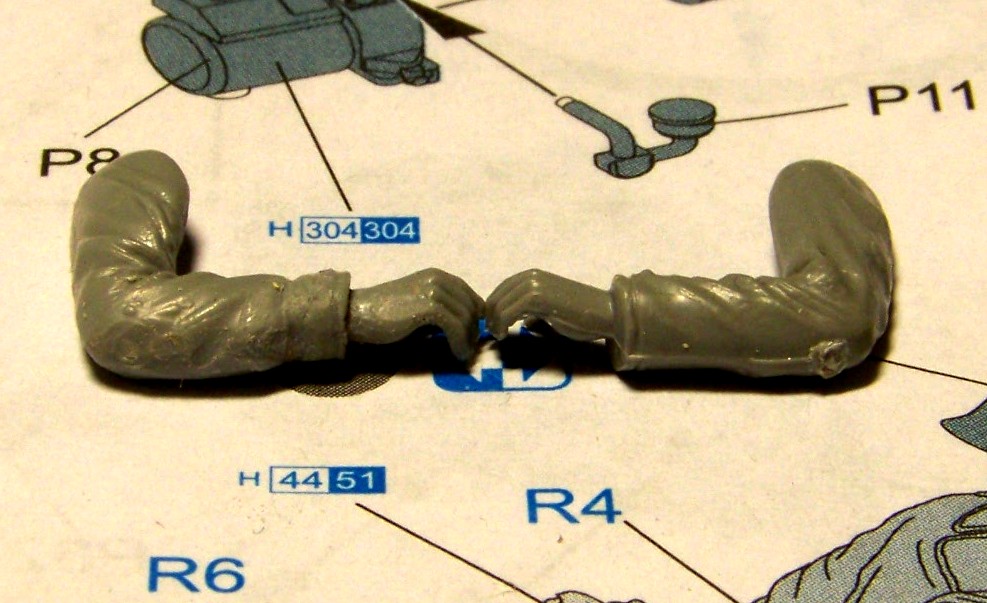
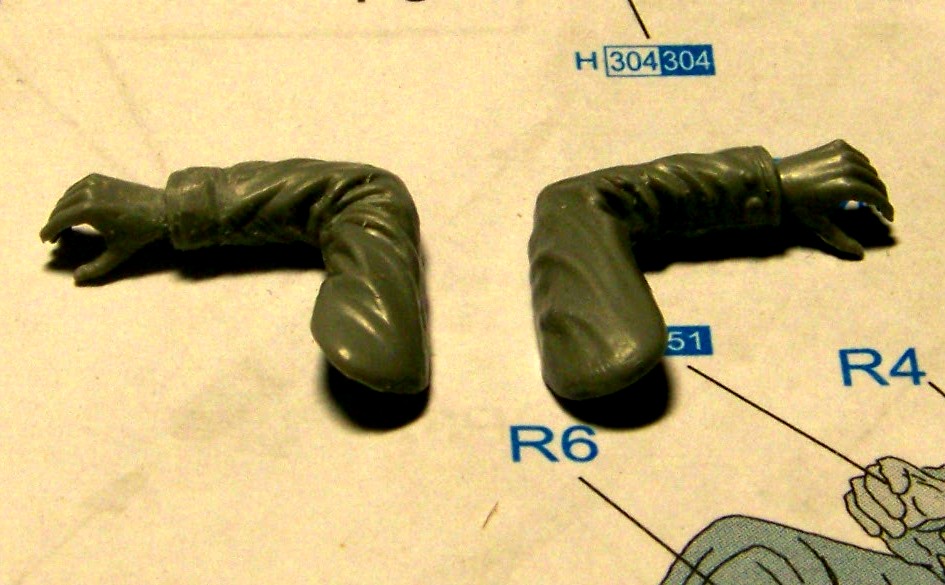
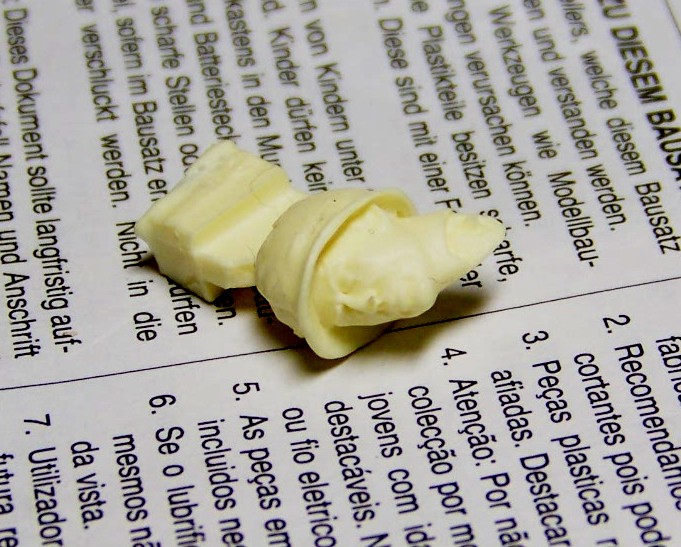
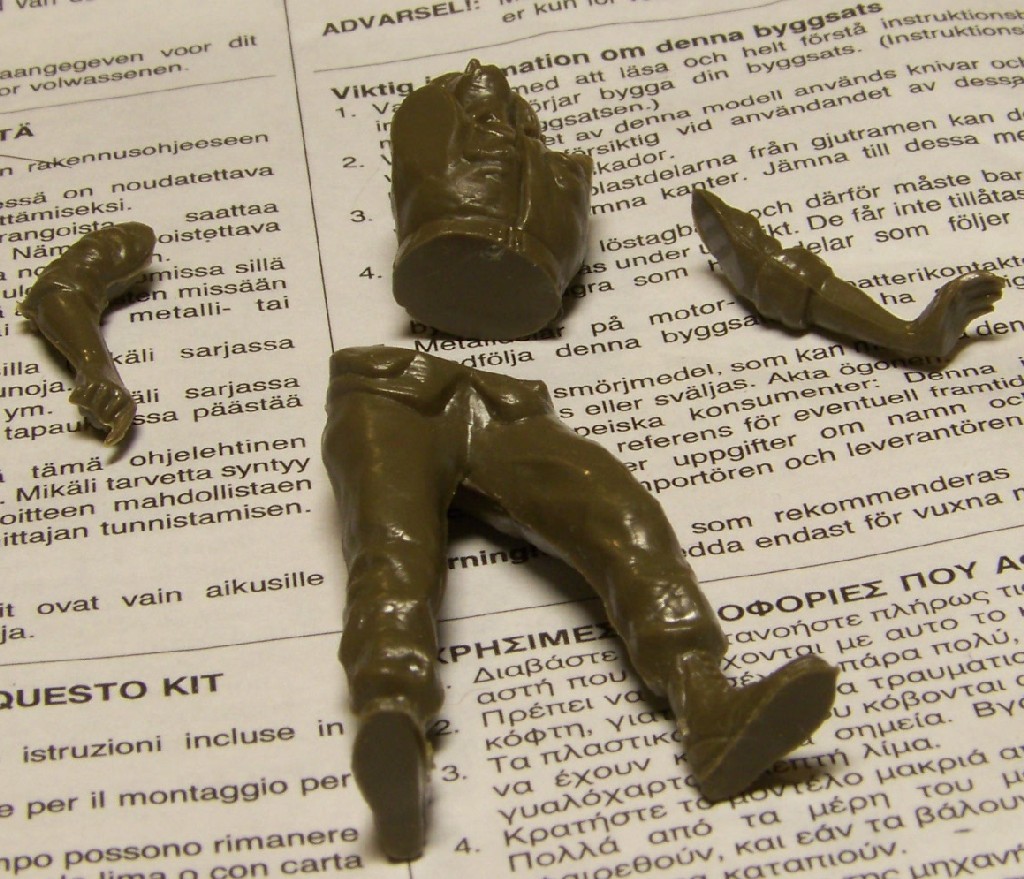
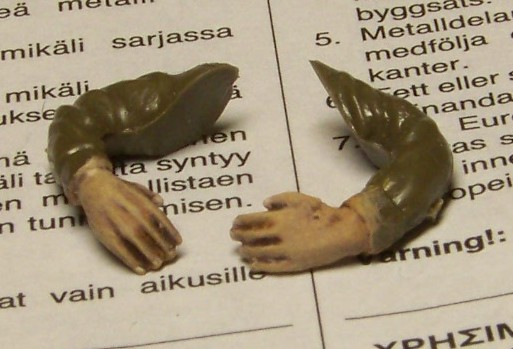
The arms also needed work, the shape of the cuffs had to be modified. The photos below show one arm before (right) and the other (left) after the modification:
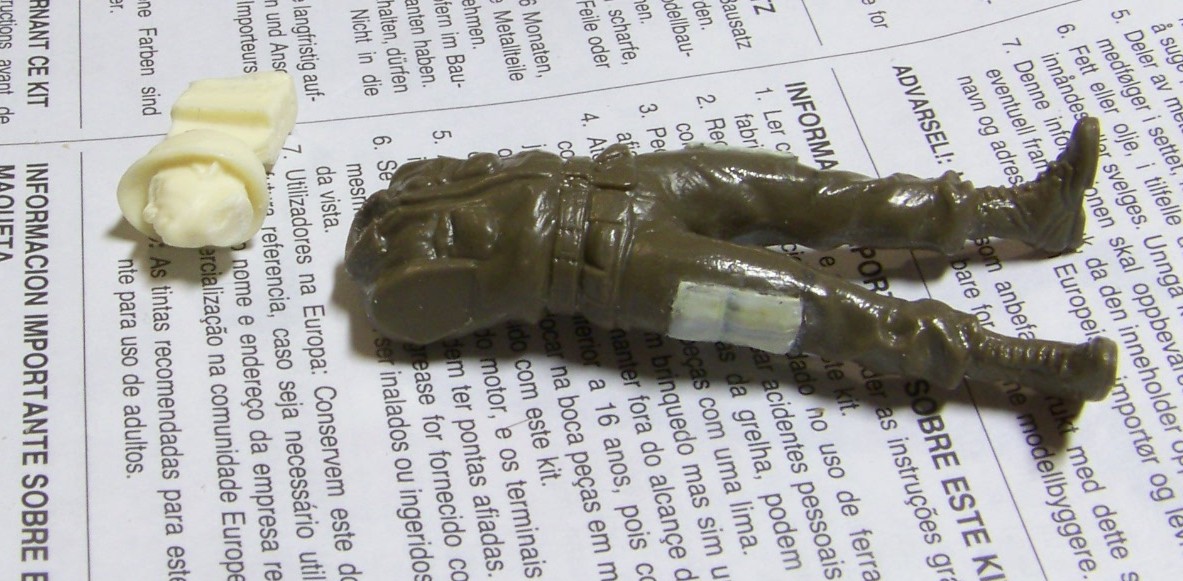
This was a good moment to fit the Gunner to his weapon. I glued the legs, the torso and the Gunner's arms together using plastic putty. This way the joints can be easily sanded smooth after they dry, and until then they stay flexible and allow to fit the pose exactly to the figure's surroundings.
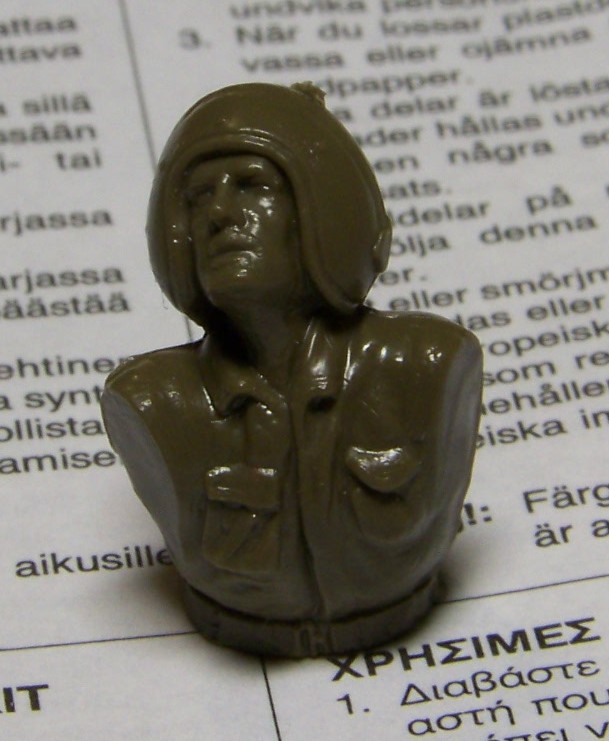
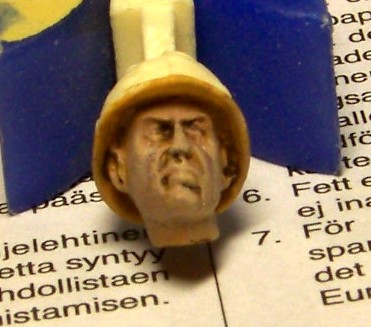
After the joints dried thoroughly, I found a new helmet for the Gunner, again from a Dragon figure kit (his out-of-the-box helmet had a look typical for WWII) and I primed the face and the hands with Humbrol number 63 color paint.
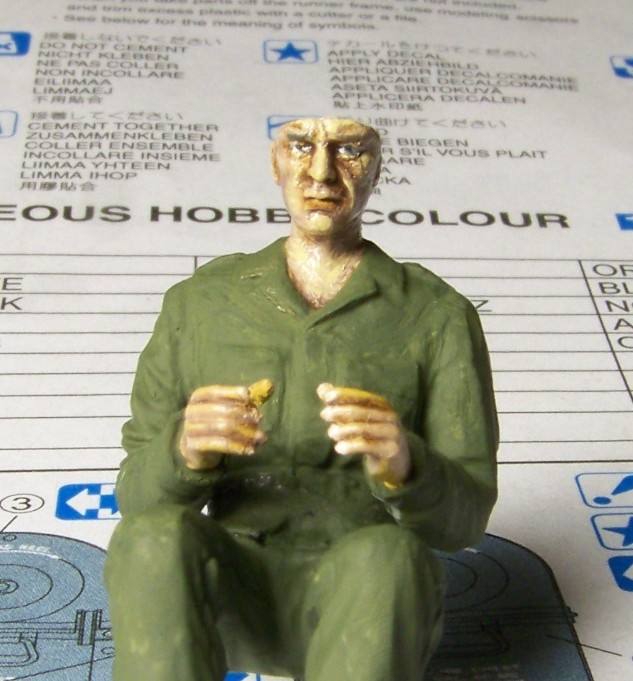
After the paint dried thoroughly I started painting the flesh tones. I have to say the sculpting of the Gunner's face is very good, especially for an injection-molded figure. First I applied an oil wash of raw umbra:
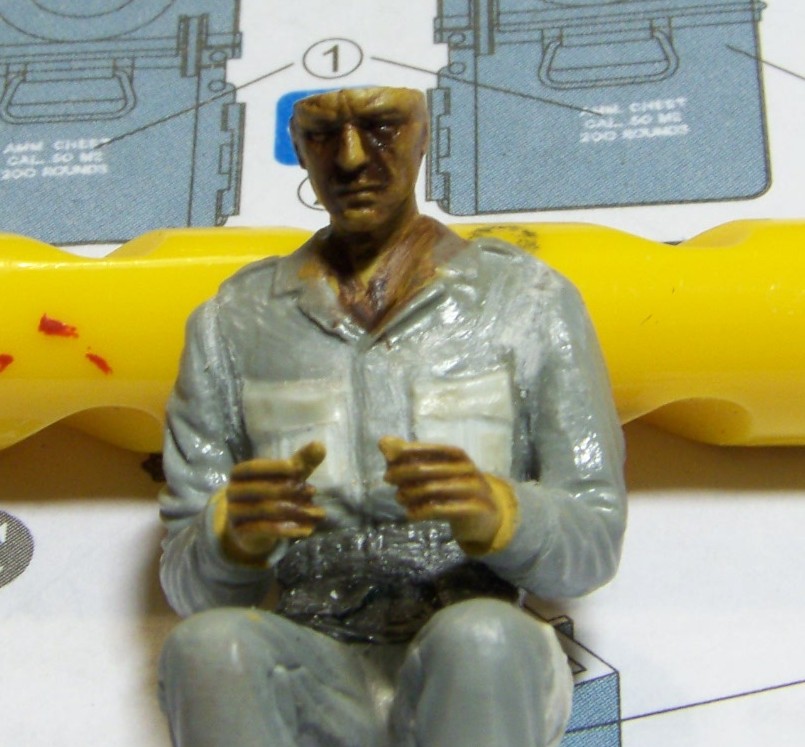
Before the was dried I started applying gradually lighter fleshtones:
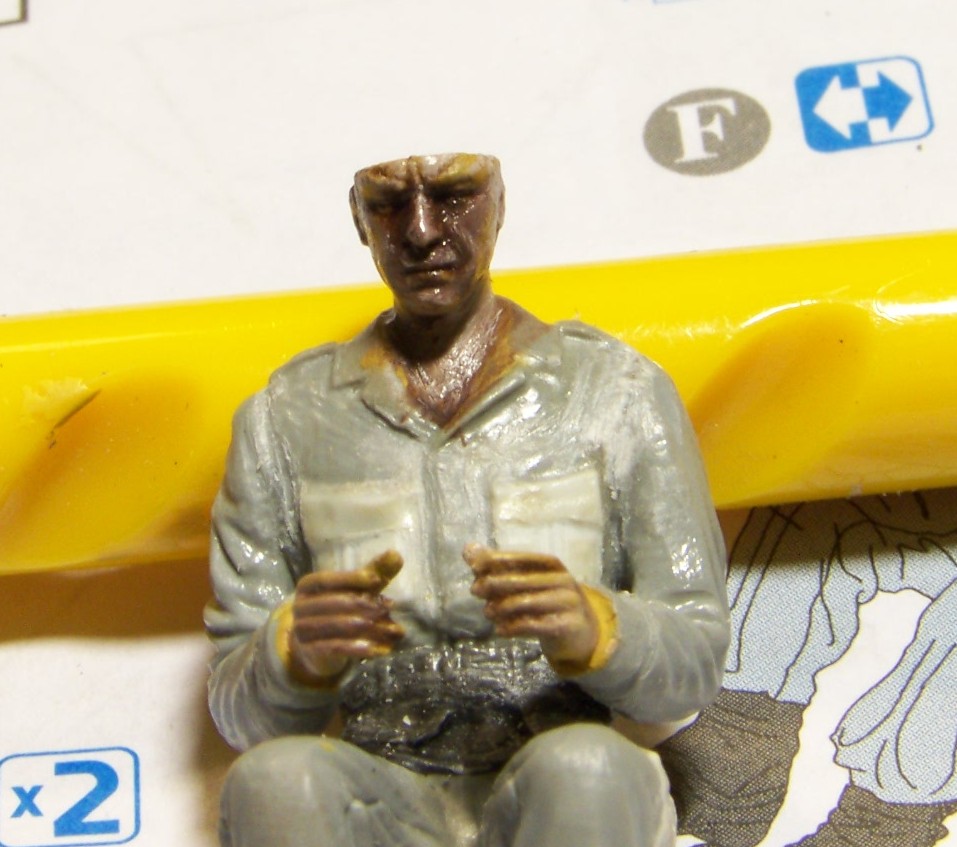
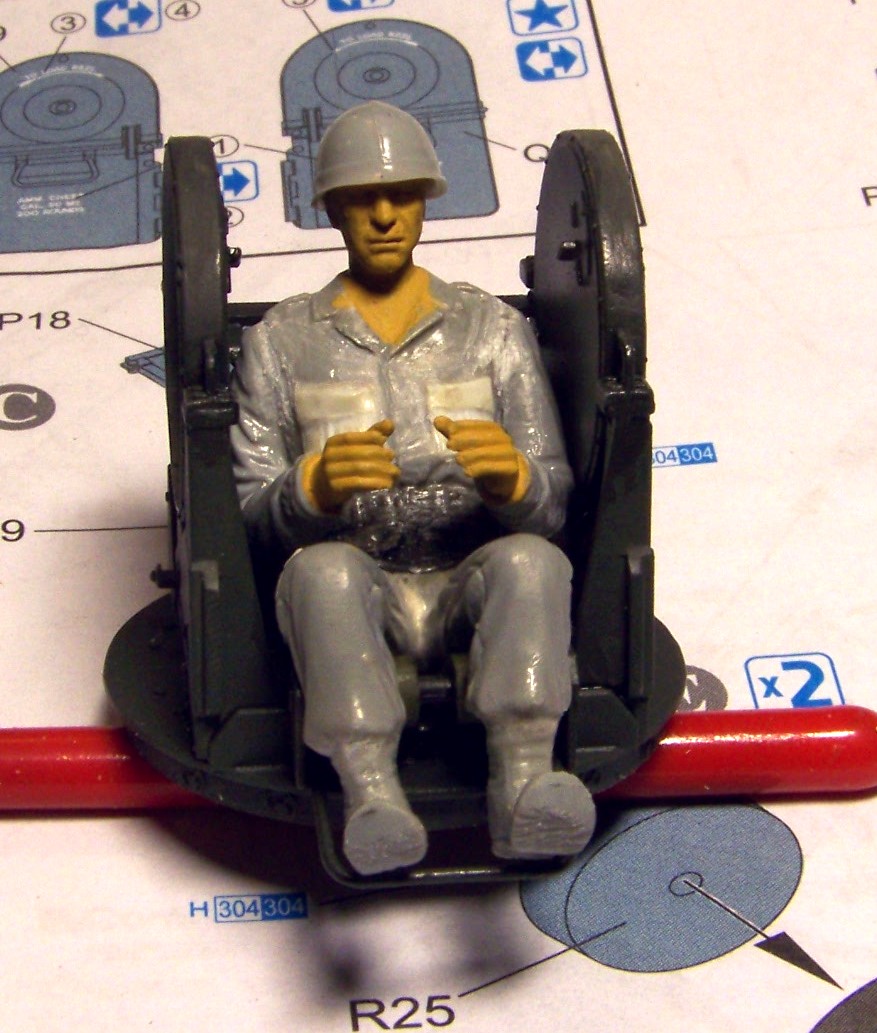
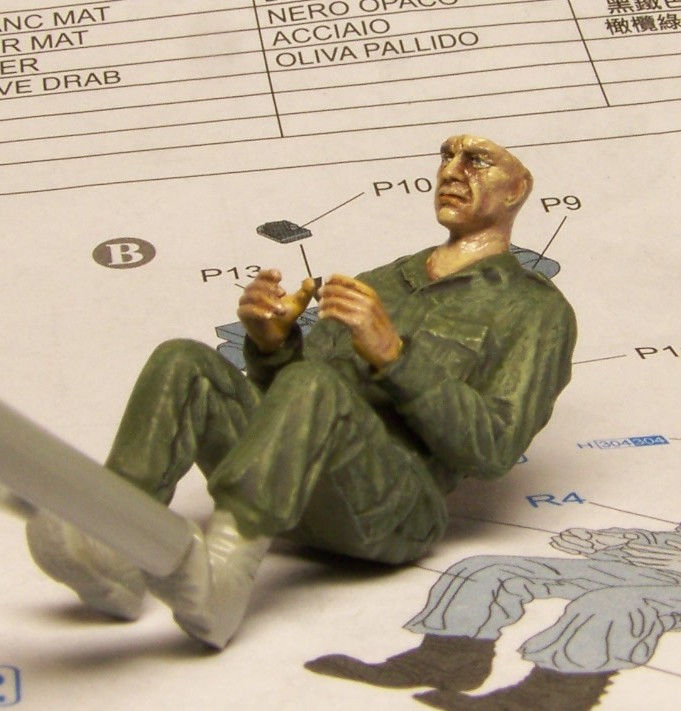
Then the tricky part - the eyes. For applying the light grey (whites of the eyes) and black paint I took a single human hair. I also painted the eyebrows and with light brown paint - the lower lip. After the face was done I primed the uniform with olive green Humbrol number 116 paint.
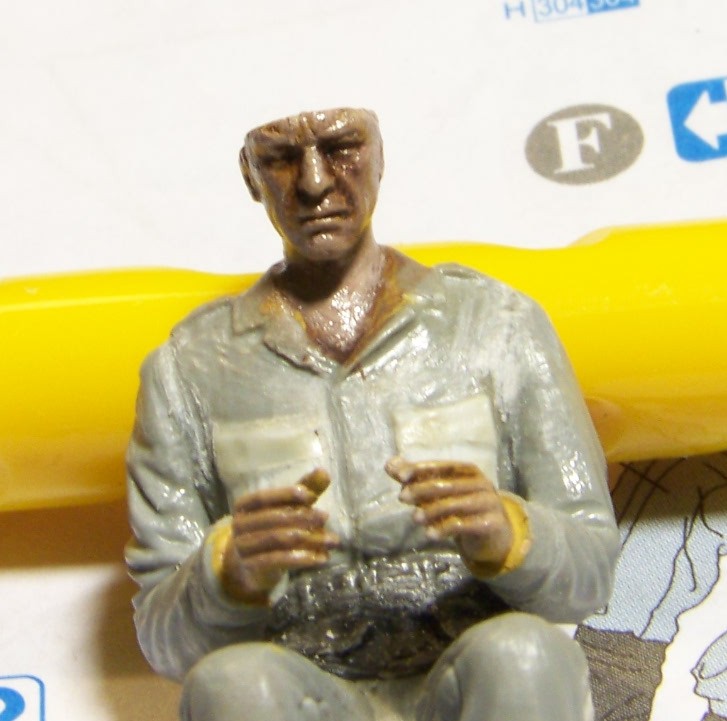
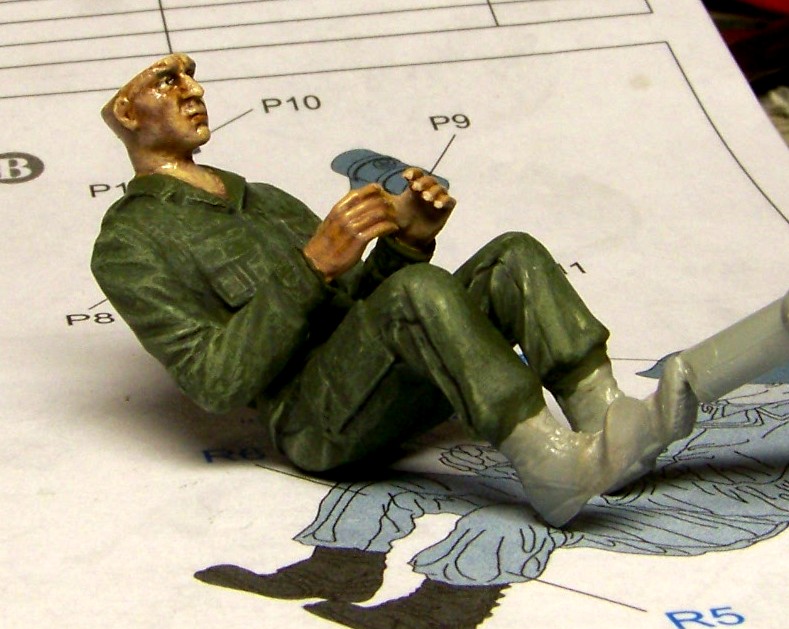
After that I started shading the uniform. It's good to work on a paint layer that isn't entirely dry, then smoother color transitions can be obtained, although I still have to work on that.
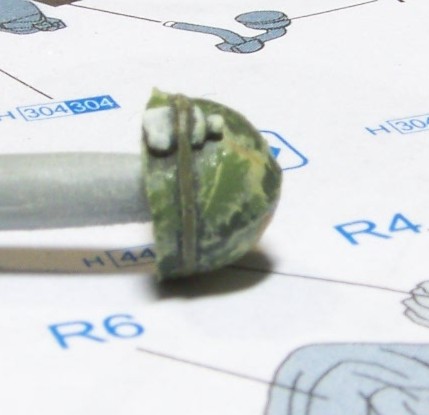
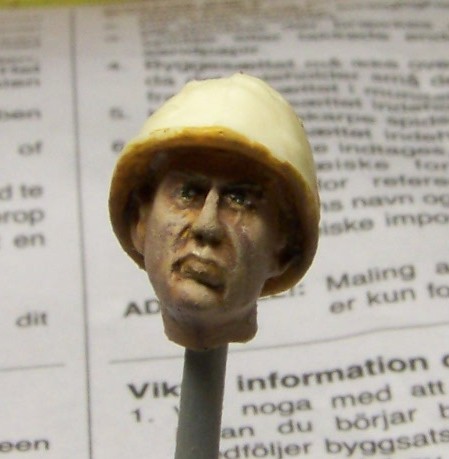
When the uniform was painted, a good moment came to work on the helmet. I glued an insect repellant ("bug juice") bottle to it and replaced the missing part of the universal strap. The universal strap was a piece of elastic olive green fabric issued to U.S. Army soldiers and in theory it was meant to hold camouflage material to the helmet, in praxis it was often used to carry small personal items, like cigarettes, toilet paper, plastic spoon or toothbrush often used for cleaning a weapon..
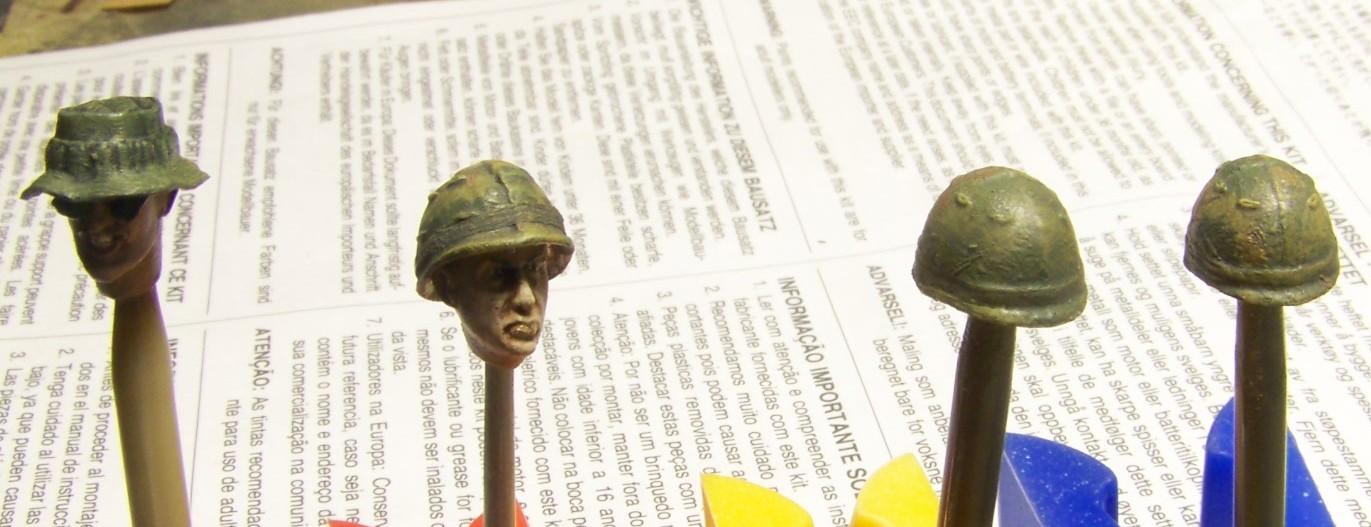
On the helmet I painted the so called Mitchell pattern, a camouflage pattern printed on the helmet liner's fabric, consisting of "leaves" in four colors and "twigs". While painting such pattern it is very important to use reference material, like photos of the real thing.
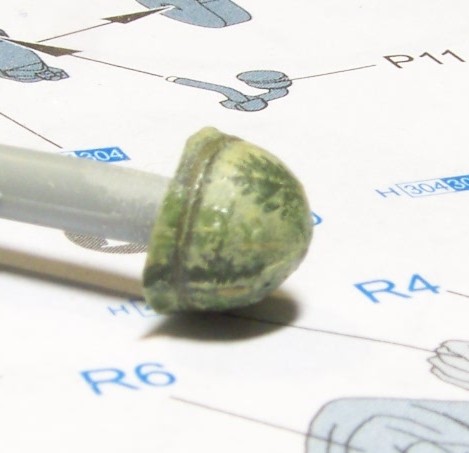
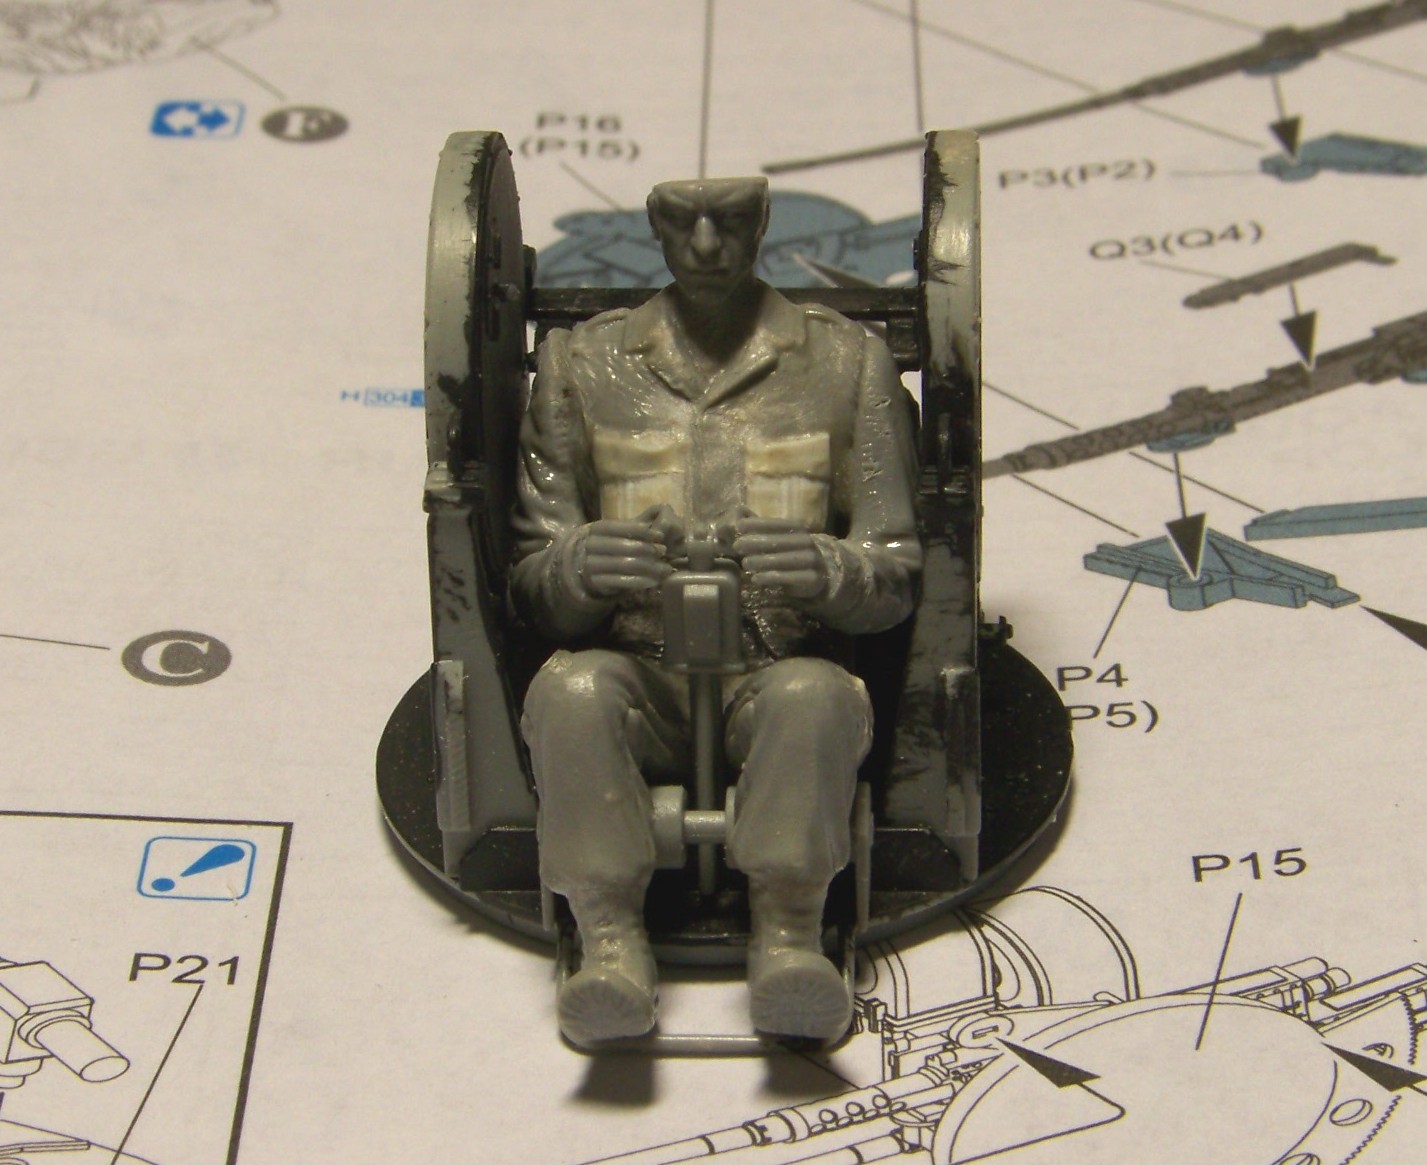
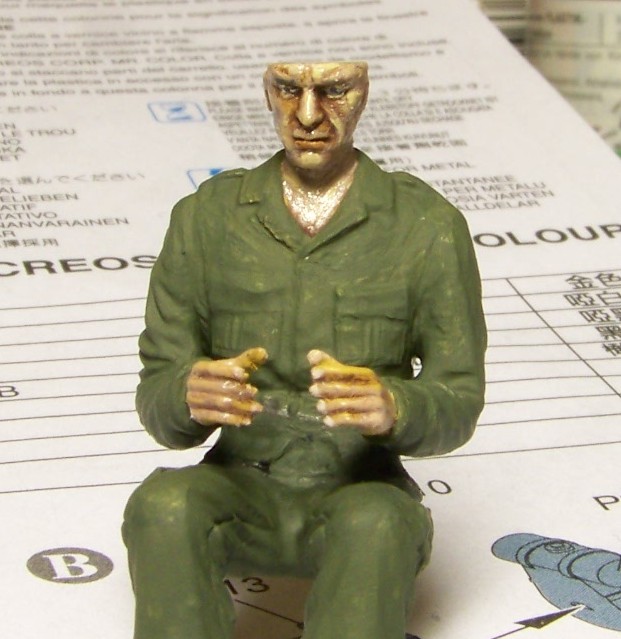
After attaching the helmet and painting the boots, the gunner was done:

There are "just" three more crew members to go...
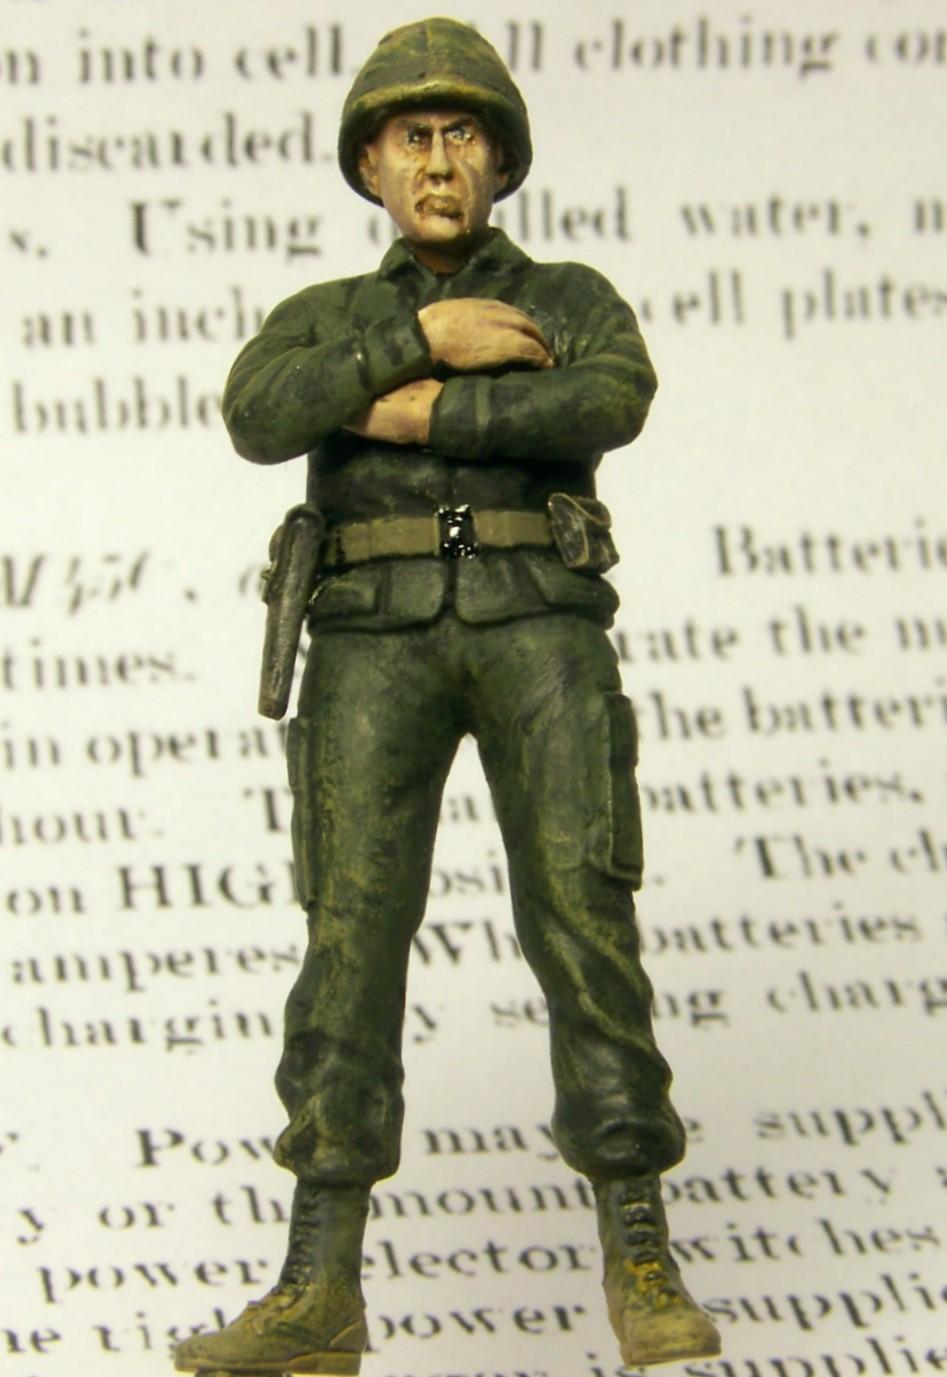
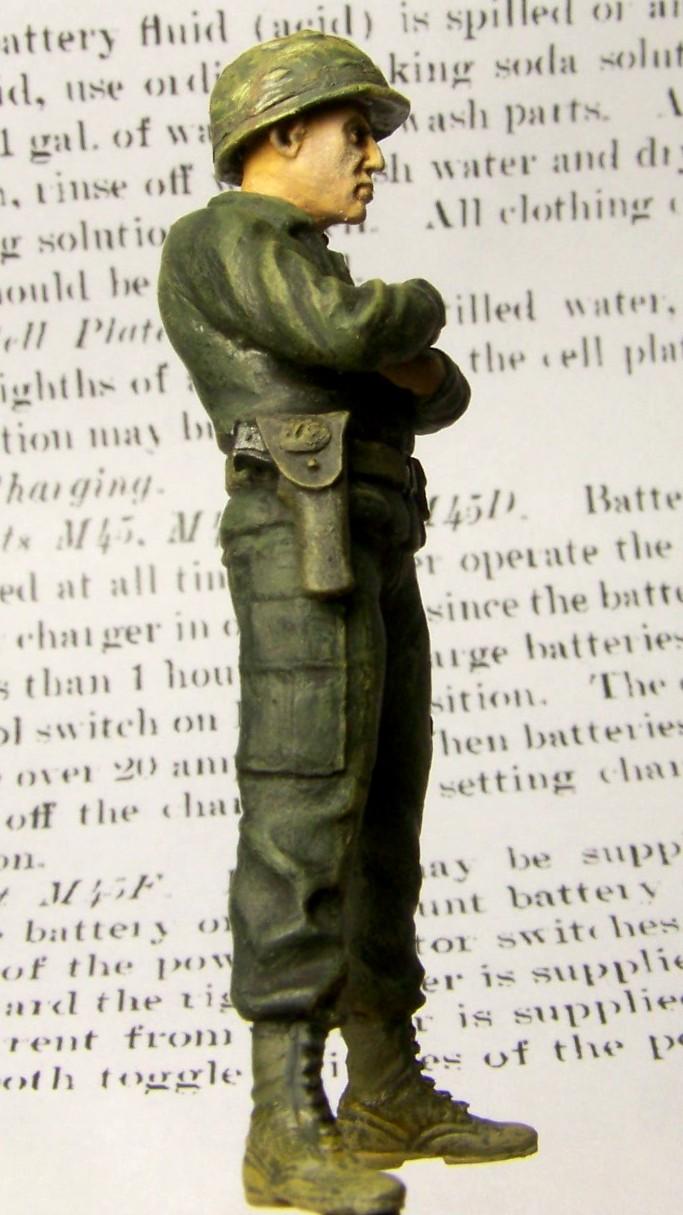
As the rank dictates, next one in line was the "Sarge" - the crew chief. I used the man with his arms crossed from Tamiya's number 35079 kit, "U.S Command Figure Set" as the base to create this figure:
This figure has just a few parts, that don't make a good impression on the first glance. Especially the face discourages from using this figure. That's why I decided early on to switch the head of this figure against a resin head from VLS Warriors' kit number 35255 "US Vietnam Head Set No.7".

I started the construction by filling a rather large hole in the figure's back:
After a careful examination of the resin head I chose it turned out there's an air bubble on the tip of it's nose, resulting in an unsightly pit there. This pit was filled with a tiny bit of stretched sprue and sanded smooth.
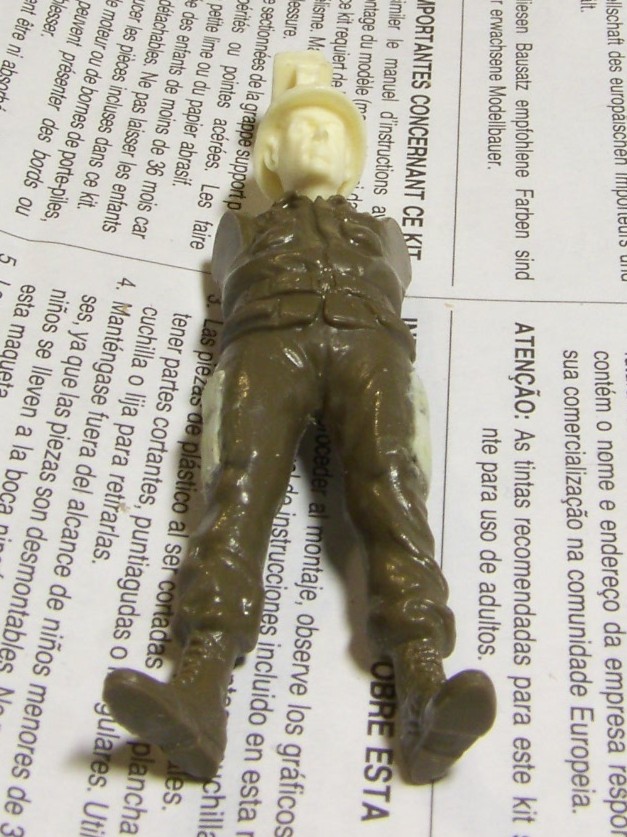
On this figure I also made up the trousers' pockets, the same way as in case of the Gunner. After cleaning up and sanding the figure started looking a lot better:
I cut off the head using my razor-saw:
Then I milled the remainders out and so I created the recess for the resin head:
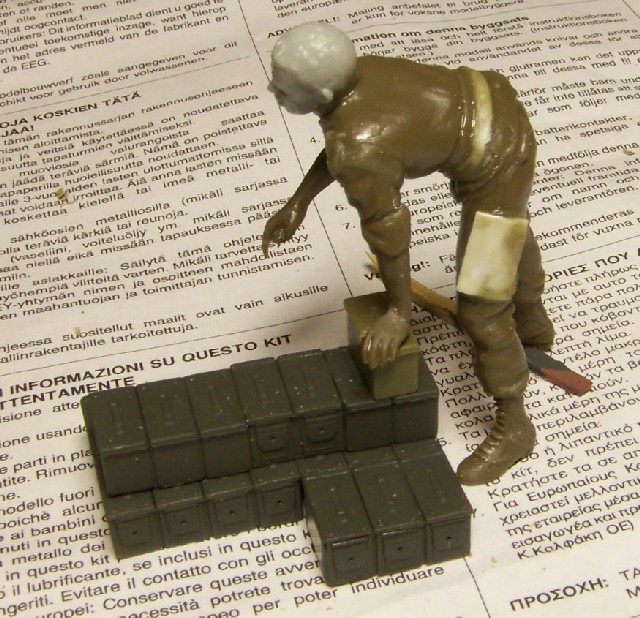
The loader is also based on parts of the same kit as the crew chief:
From the start it was obvious his head needs replacement, too:
I chose the head from Dragon's kit number 3305 "U.S. Marines (Tet Offensive 1968)". After the initial cleanup of parts and dry-fitting and also the mandatory making up of the pockets the figure looked like shown below:
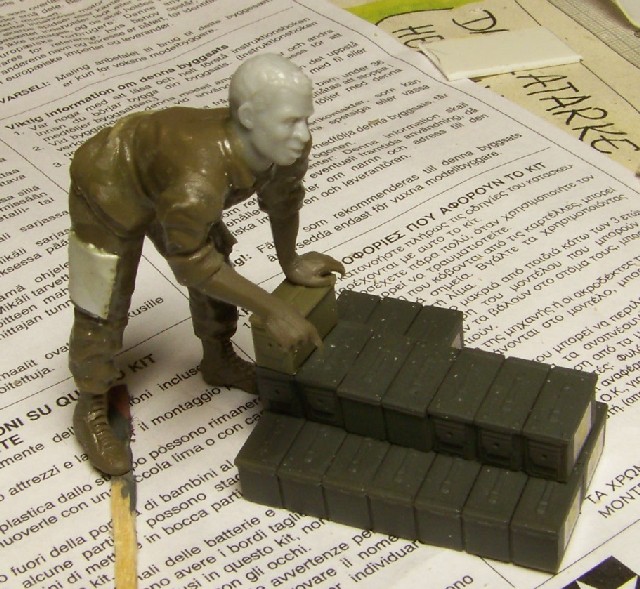
As can be seen, I inserted a wedge between the legs and the torso of the loader, to deepen his stance.
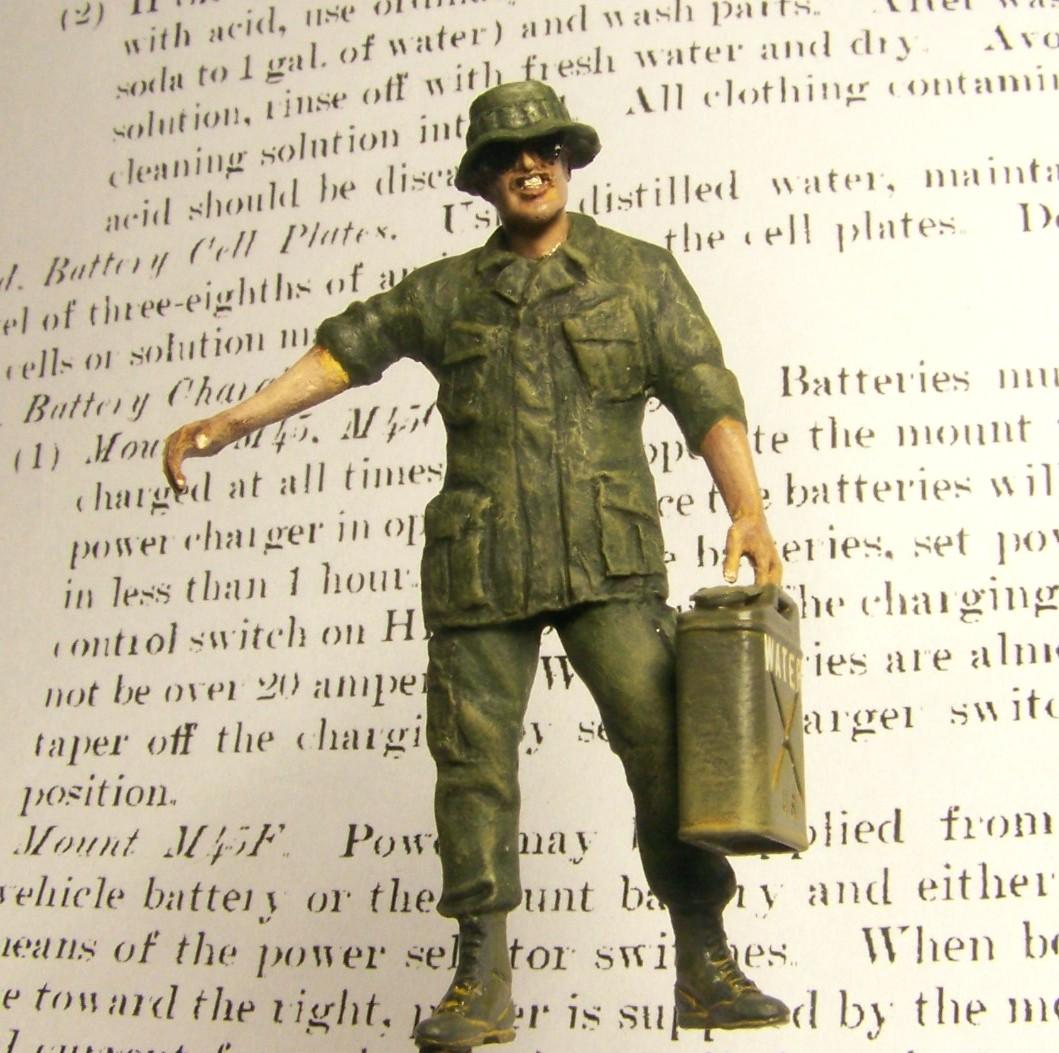
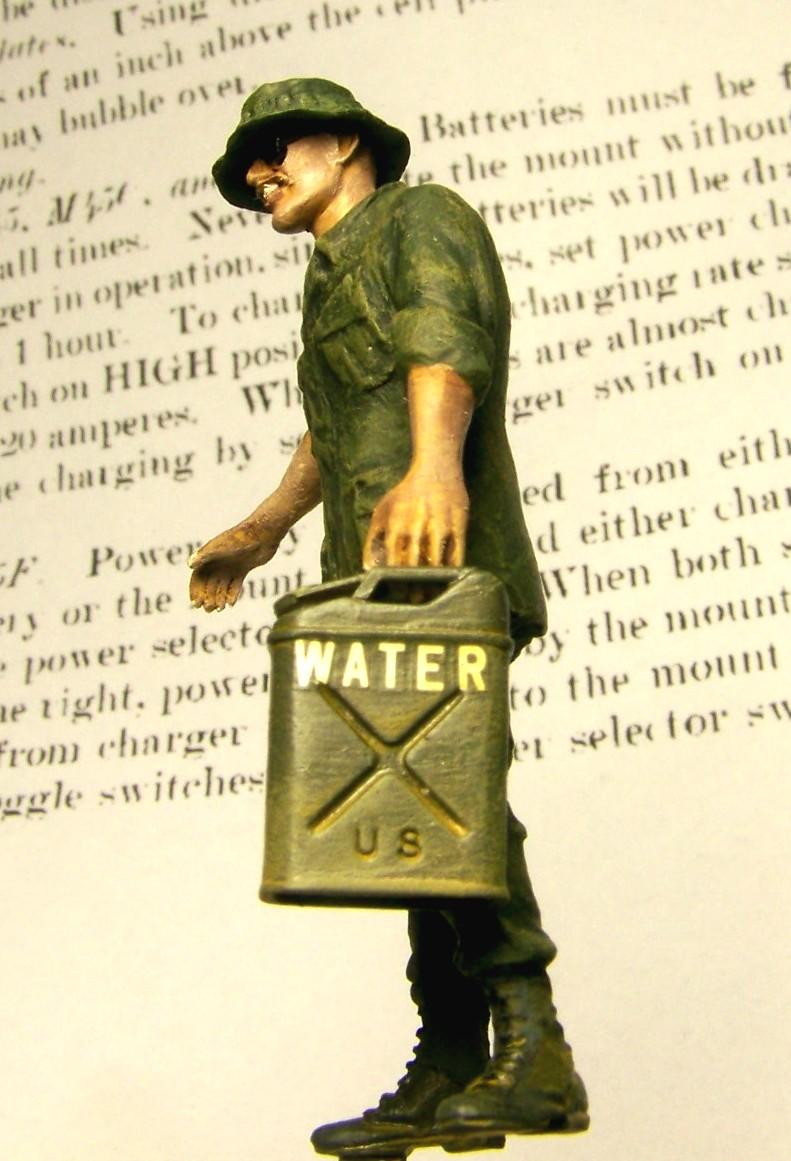
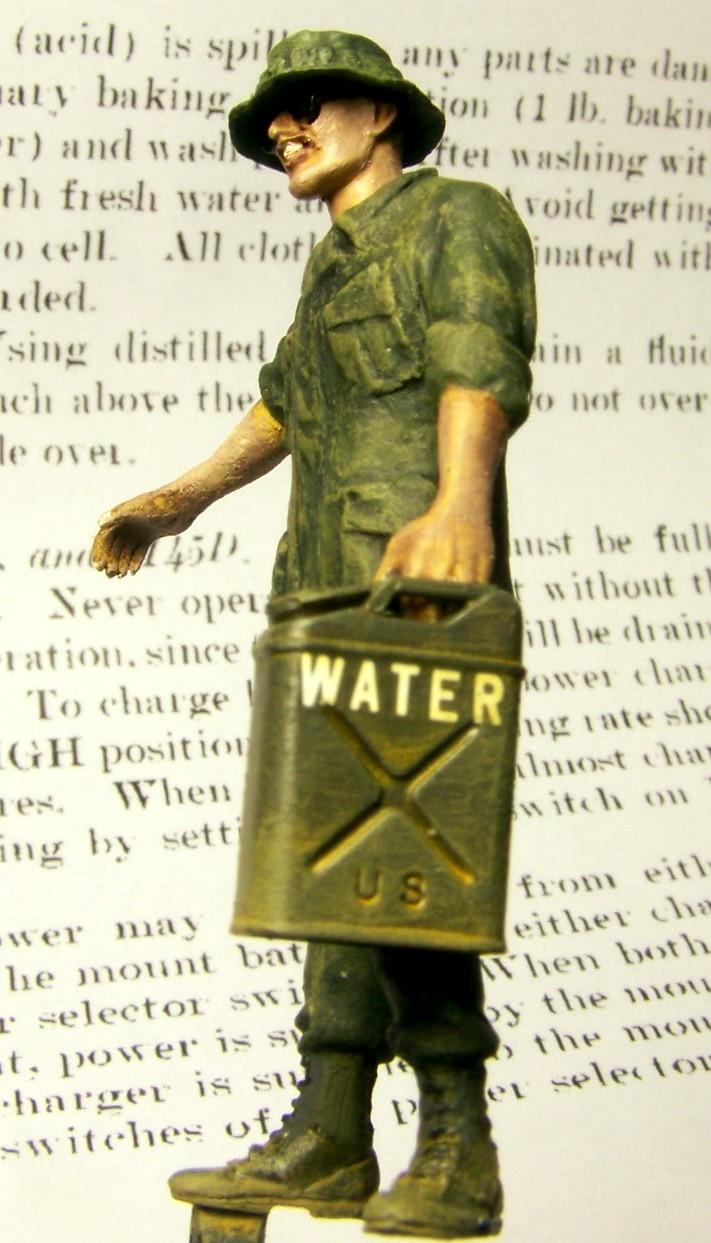
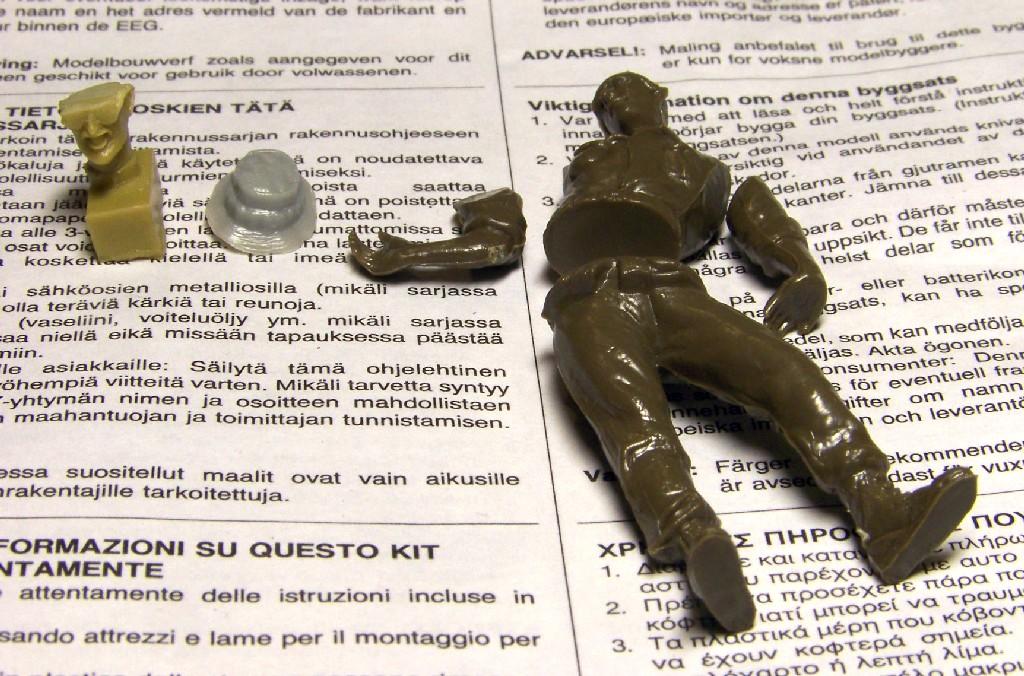
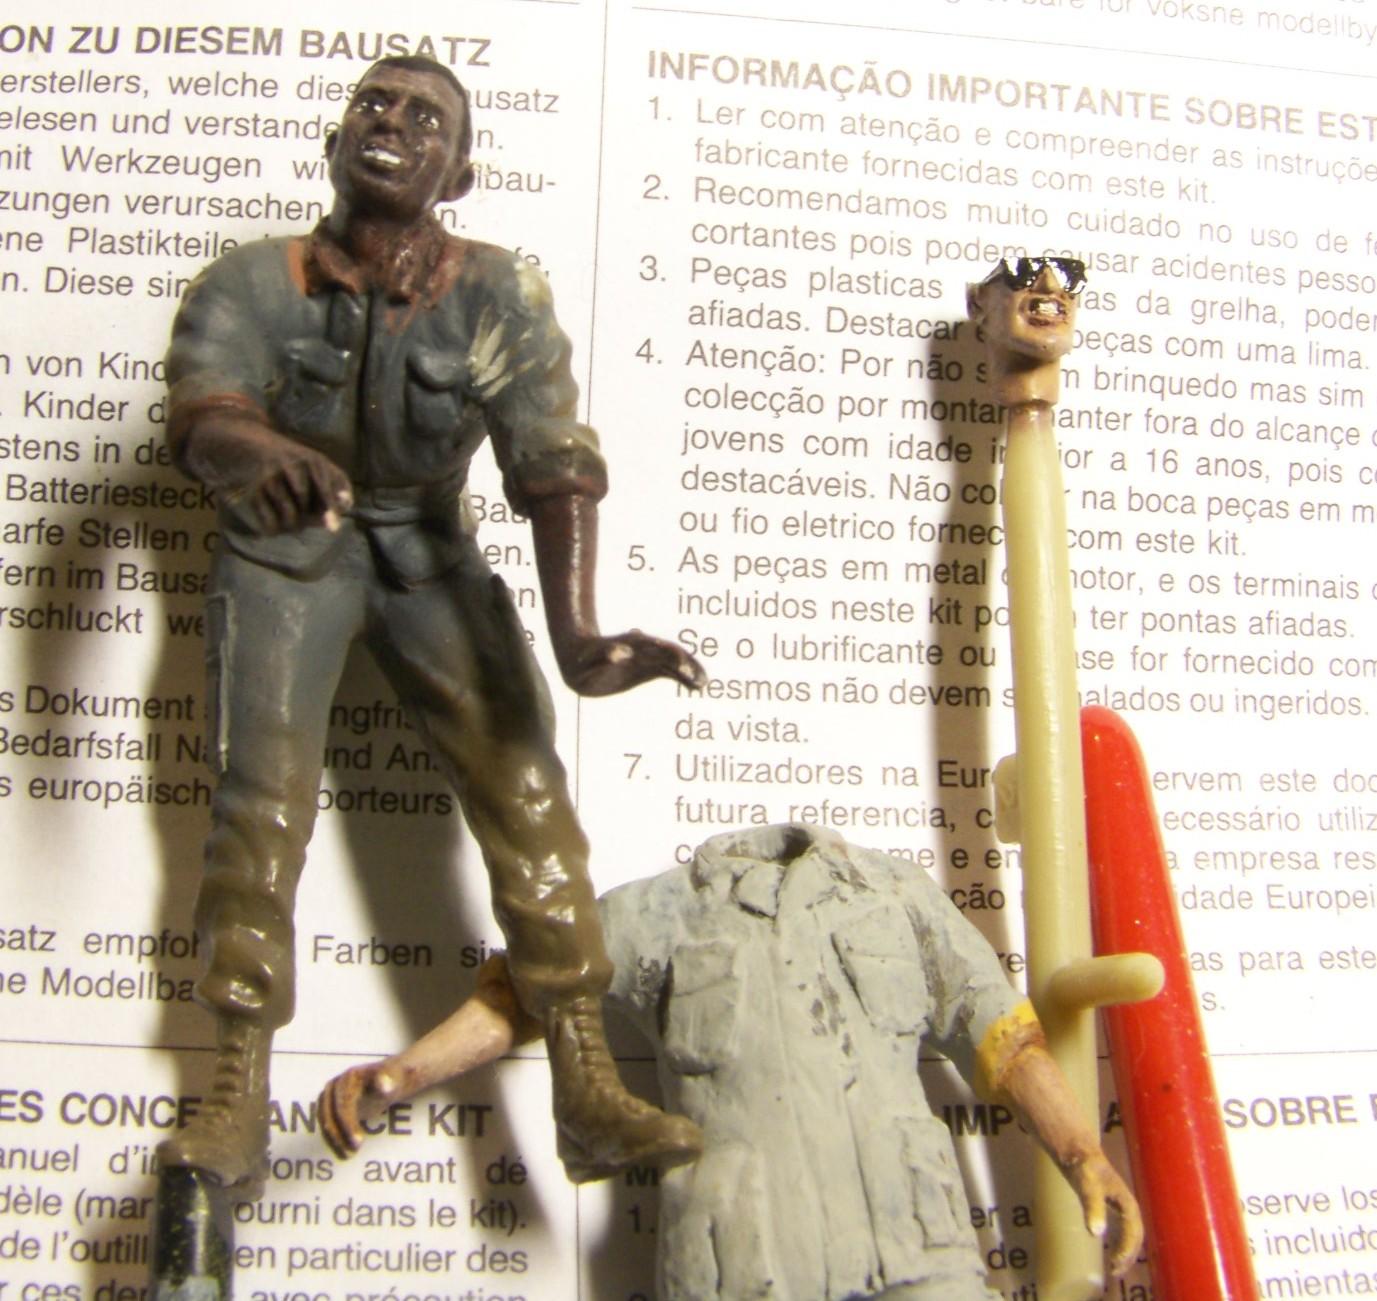
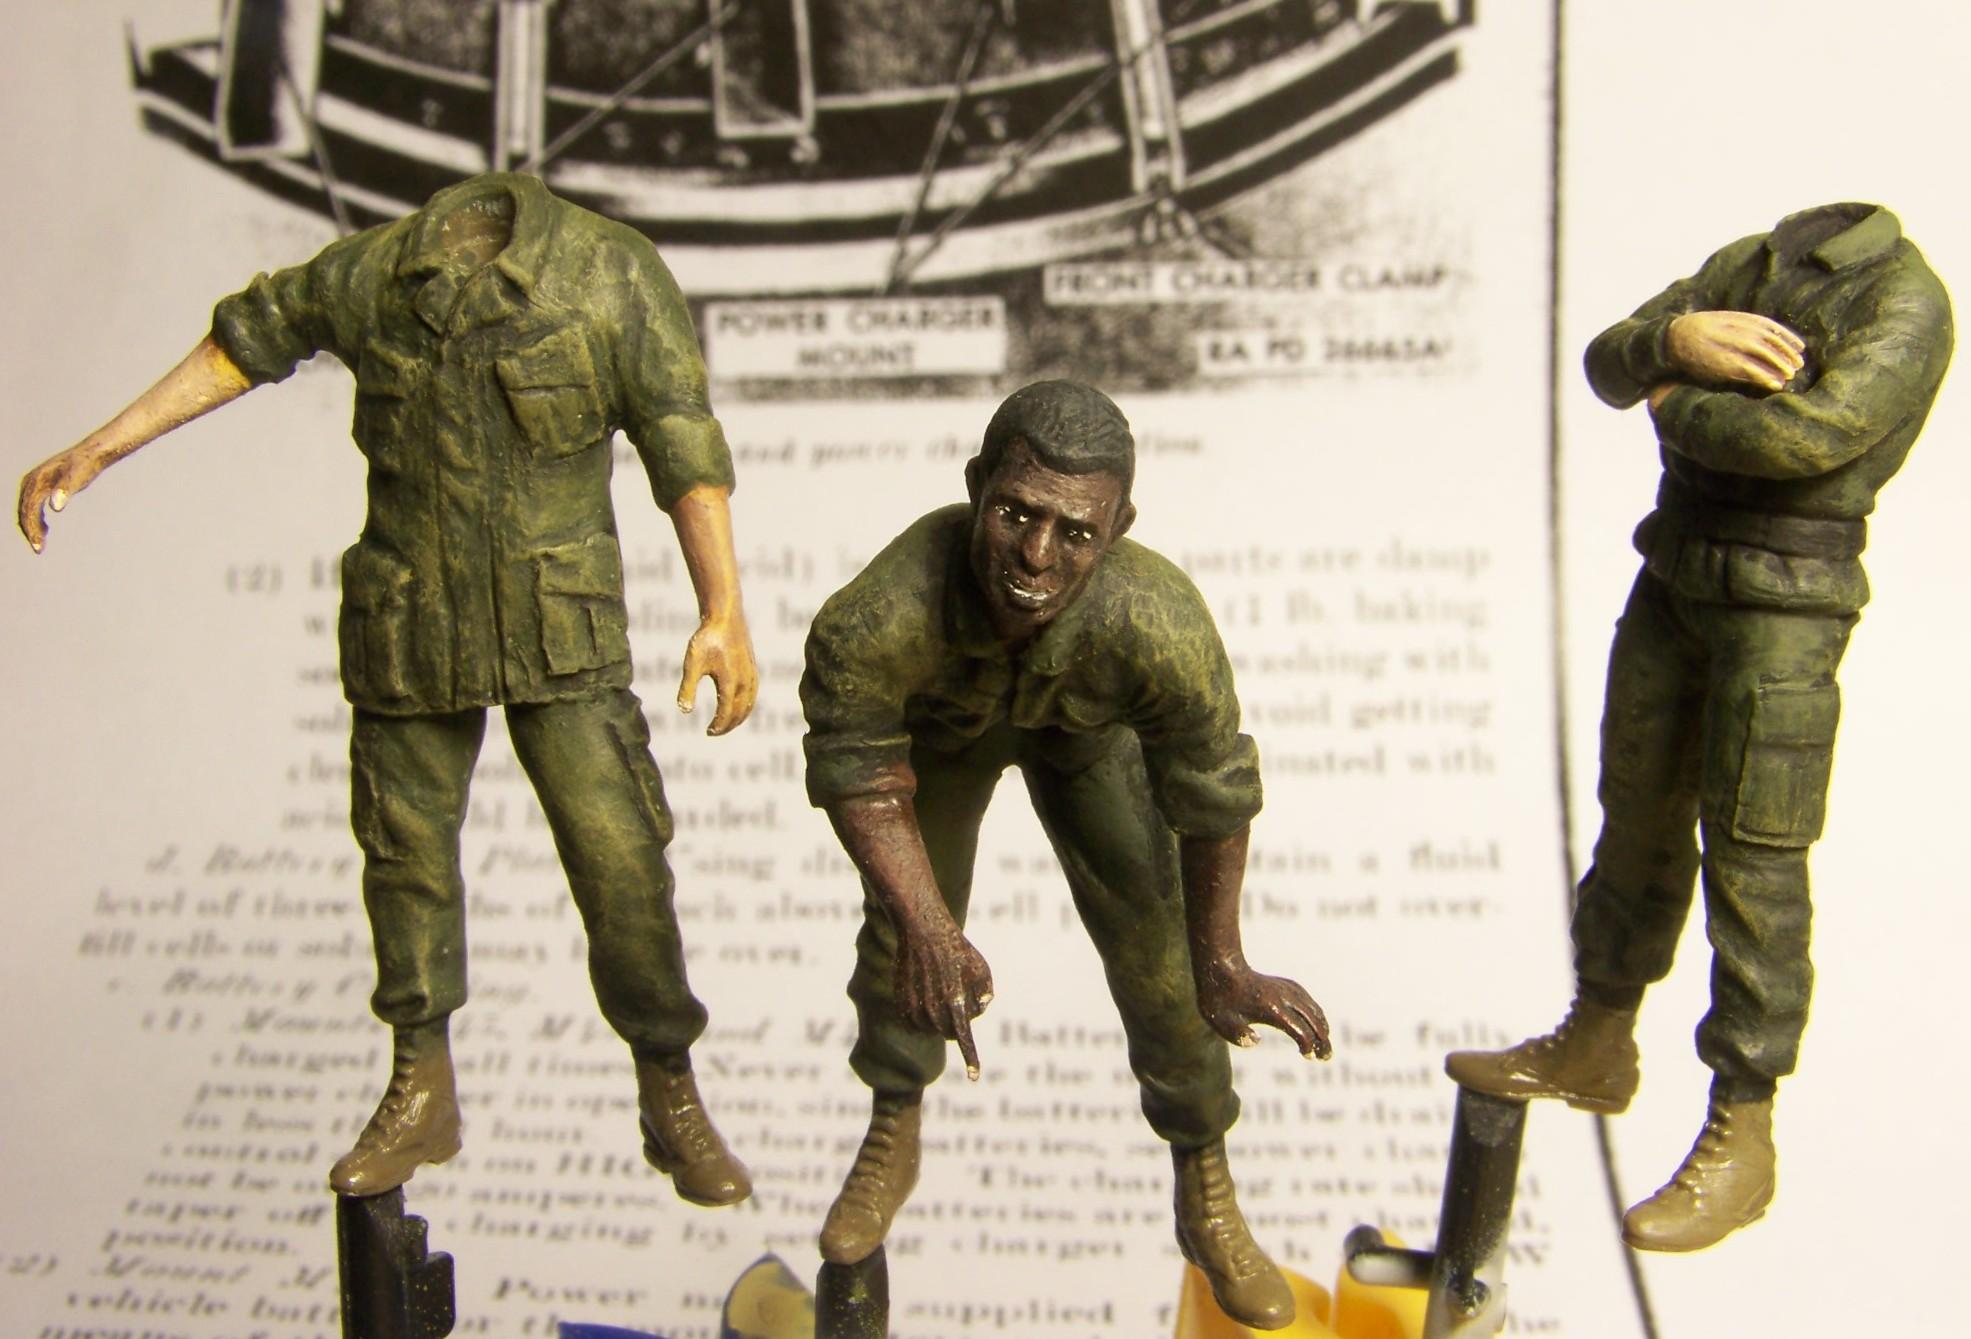
In parallel I started working on the second loader. i chose the head from Verlinden's kit number 352 "U.S Heads Vietnam". It's the first from the bottom on the photo below:
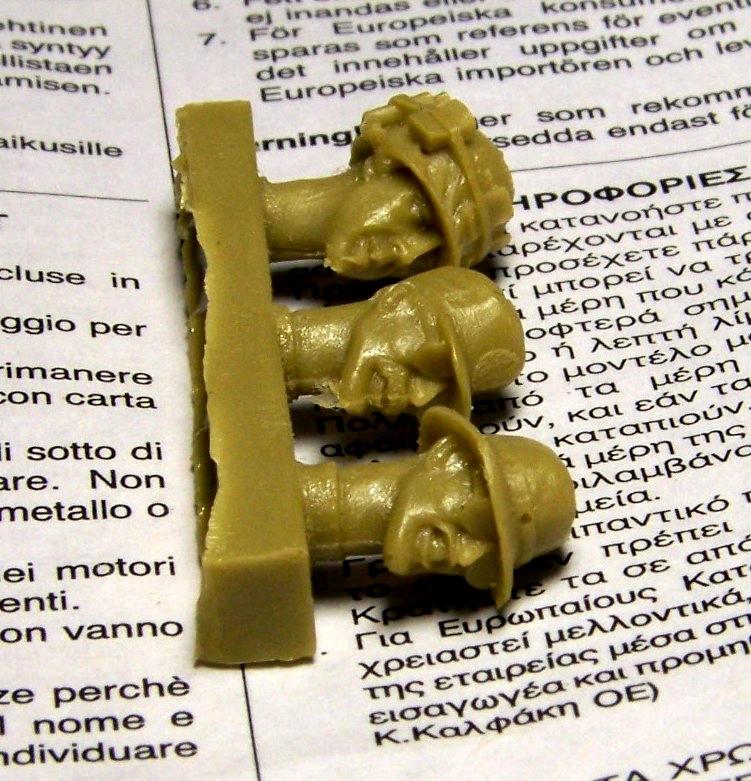
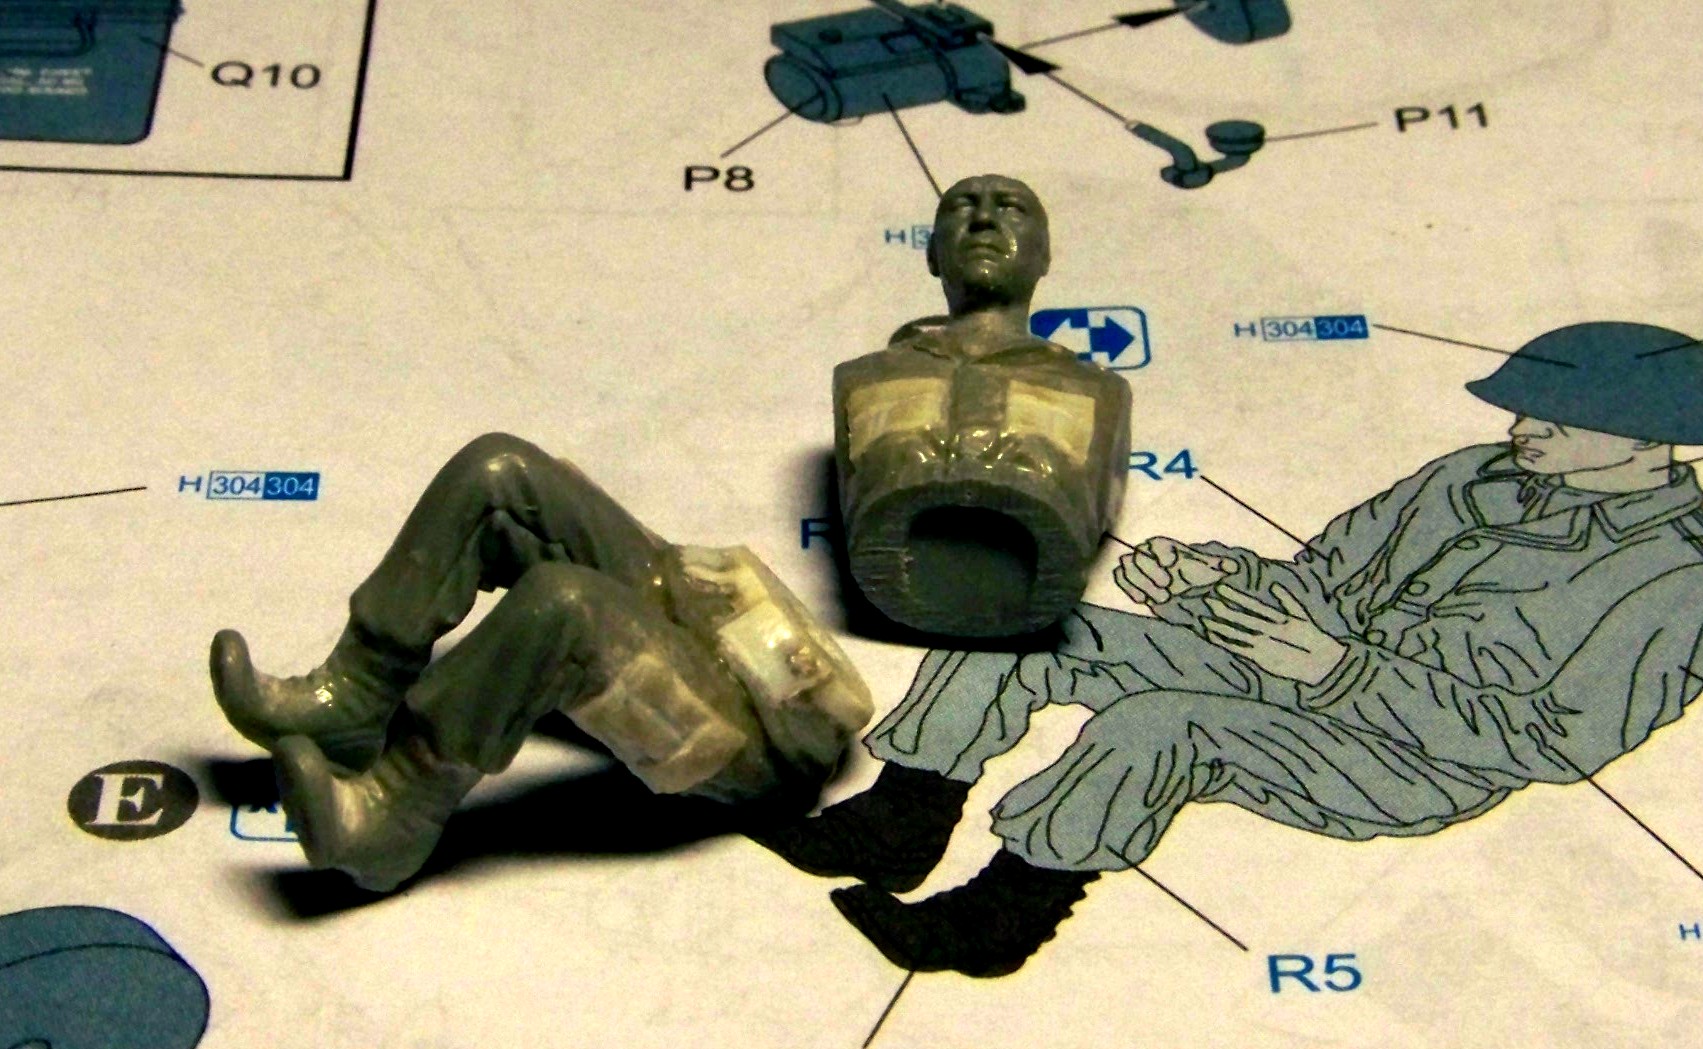
To build the remainder of the figure I took the parts from the same kit as in case of two previous figures. The second loader is loosely based on the "soldier leaning away from the table". The photo below shows parts of the figure, from right to left there are figure parts from the Tamiya kit, the resin head with its hat cut off, because the hat's brim was broken, and finally a boonie hat from the Dragon's kit number 3309 "Green Berets":
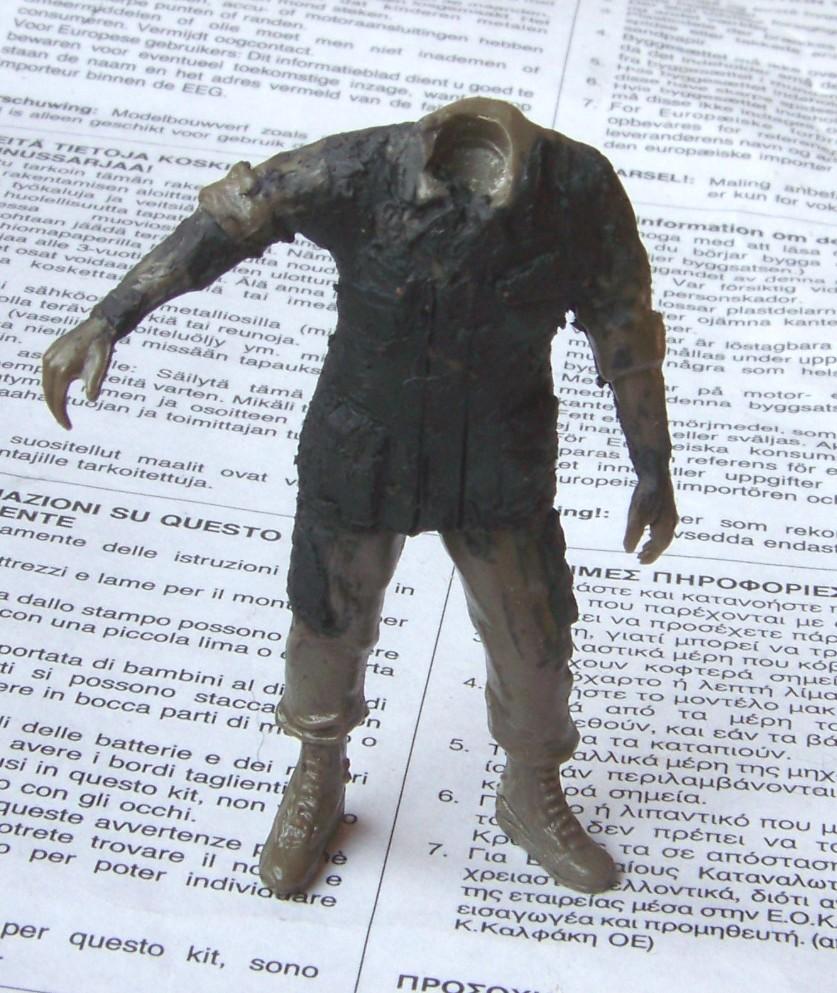
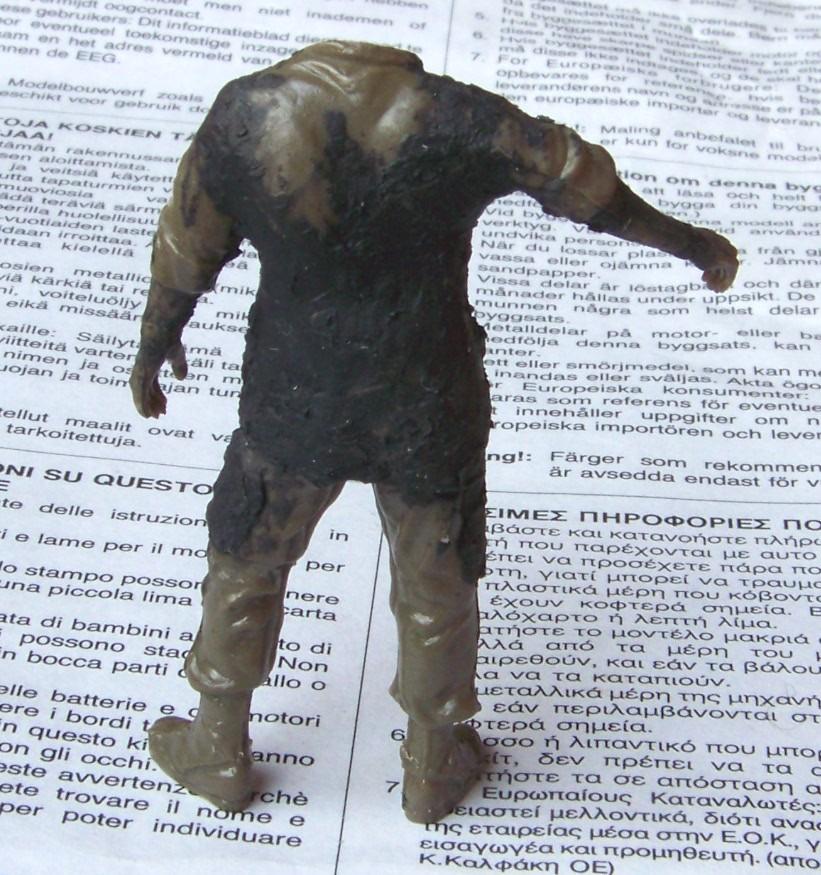
The stance of this soldier doesn't look too good and also doesn't fit my diorama project, but still a few conversions will allow me to put the parts to good use. I cut the lower part of the torso off, and I also cut the arms in at the joints. At the cut places I drilled holes and joined them with copper wire. This allowed me to adjust the stance of the figure exactly the way I liked it.
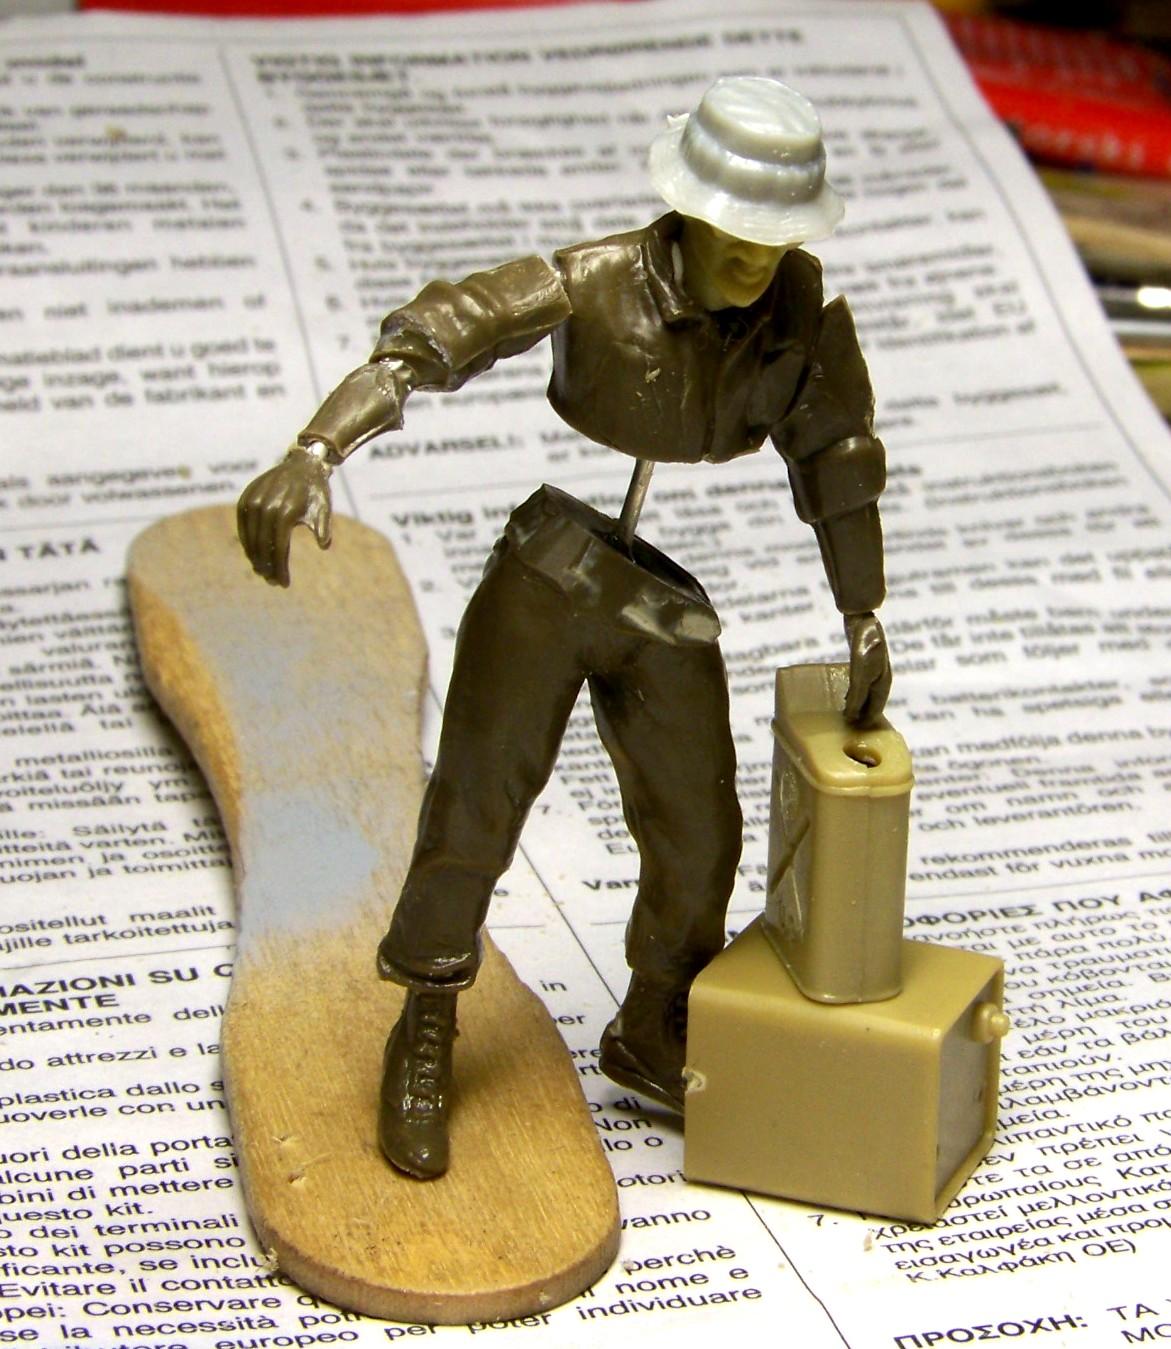
The unwanted empty spaces were filled with Milliput, in which I then carefully carved the details of the jacket:
The remainders of putty were put to good use, to make the trousers' pockets.
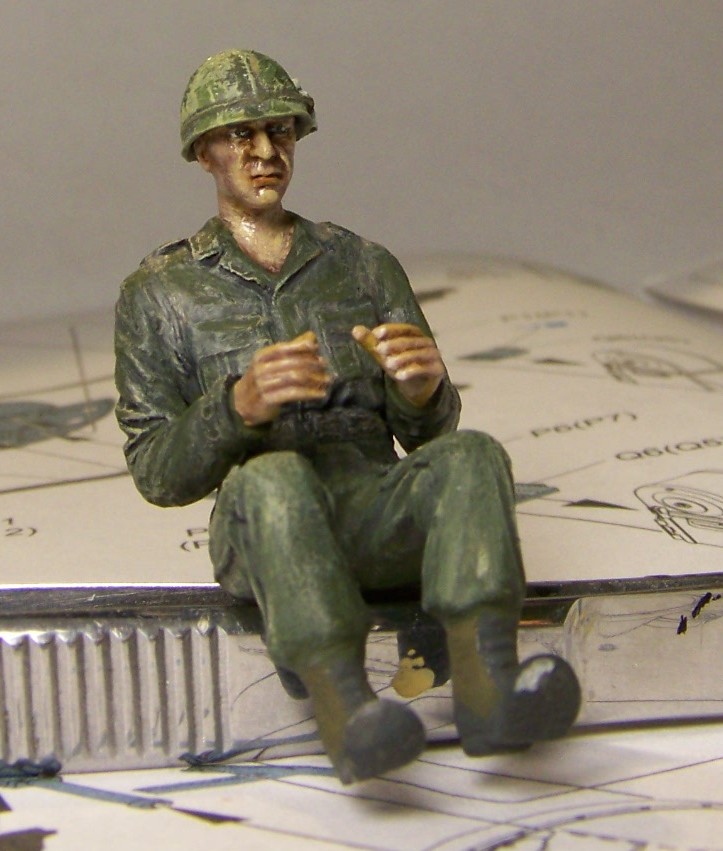
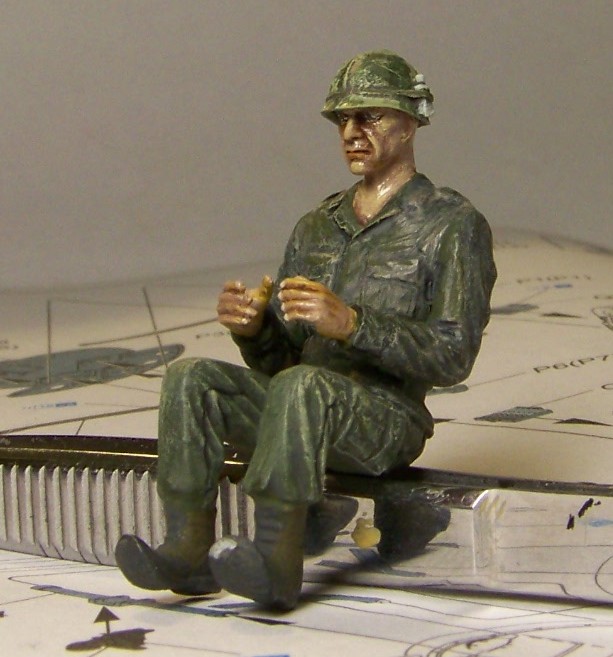
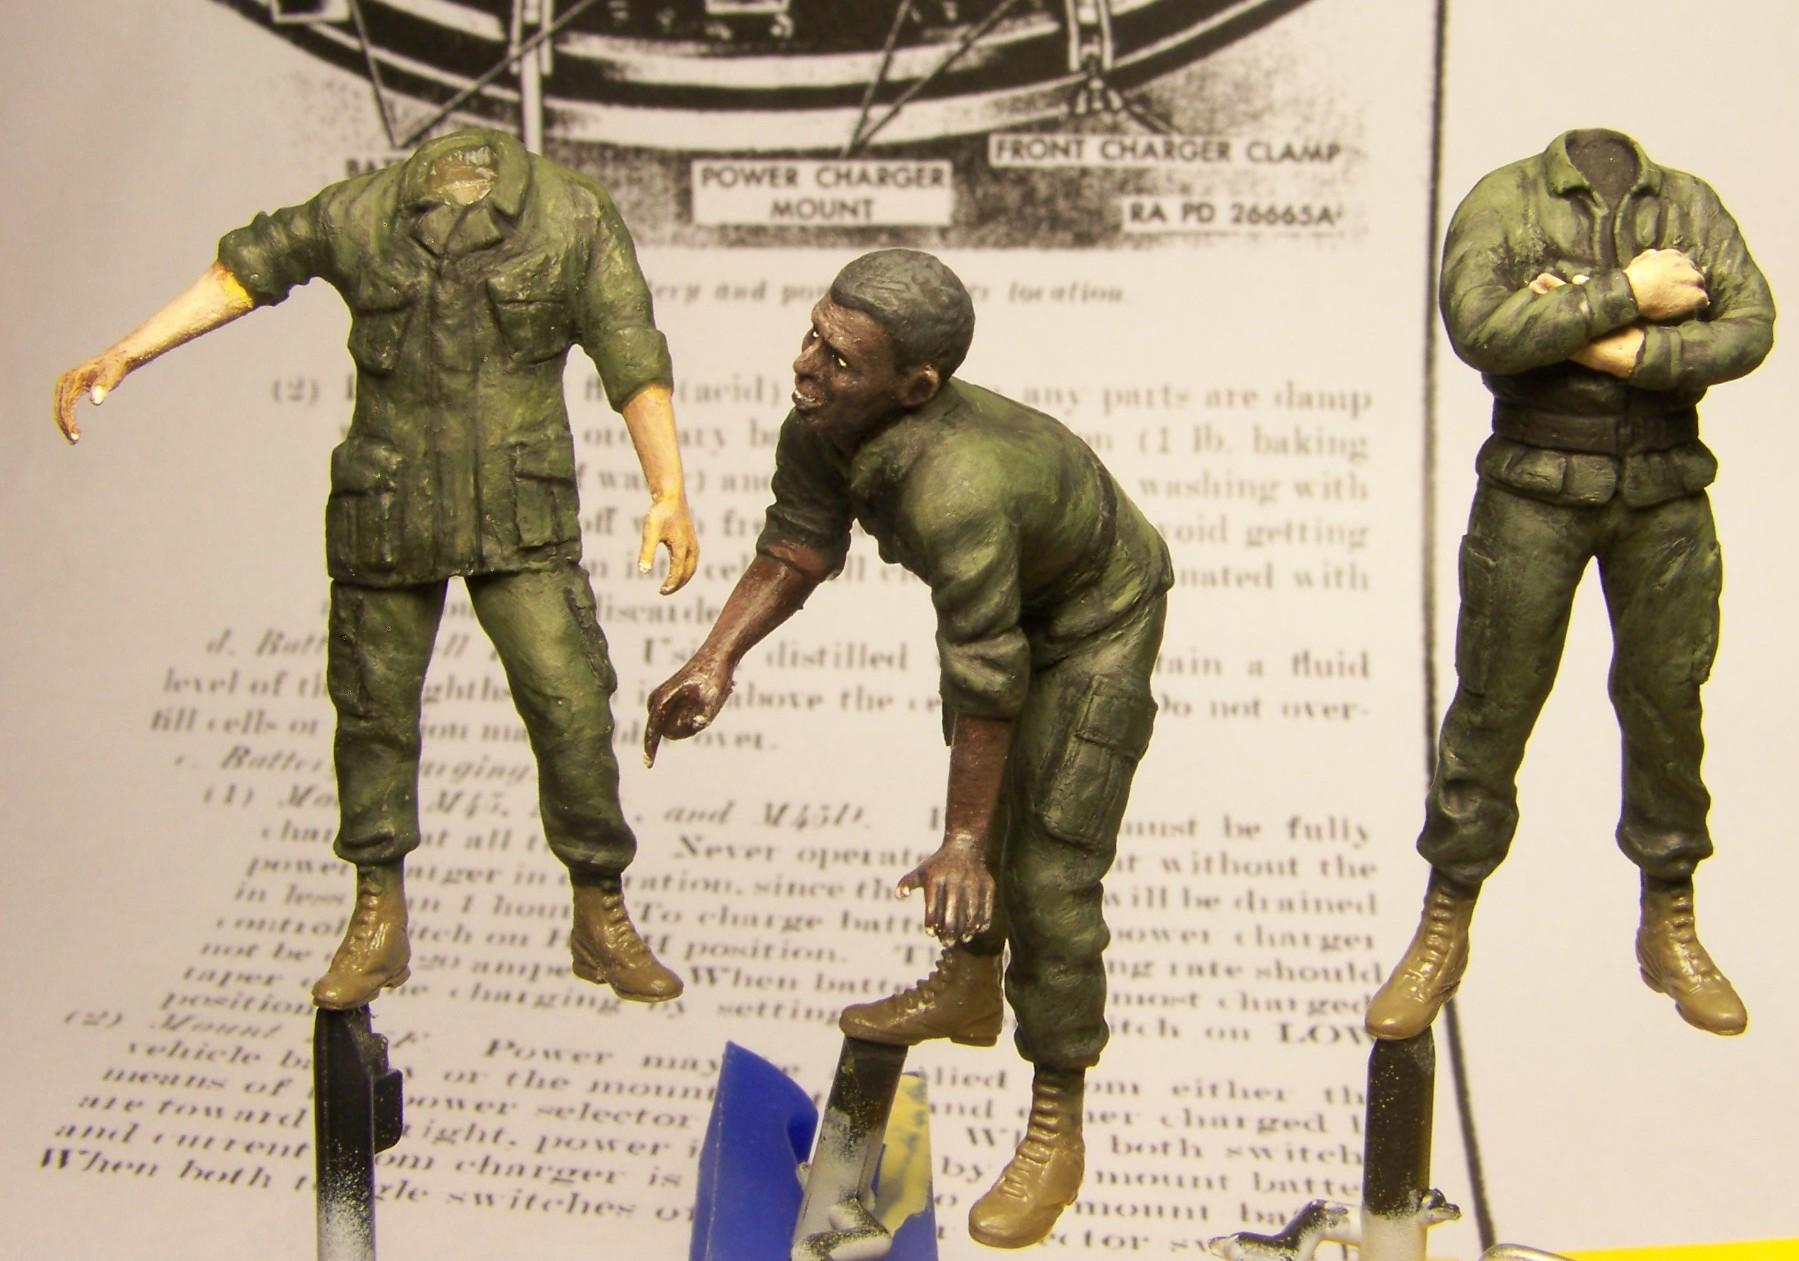
I went on painting the face of the crew chief, using similar procedure as with the gunner:
I also painted the hands with the same colors:
Sarge's face in close-up:
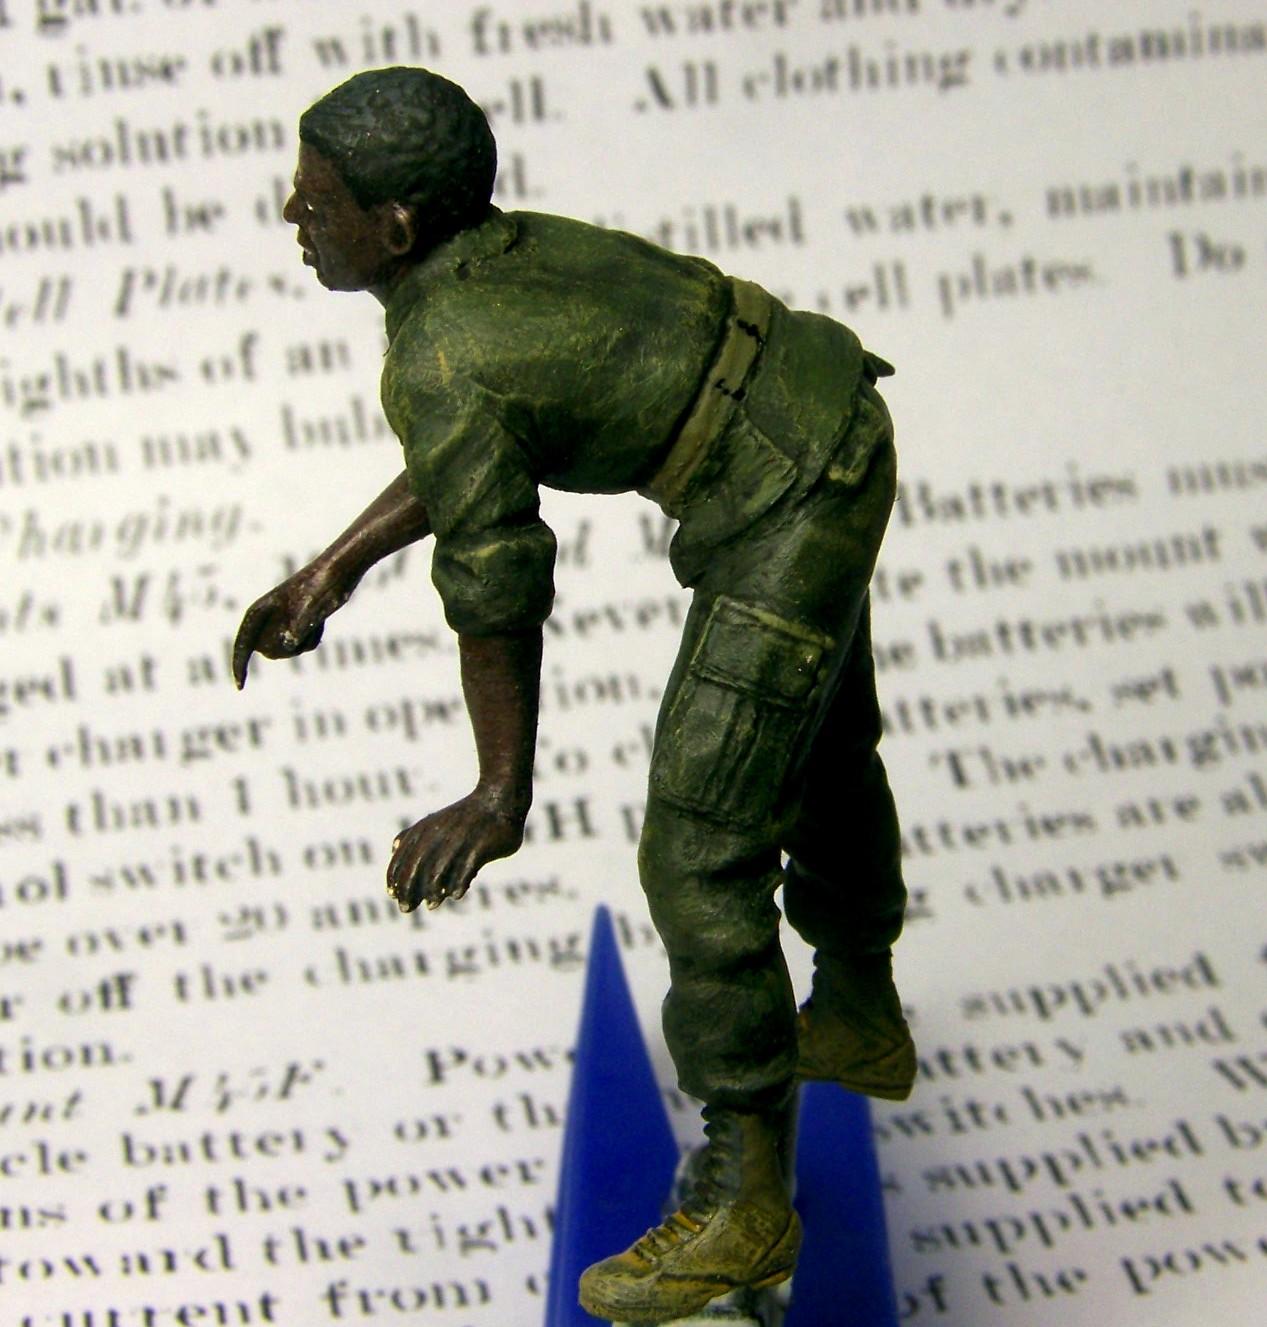
The face and hands of the first loader were painted differently, the base color was dark brown, the wash was black, and on top of this I applied multiple shades of light brown. The hair was first all painted black, and were later drybrushed dark grey (Humbrol 32). The face of the second loader was easier to paint due to the fact that the eyes didn't have to be painted, it was enough to paint the dark sunglasses gloss black (Humbrol 21):
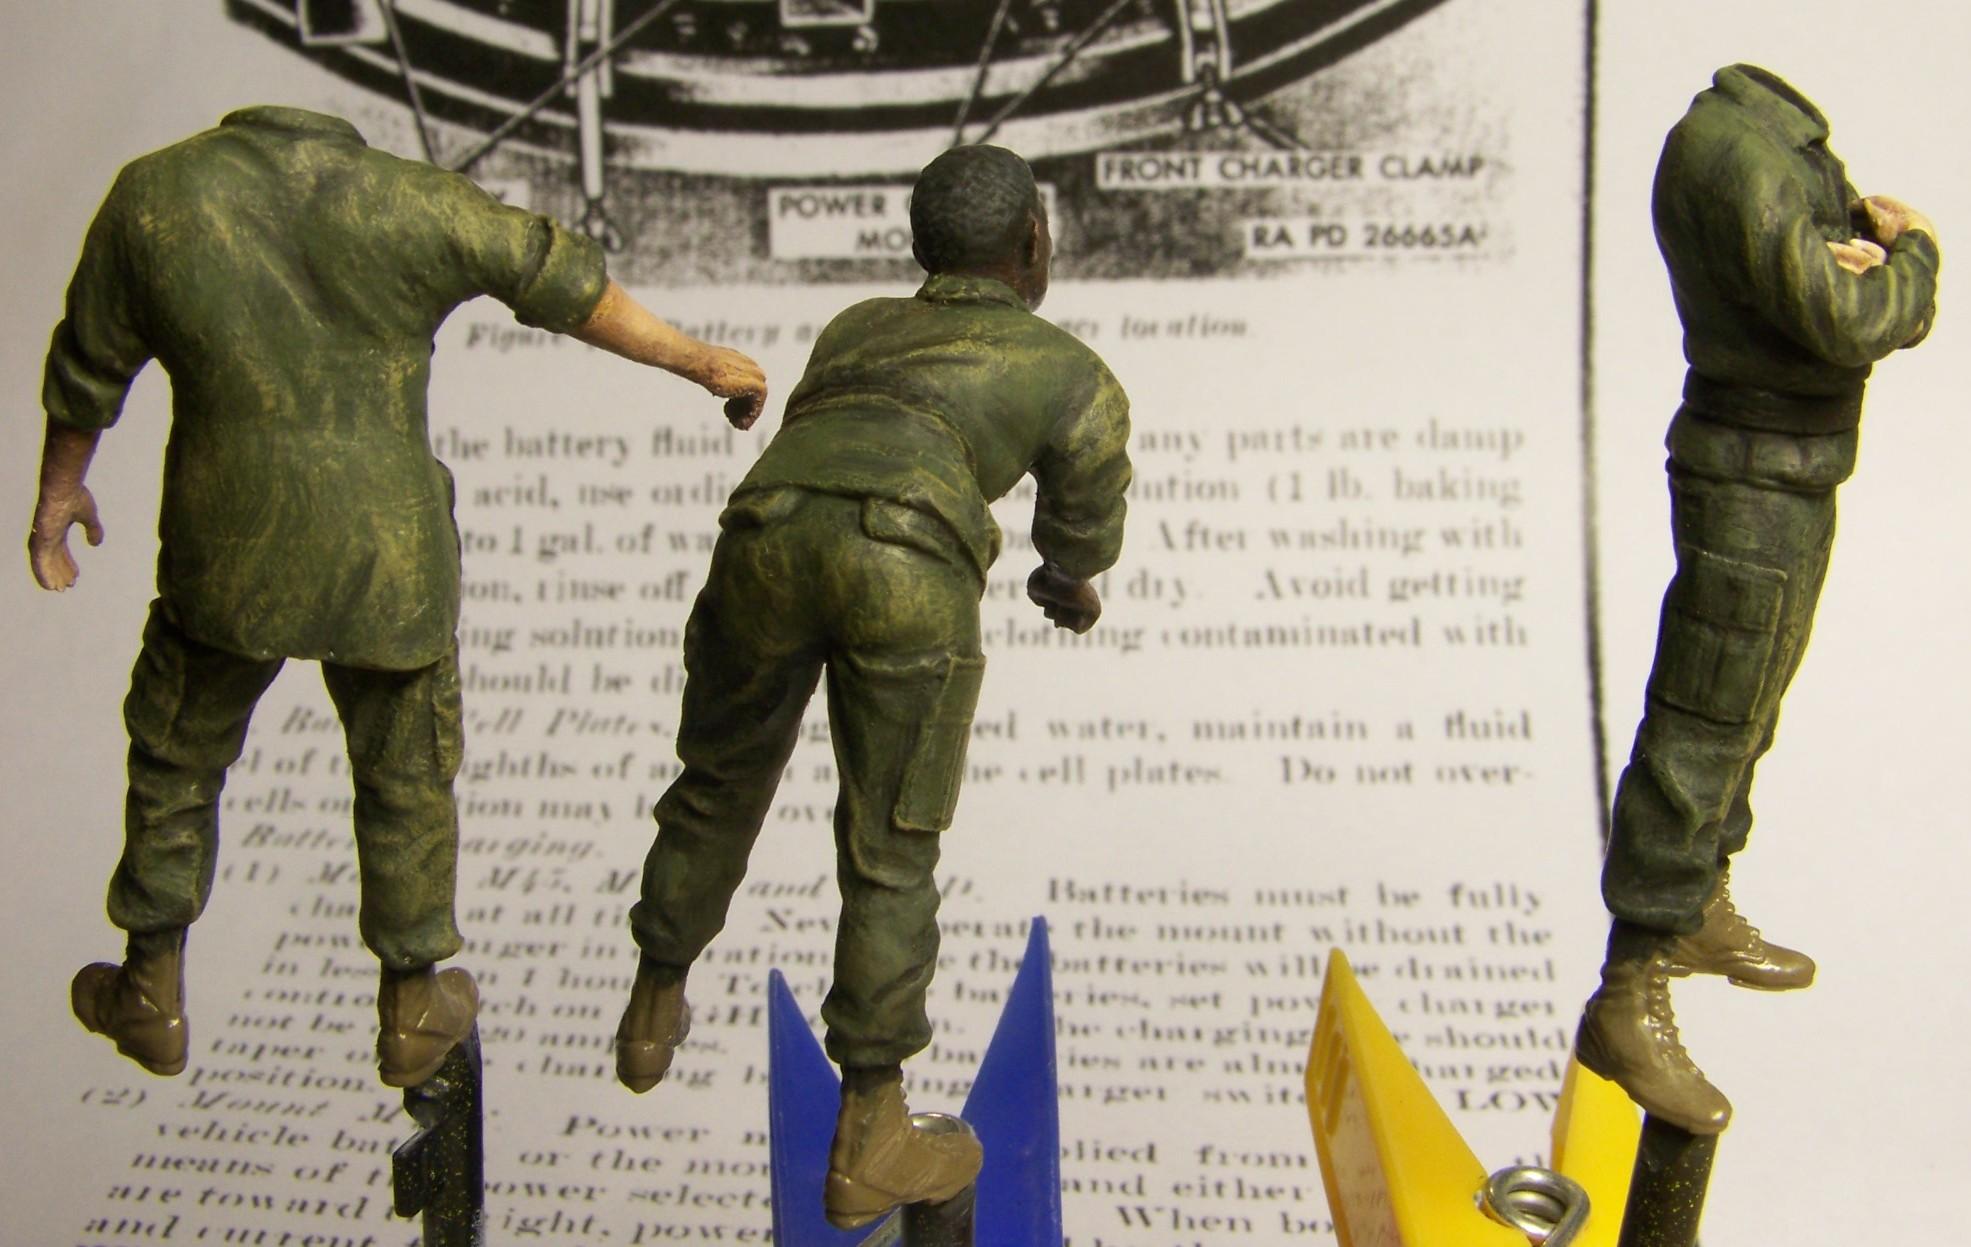
Next thing to do was to paint the uniforms. I did that together for all uniforms, to keep the color, well, uniform. They were painted Humbrol 116, then the shadows are painted with mix of that color with black (Humbrol 33) and then lightened with the color sand. A slight flaw, that was later removed, can be seen on the sleeve of the first loader's sleeve:
The headgear of the soldiers was yet to be painted. The easiest was the boonie hat, which was painted and shaded just like the uniforms. The helmets were more complicated, because they had to be painted in a so-called "Mitchell pattern" - "leaves" in three shades of green and one brown, and also dark brown "twigs". On every helmet I also painted the "universal strap" with Humbrol 155 color.

You can see the photos of the "Sarge" done below:

Photos of the first loader:
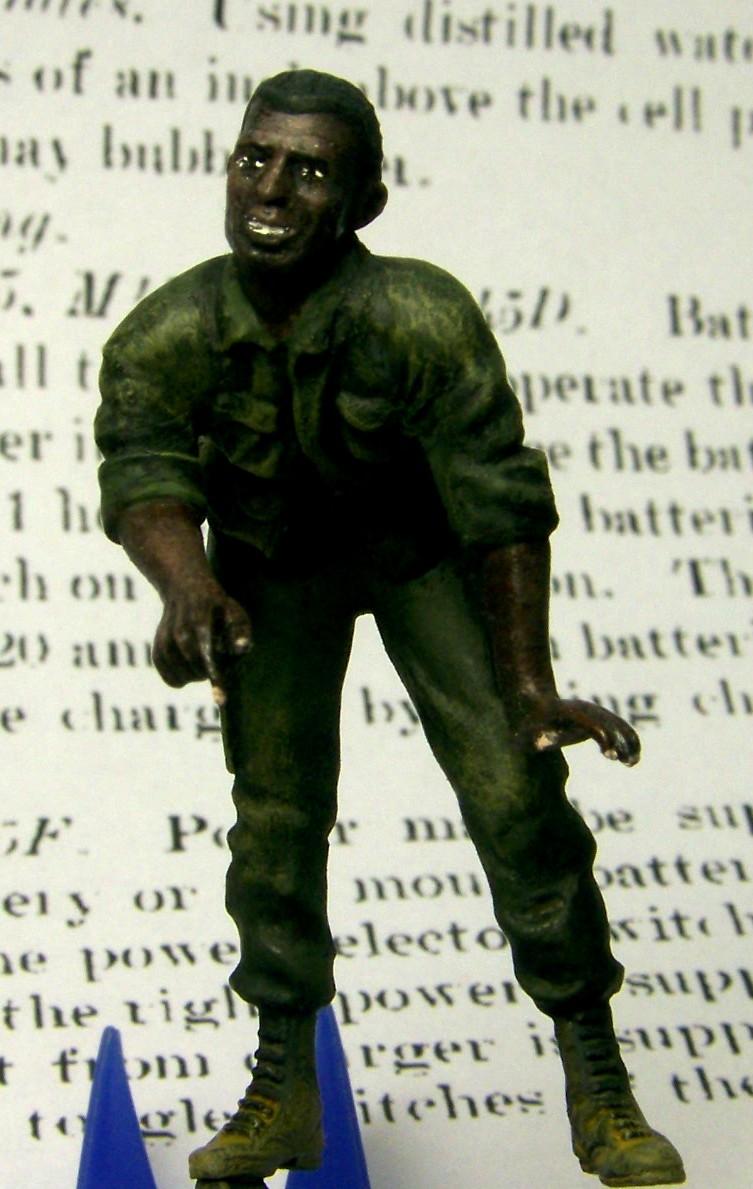
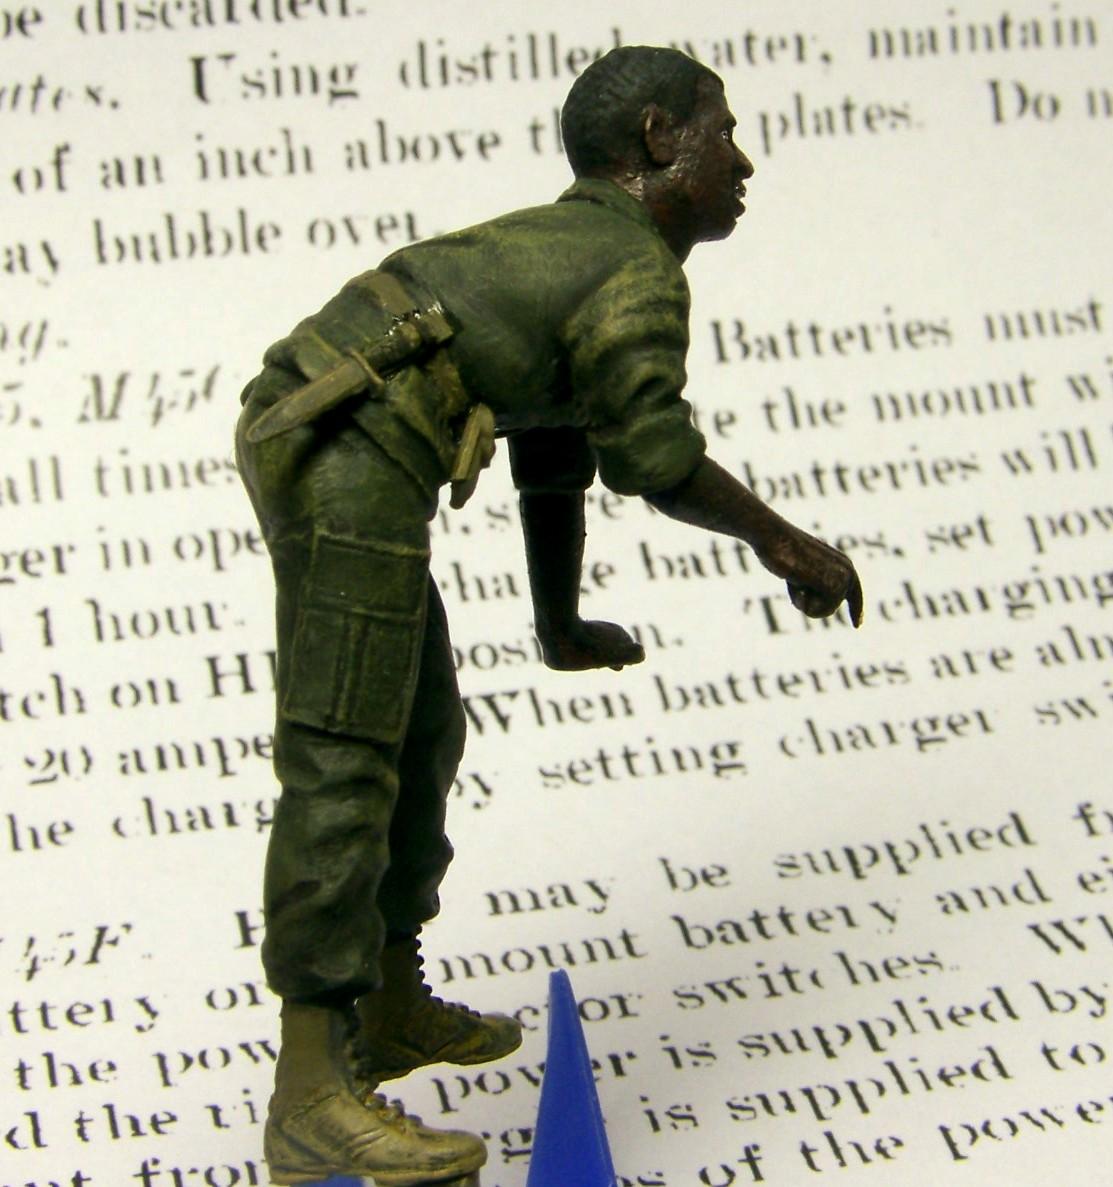
And the second loader: