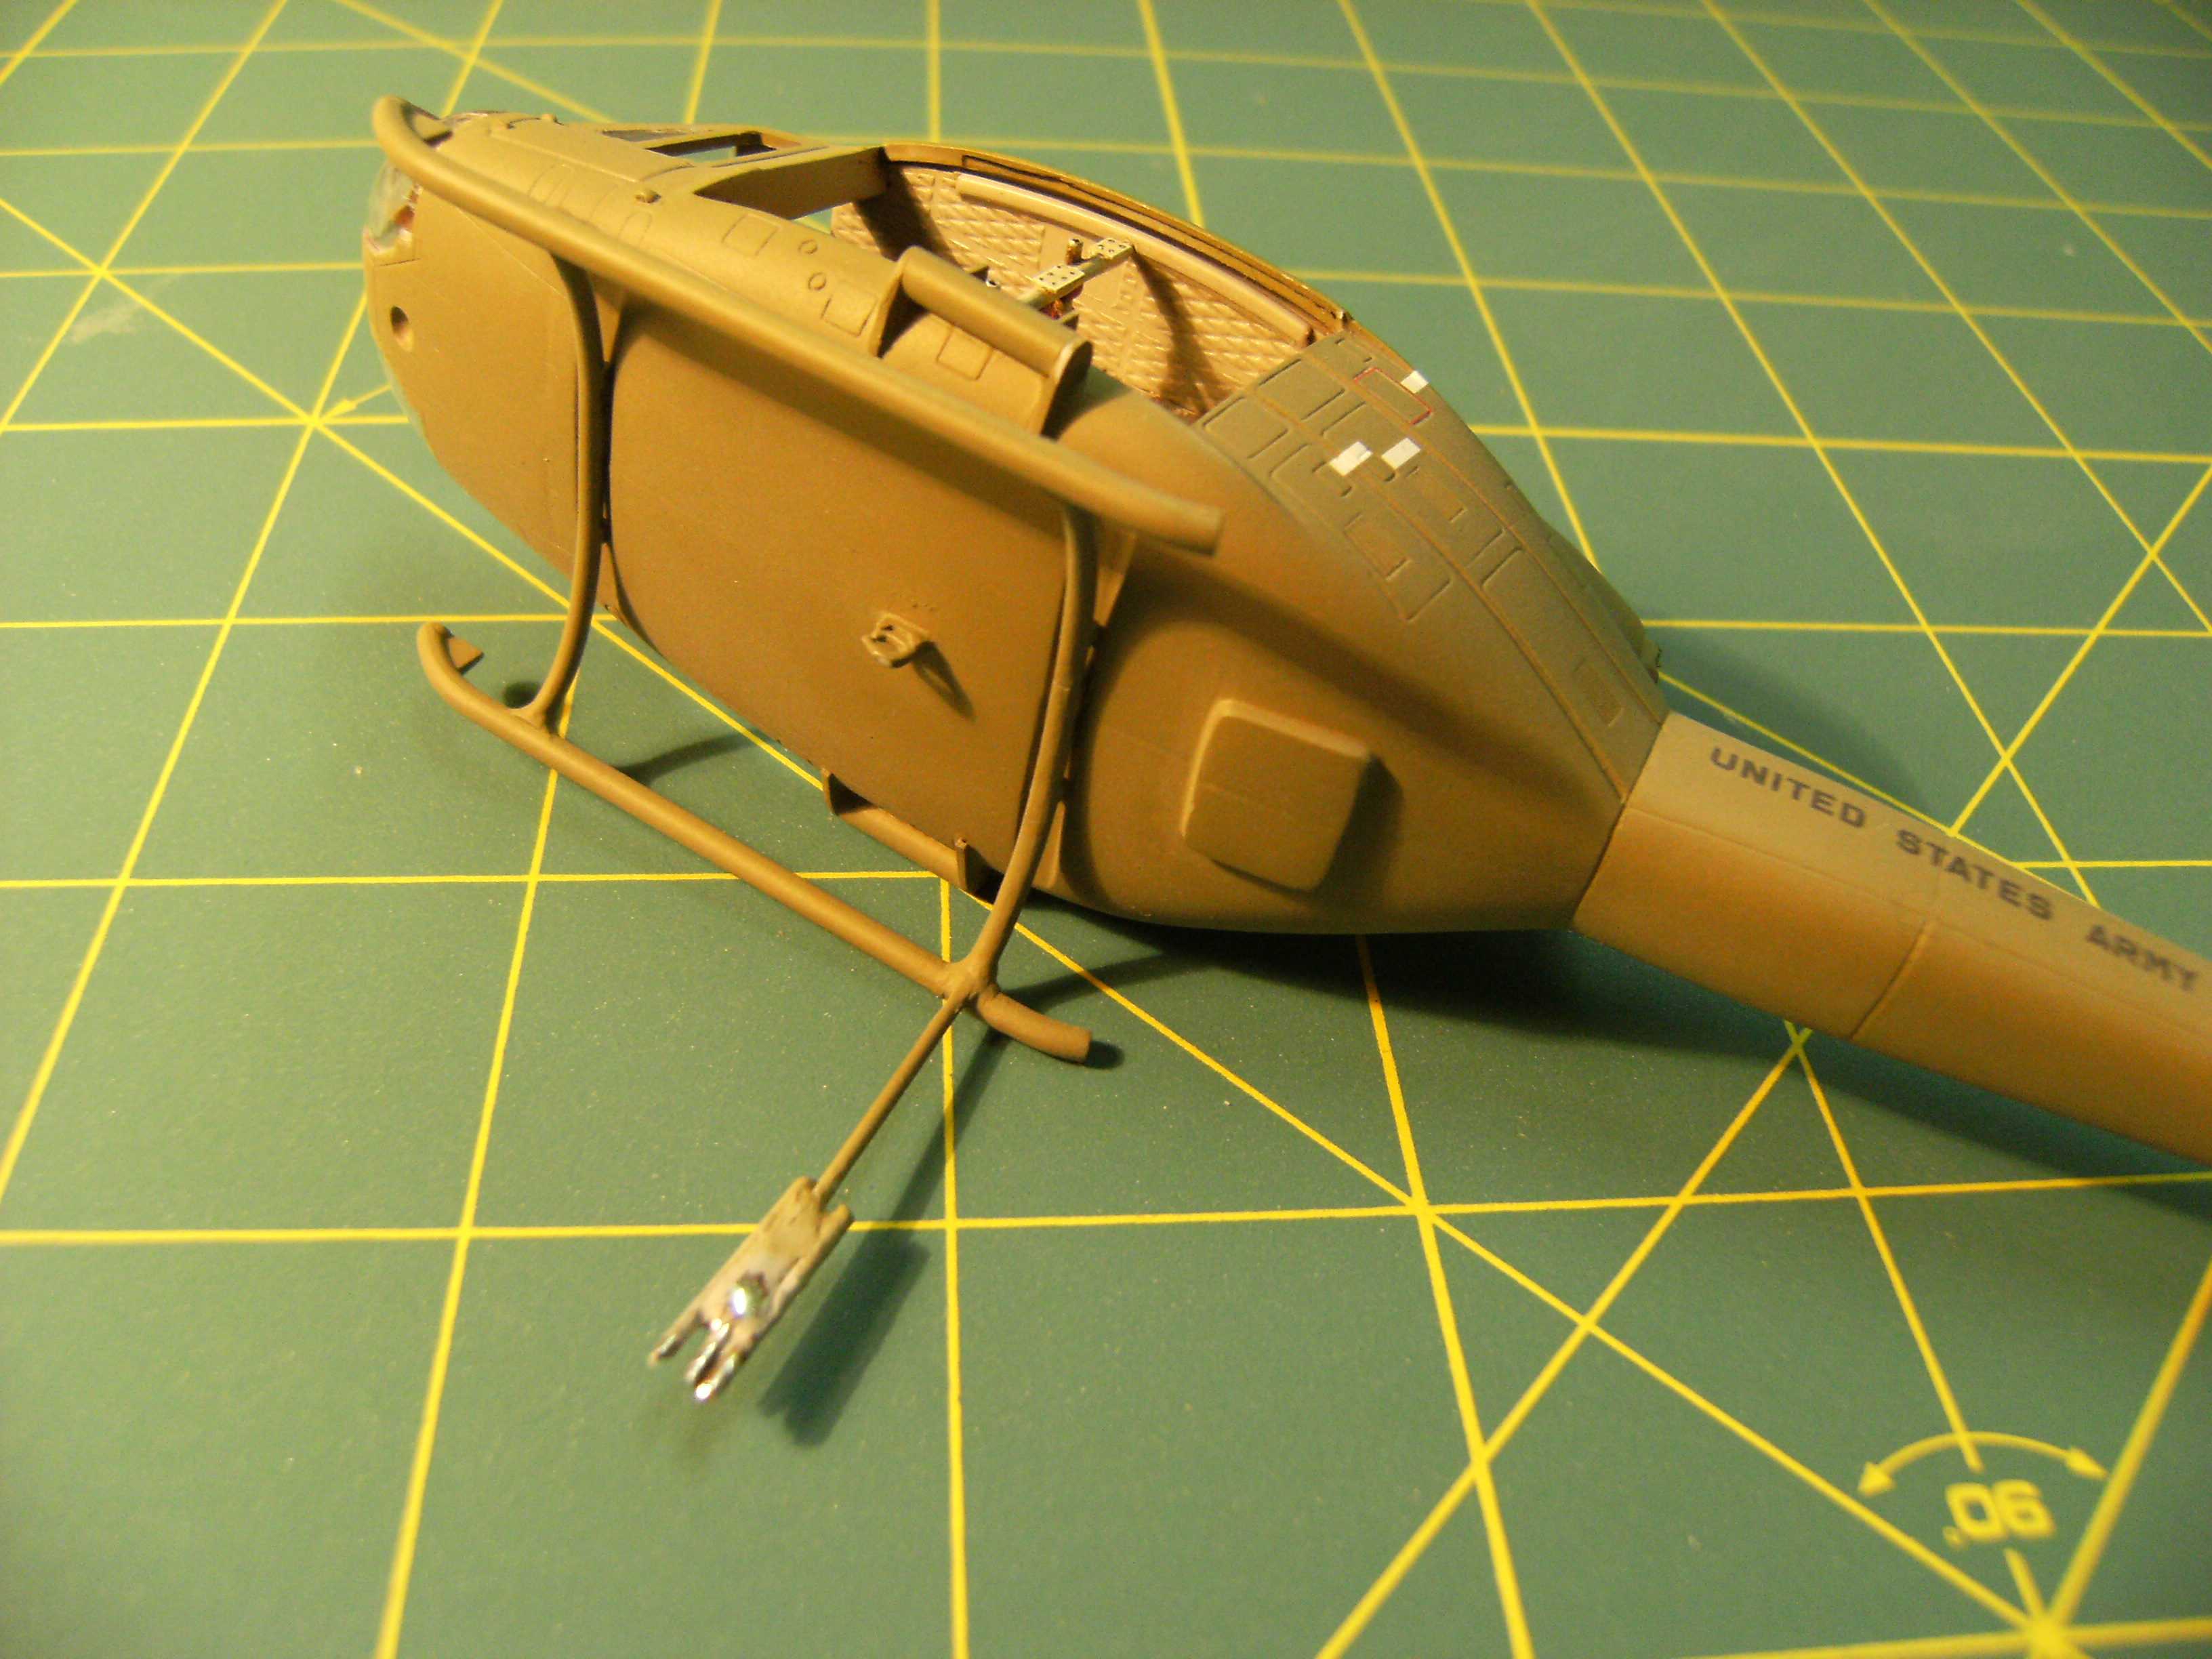
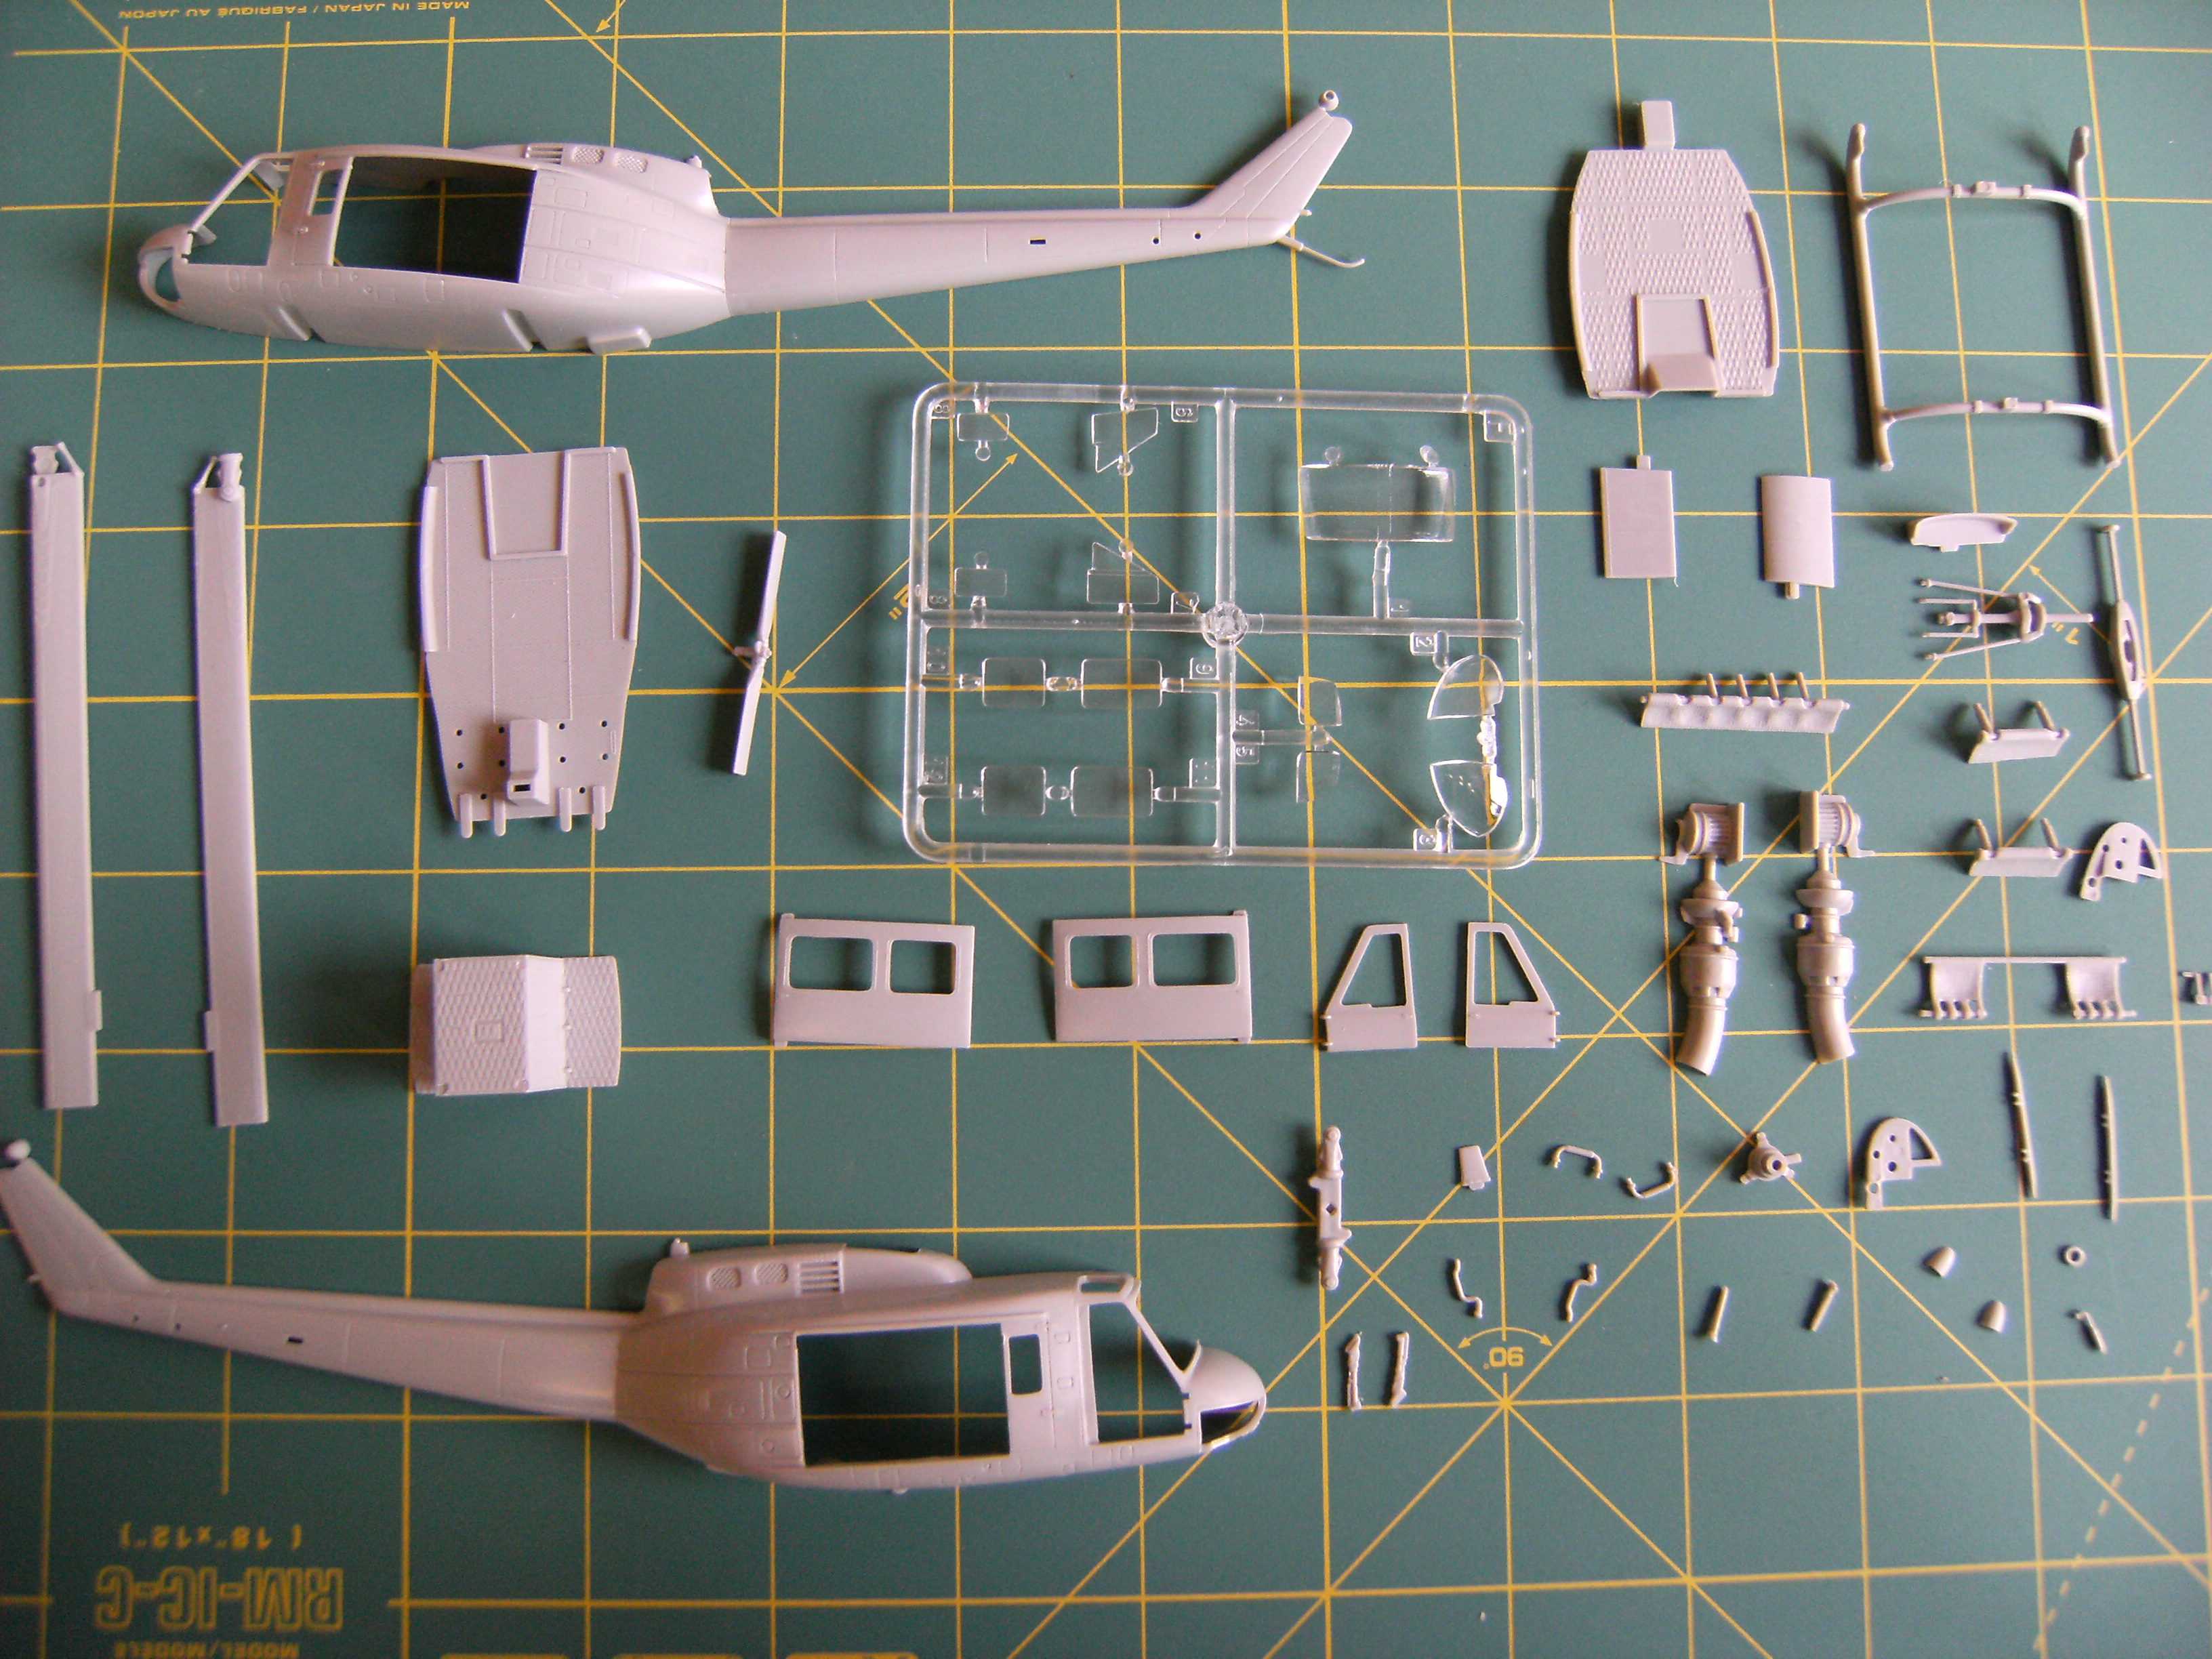
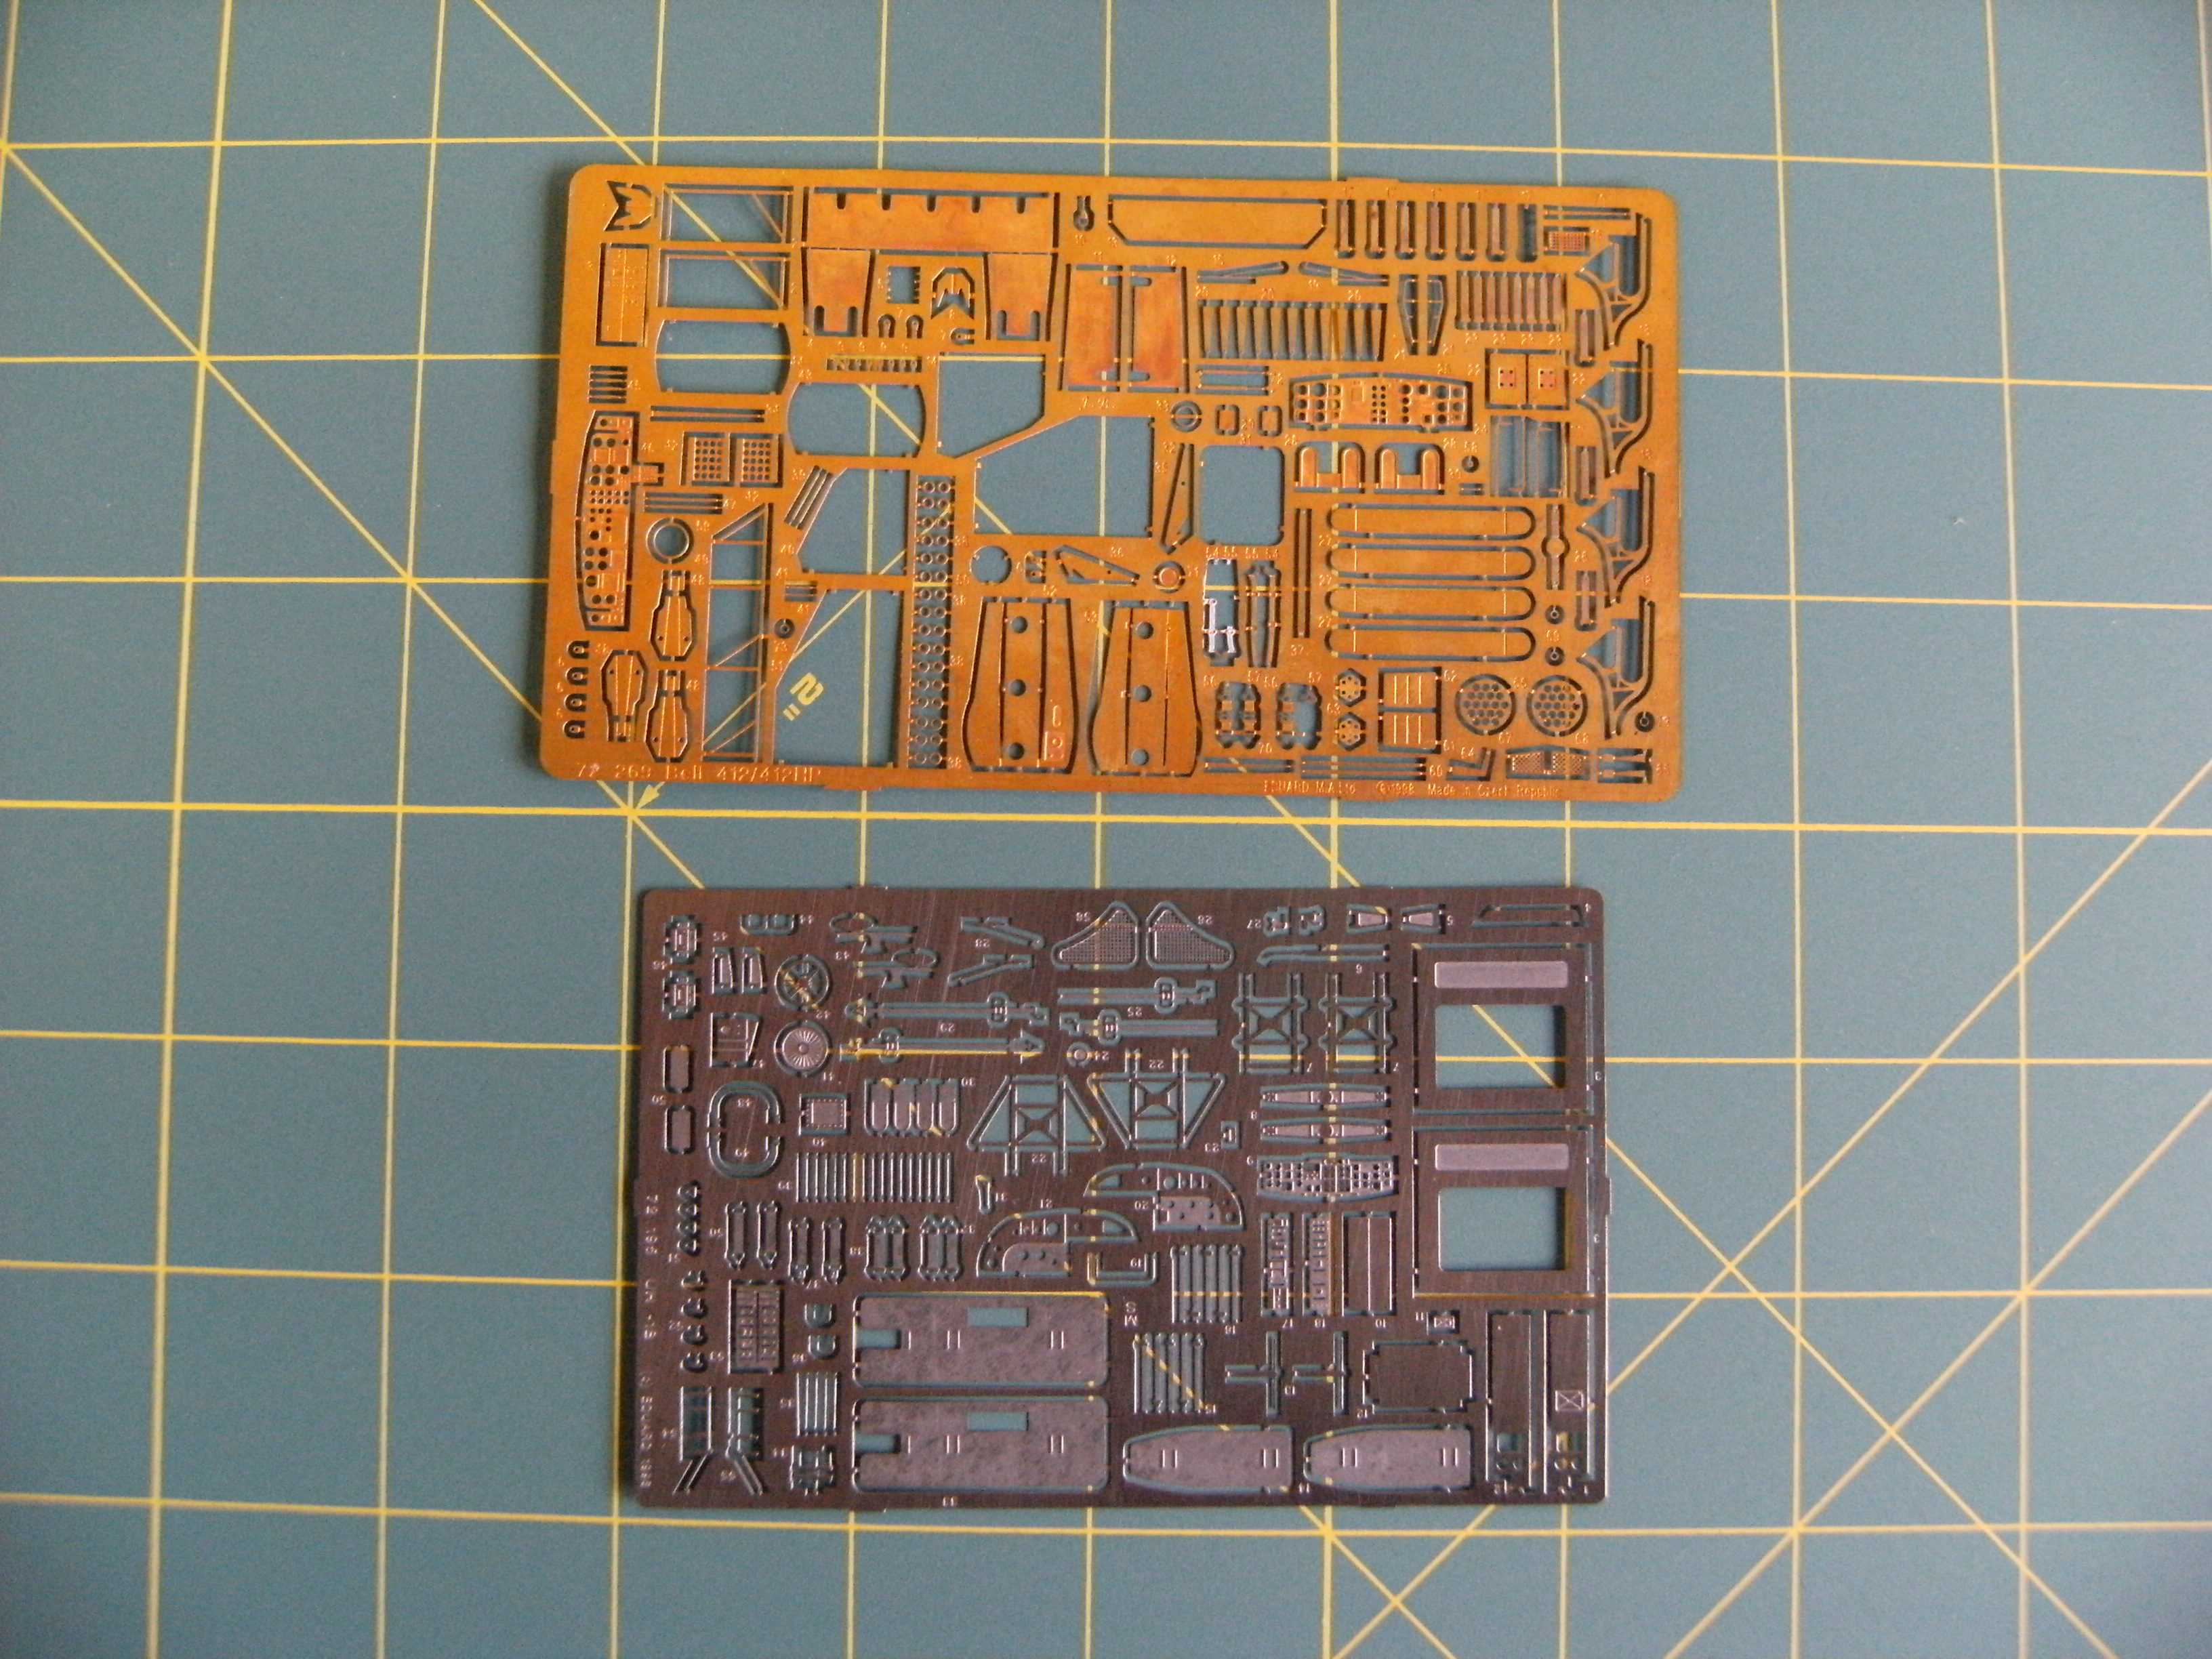
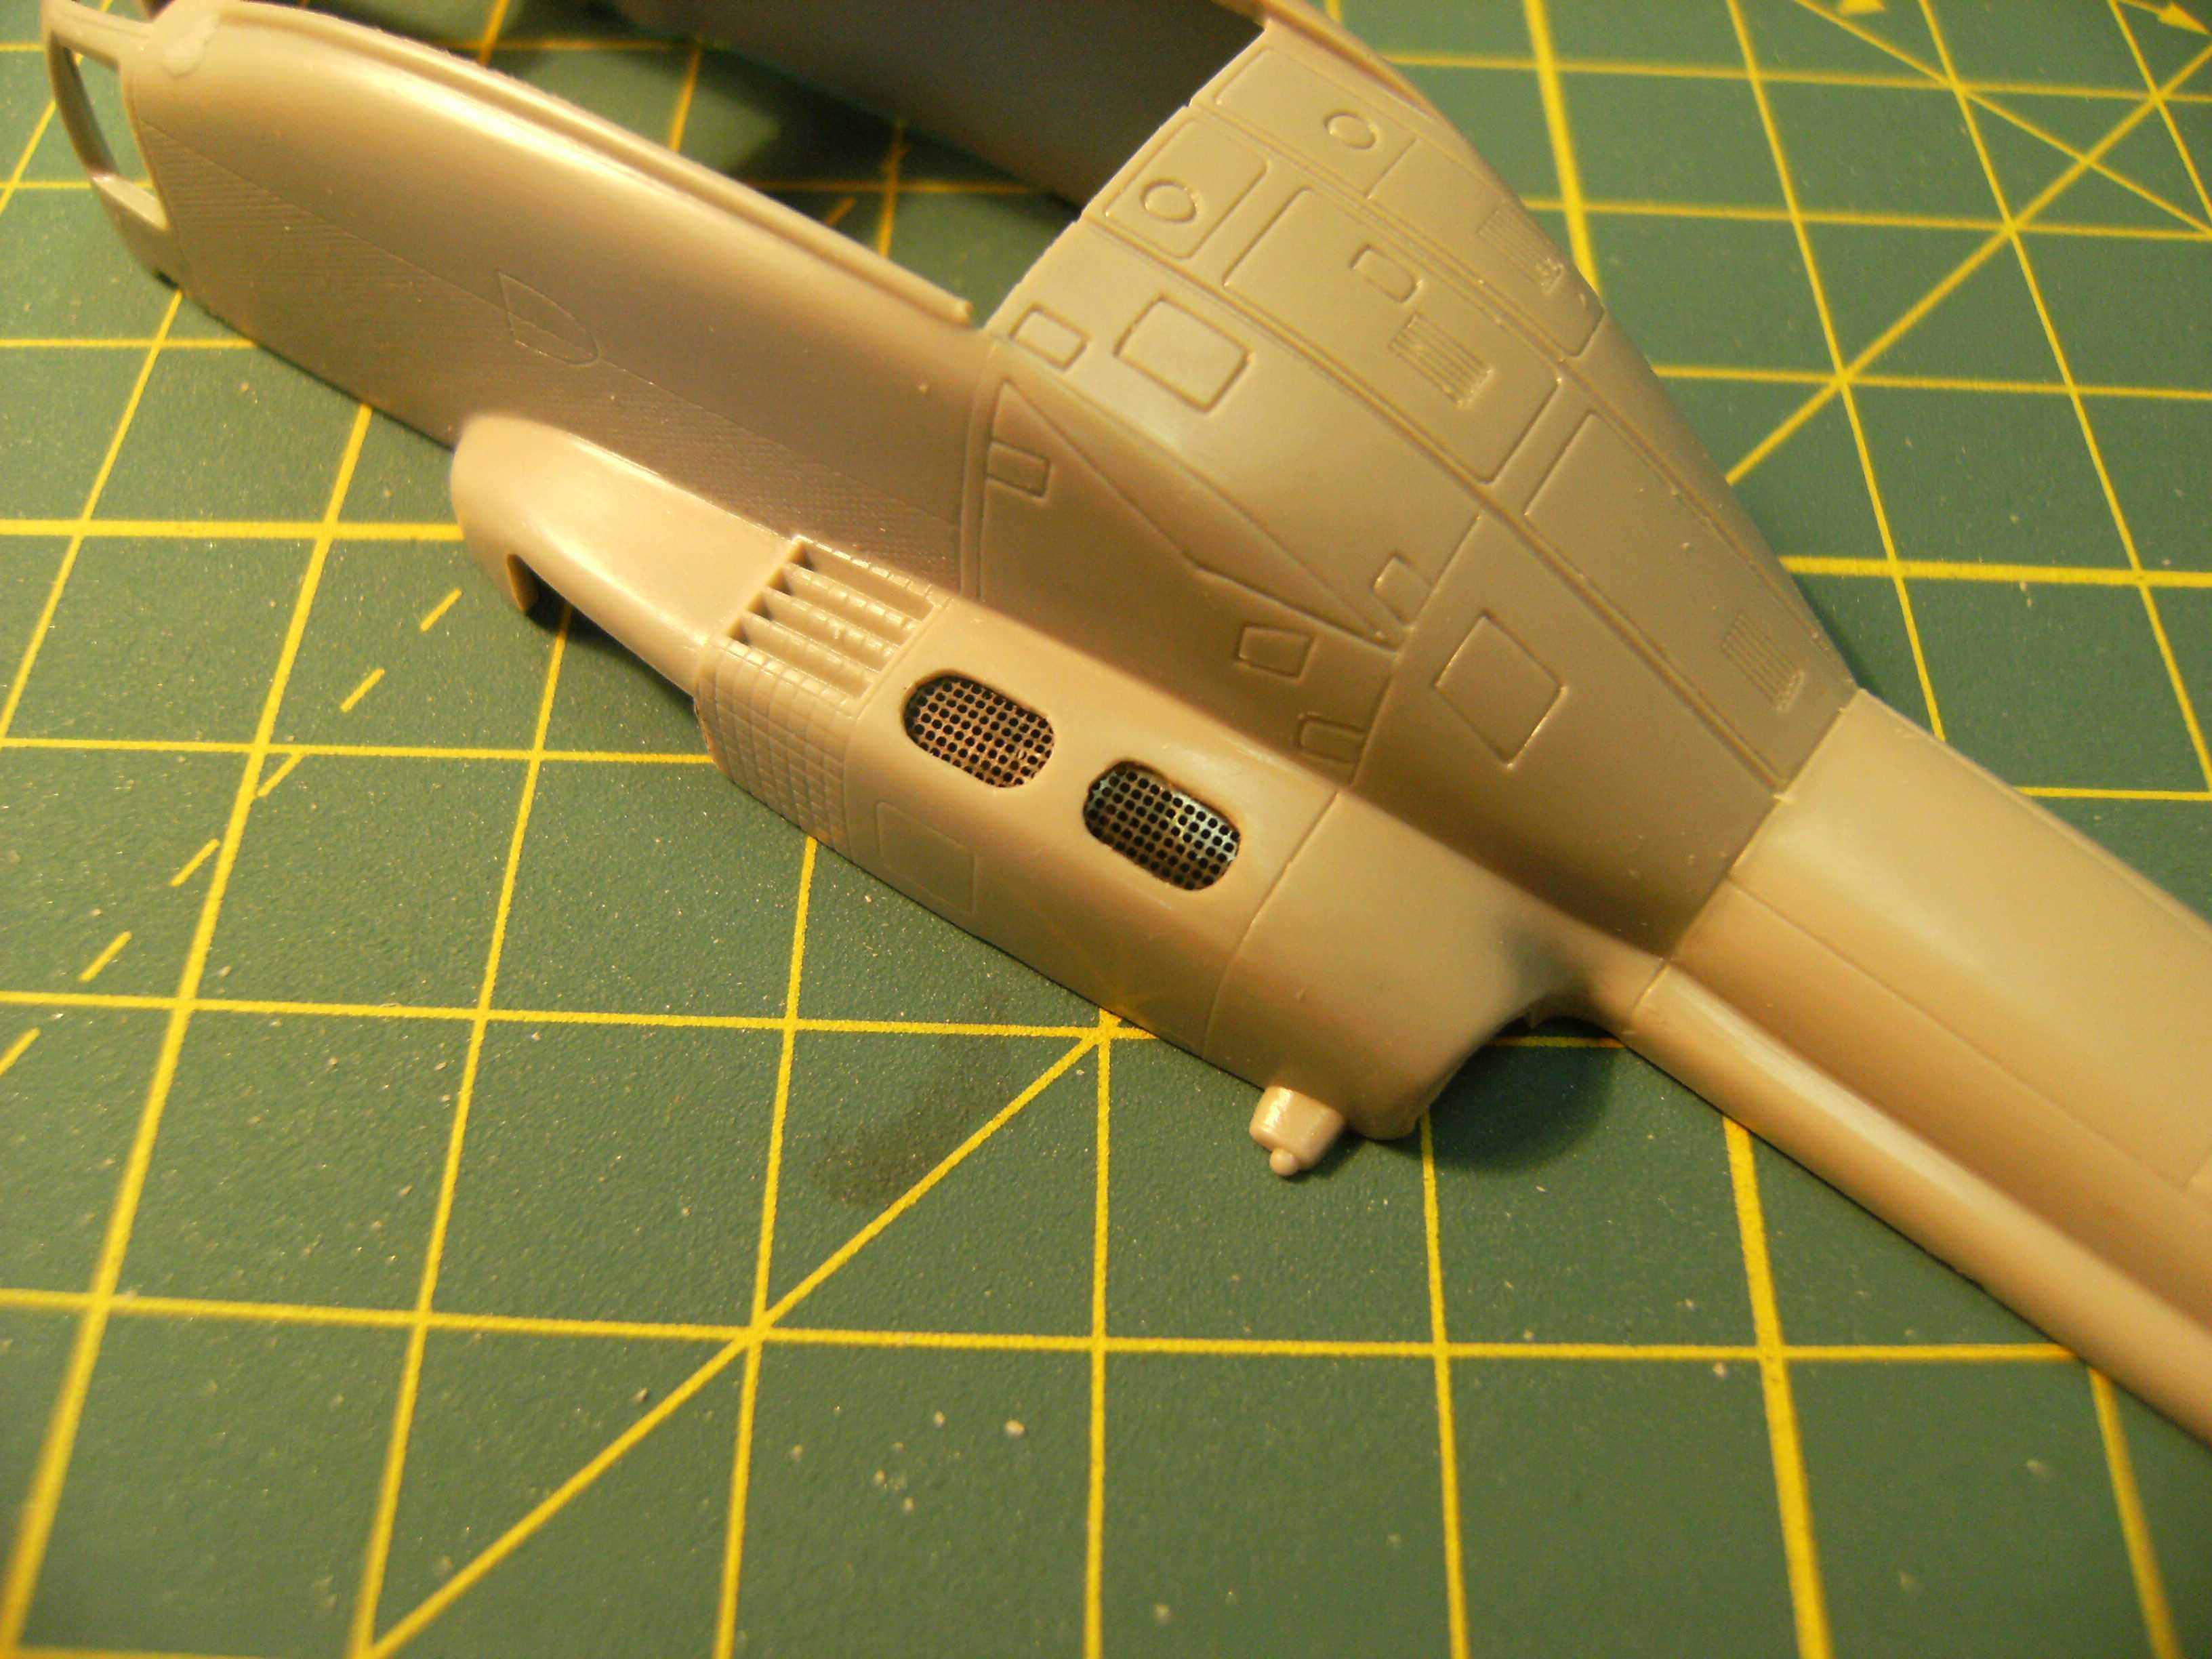
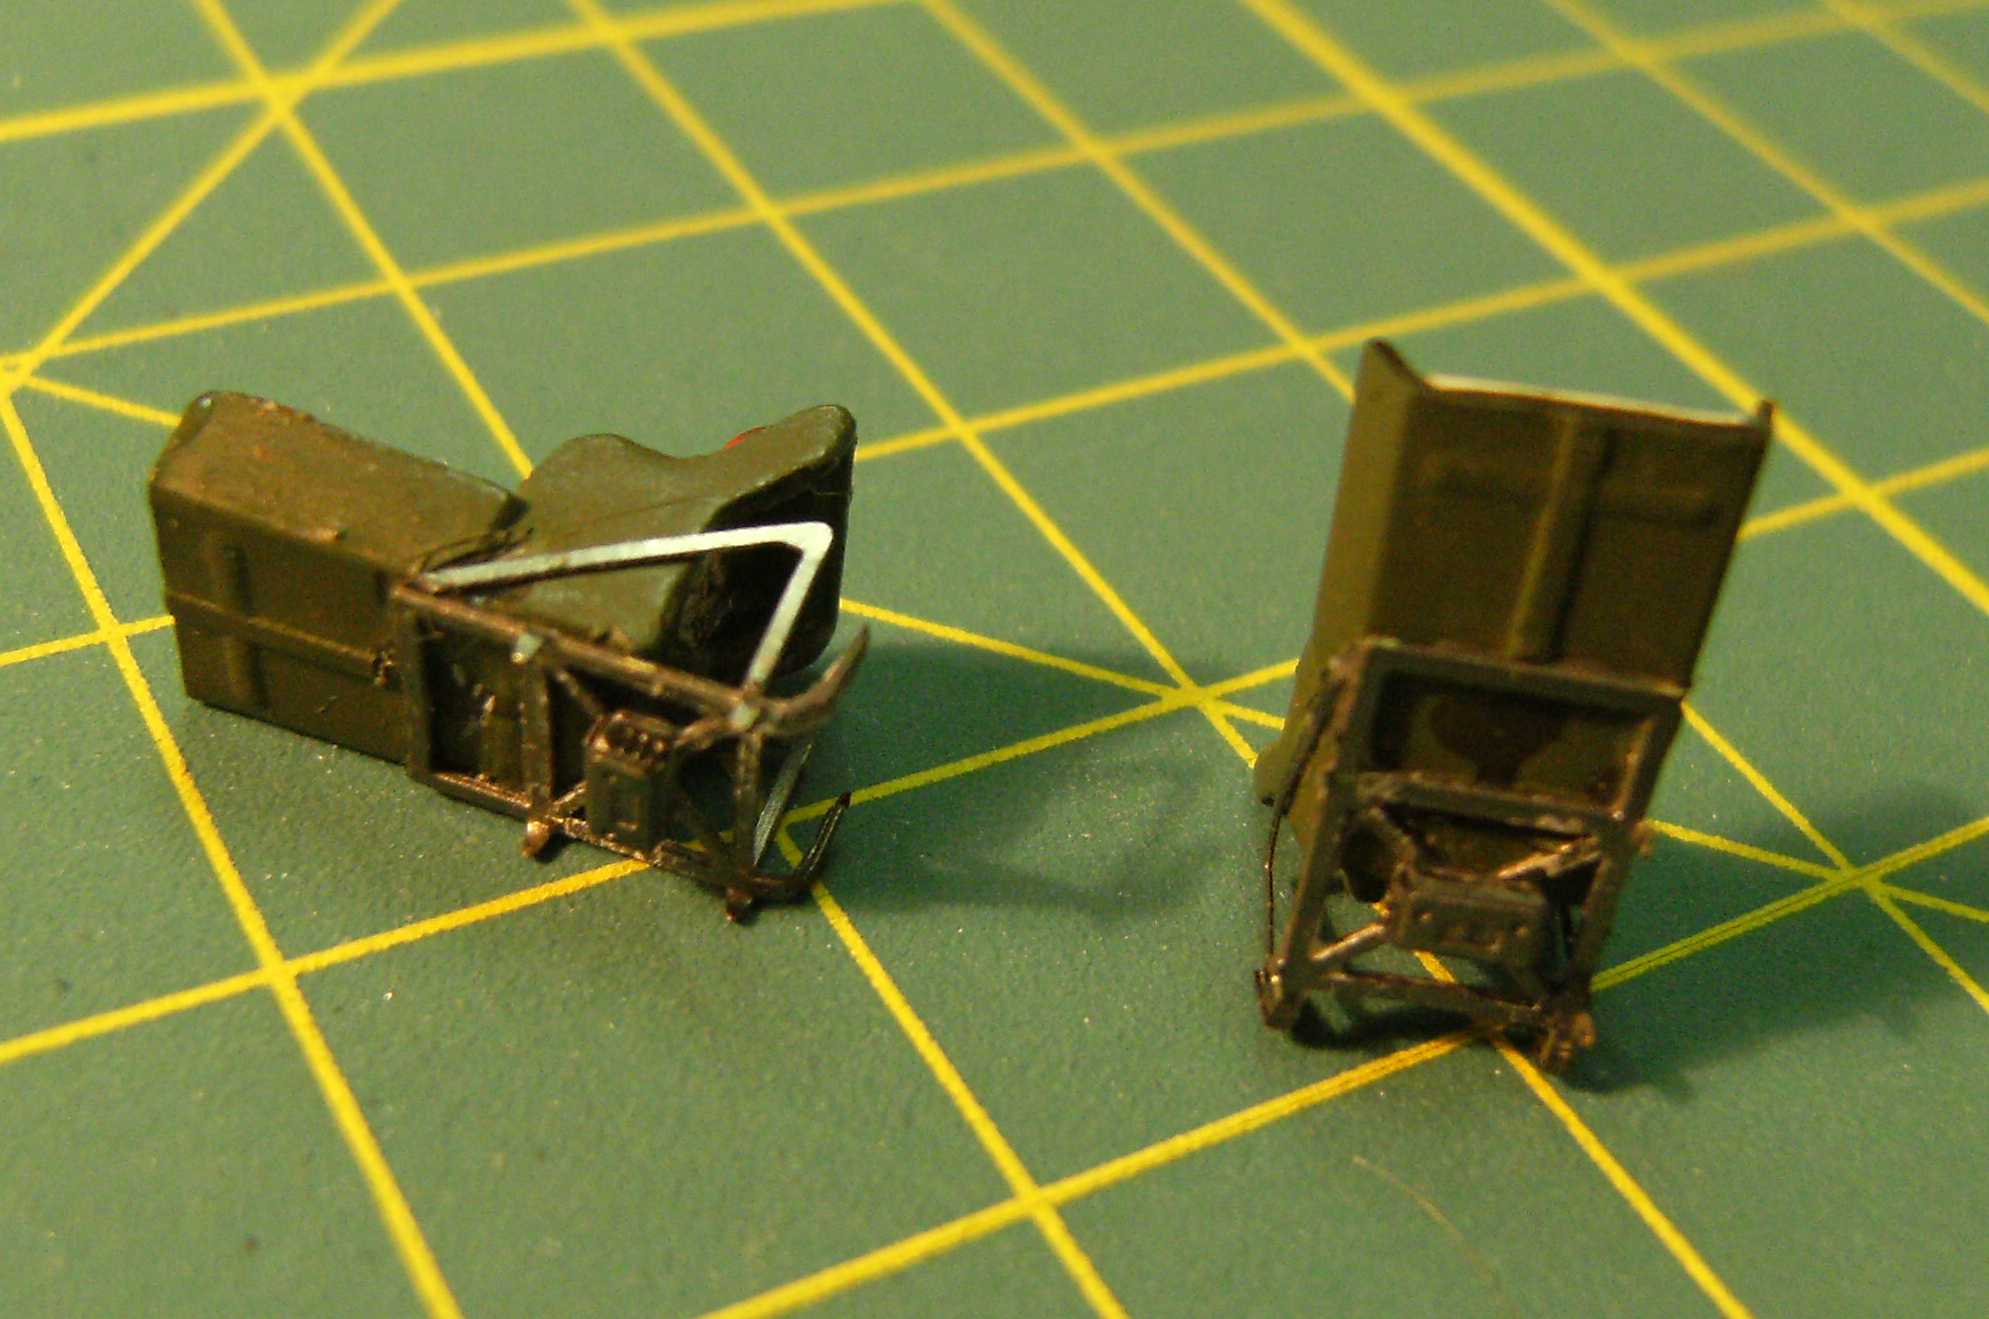
I was inspired to build the „Go, go, go!” diorama by the helicopter landing in the valley scene of the movie “We Were Soldiers”. The Italeri model kit number 1247 “UH-1D Iroquis” constitutes the basis of the project. Of course it needed complementing with photoetched parts by Eduard (sets 72195 and 72269), resin parts by CMK and scratchbuilt parts. I kicked off the build by drilling out the engine vents and fitting them out with photoetched mesh, so that the engine would be visible. The next step was building the pillars between the cockpit and cargo cabin out of polystyrene. Next part to be fixed were the pilot seats (CMK set meant for the UH-1B) and the instrument panel (Eduard photoetched parts).

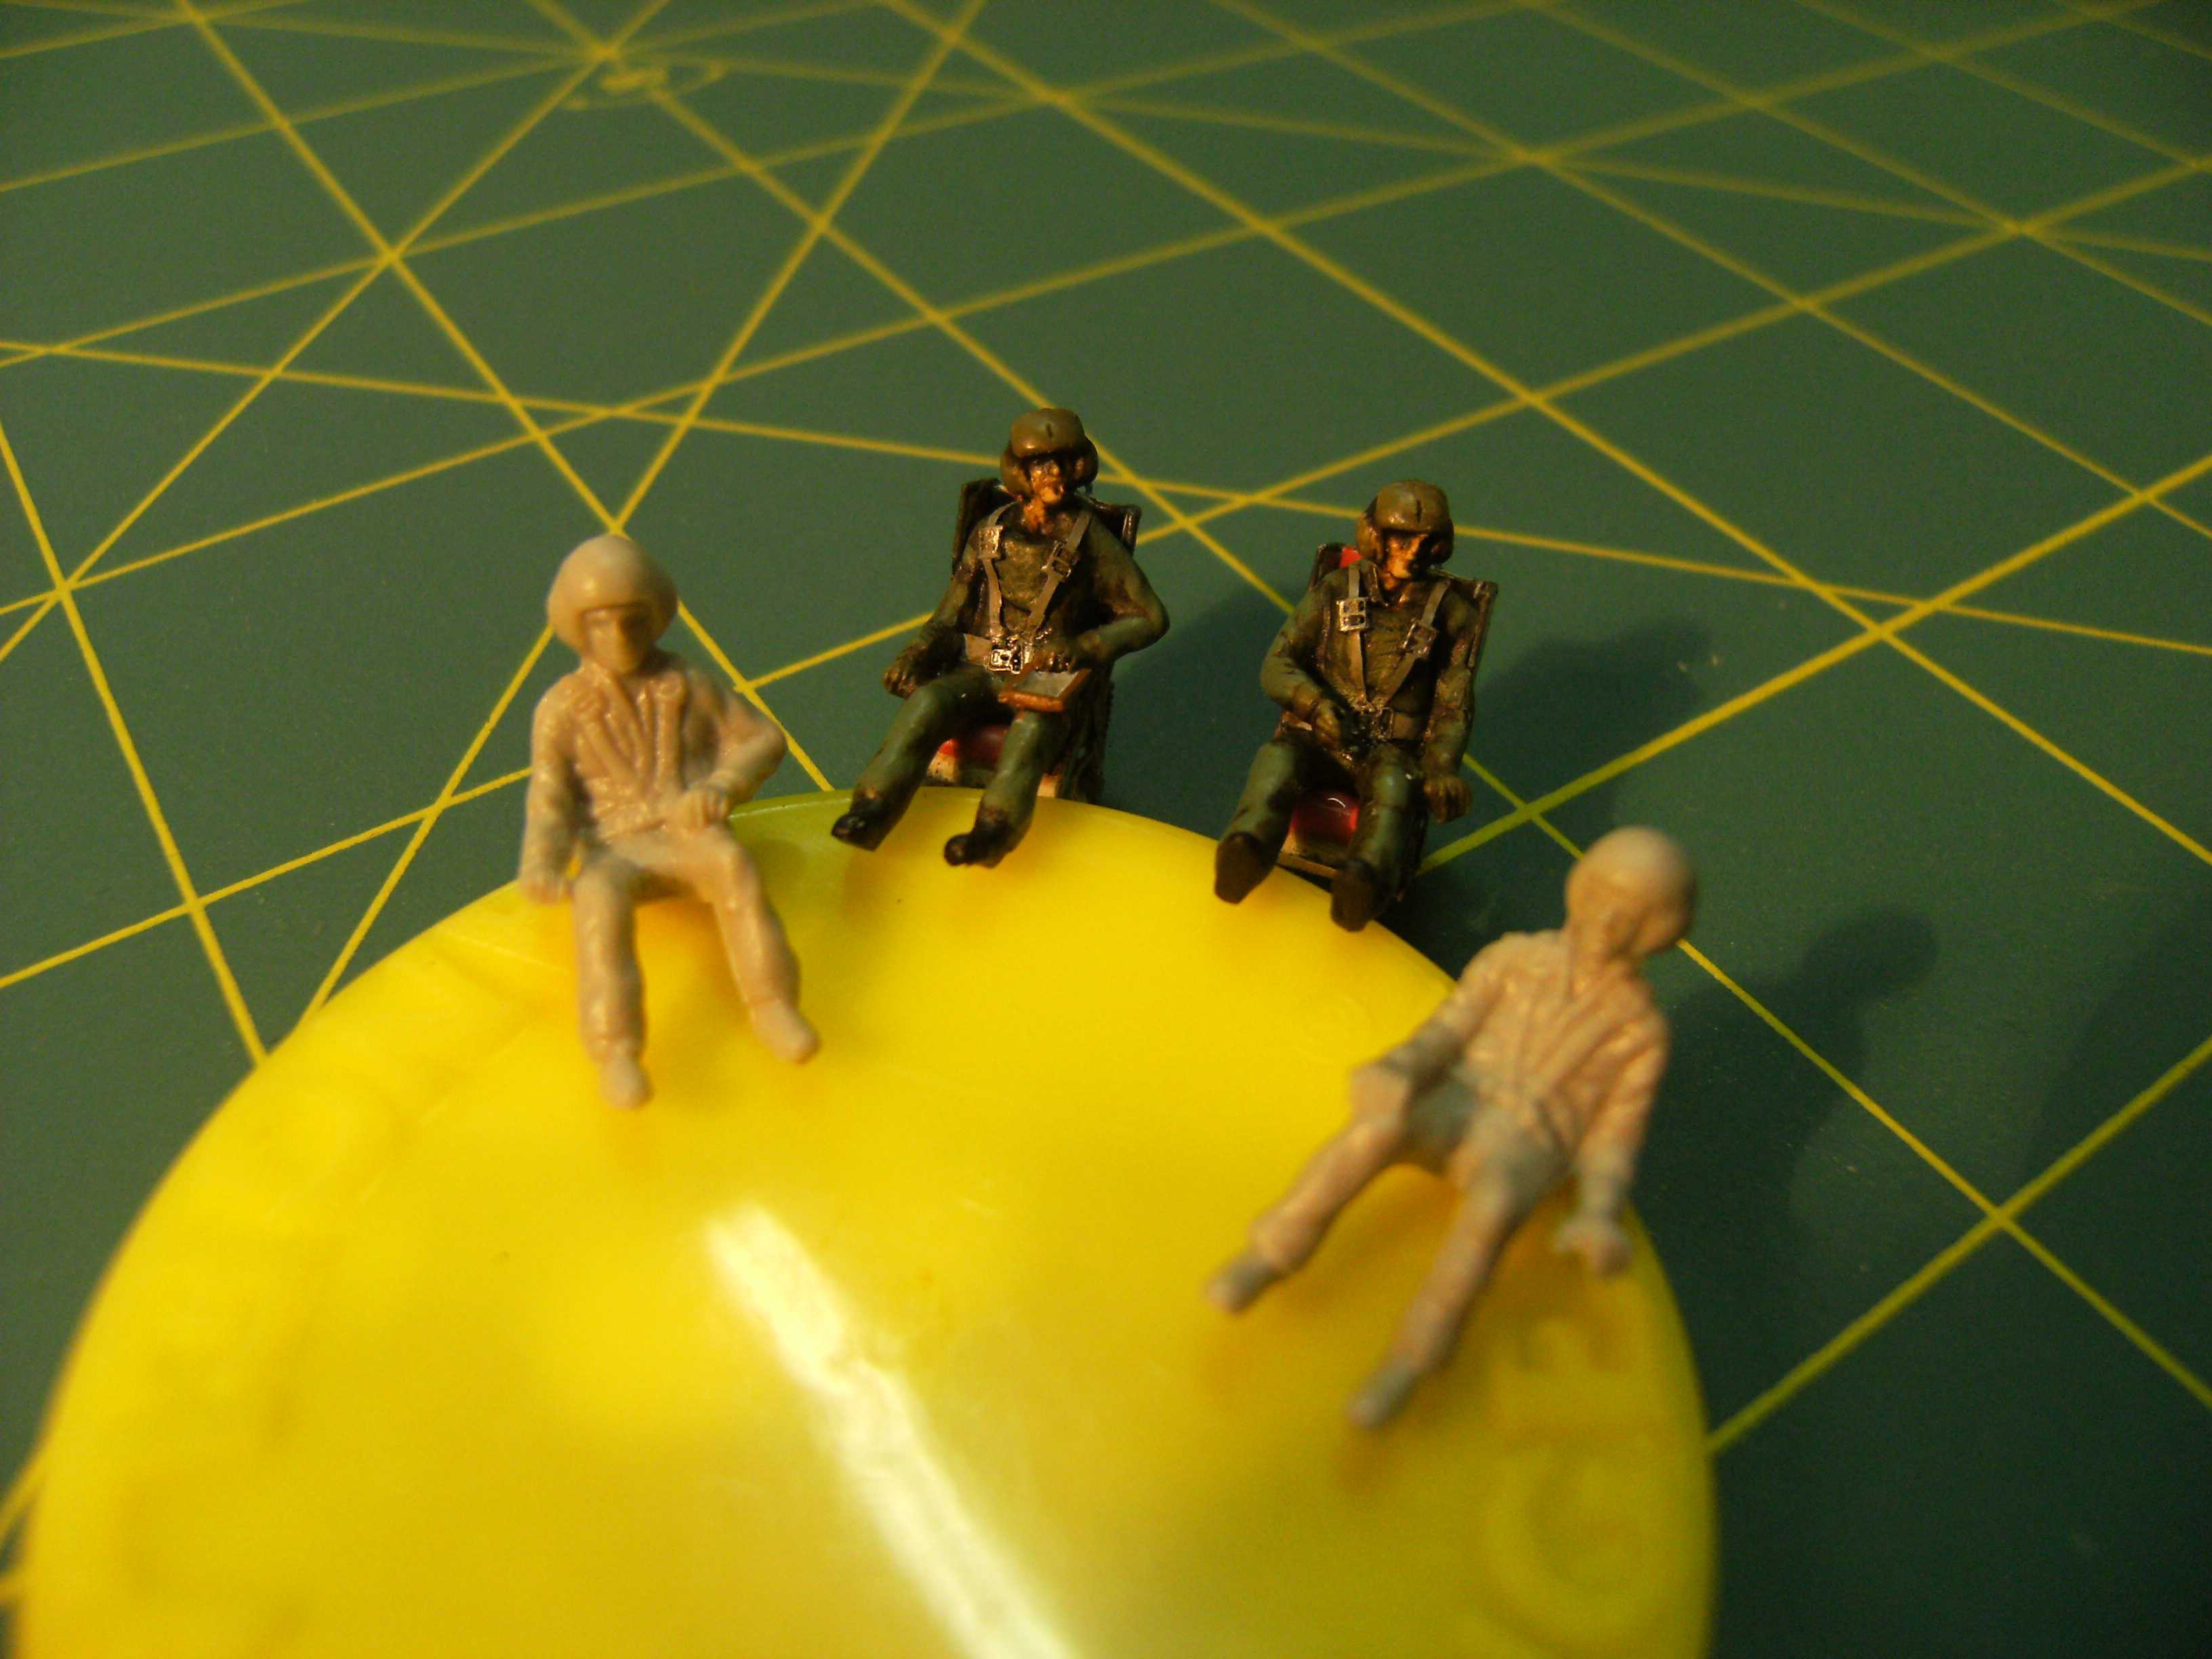
Because I planned to show the helicopter short of touching down, I had to supplement the cockpit and the cabin with crew figures. To do that I purchased the CMK resin crew set, containing two pilots and a machine gunner. In general, the figures looked good, the exception being the shape of the flight helmets – it raised my objections. So, in addition to adjusting the pose of the figures to closely conform to the seats, I also decided to switch the heads of the figures to ones sourced from crew figures of Hasegawa’s UH-60 Blackhawk model. I also copied the figure of the machine gunner, and after come cutting and reposing I got the other gunner. At this point I decided to show the inserted troops already out of the helicopter, with exception of the last one, not to obscure the details of the interior of the helicopter.
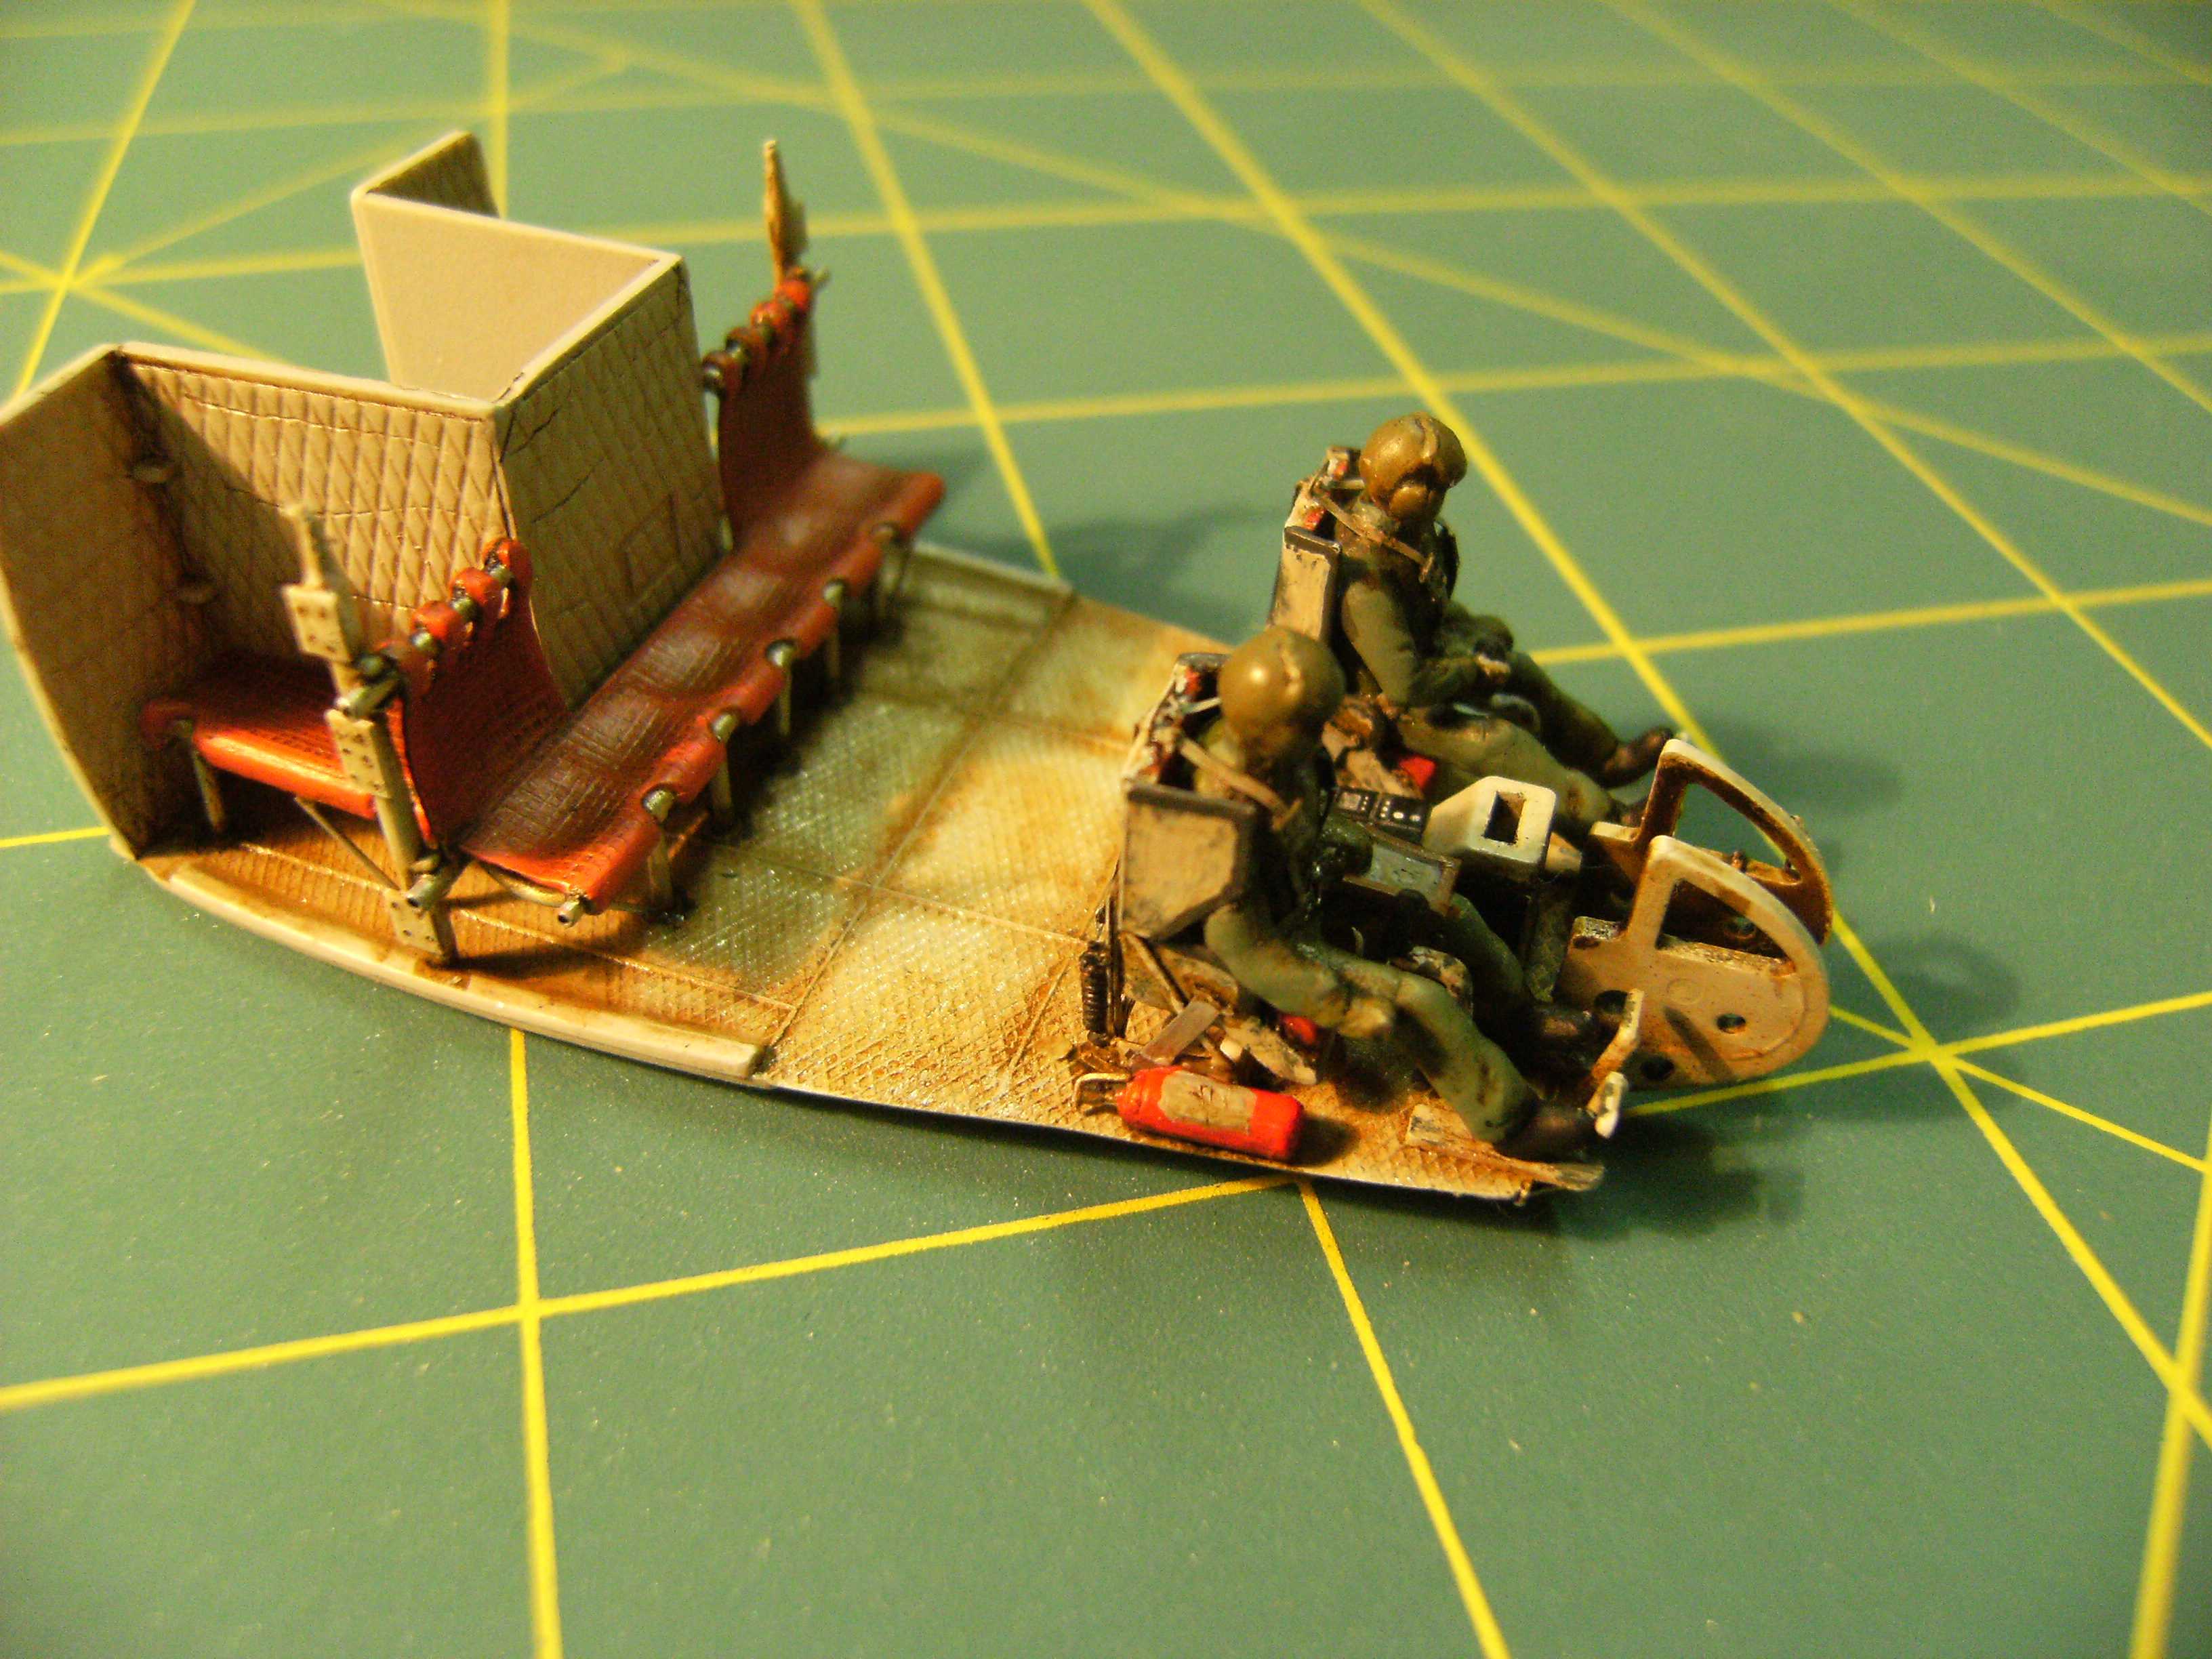
After painting the interior and positioning the figures I glued the fuselage halves together and started working on the exterior details, and they were plenty. First of all, the armament, absent in the Italeri kit, had to be scratchbuilt. I scratchbuilt the mounts according to my photo references. Ammo belts with chutes come from the Eduard photoetched ammo set. The most work was caused by the actual machine guns. They were modified from the ones taken out of Italeri’s 1/72 M113 ACAV kit. The problem was, those MGs were typical “grunt” guns with their shoulder stock. I had to remove the stock, add spade grips and also the sight and spent casings bag. After the modifications were done, I created a silicone mold and then I cast the machine gun in resin, to put in the other cabin door. Additionally I created some smoke grenades and hung them beside.

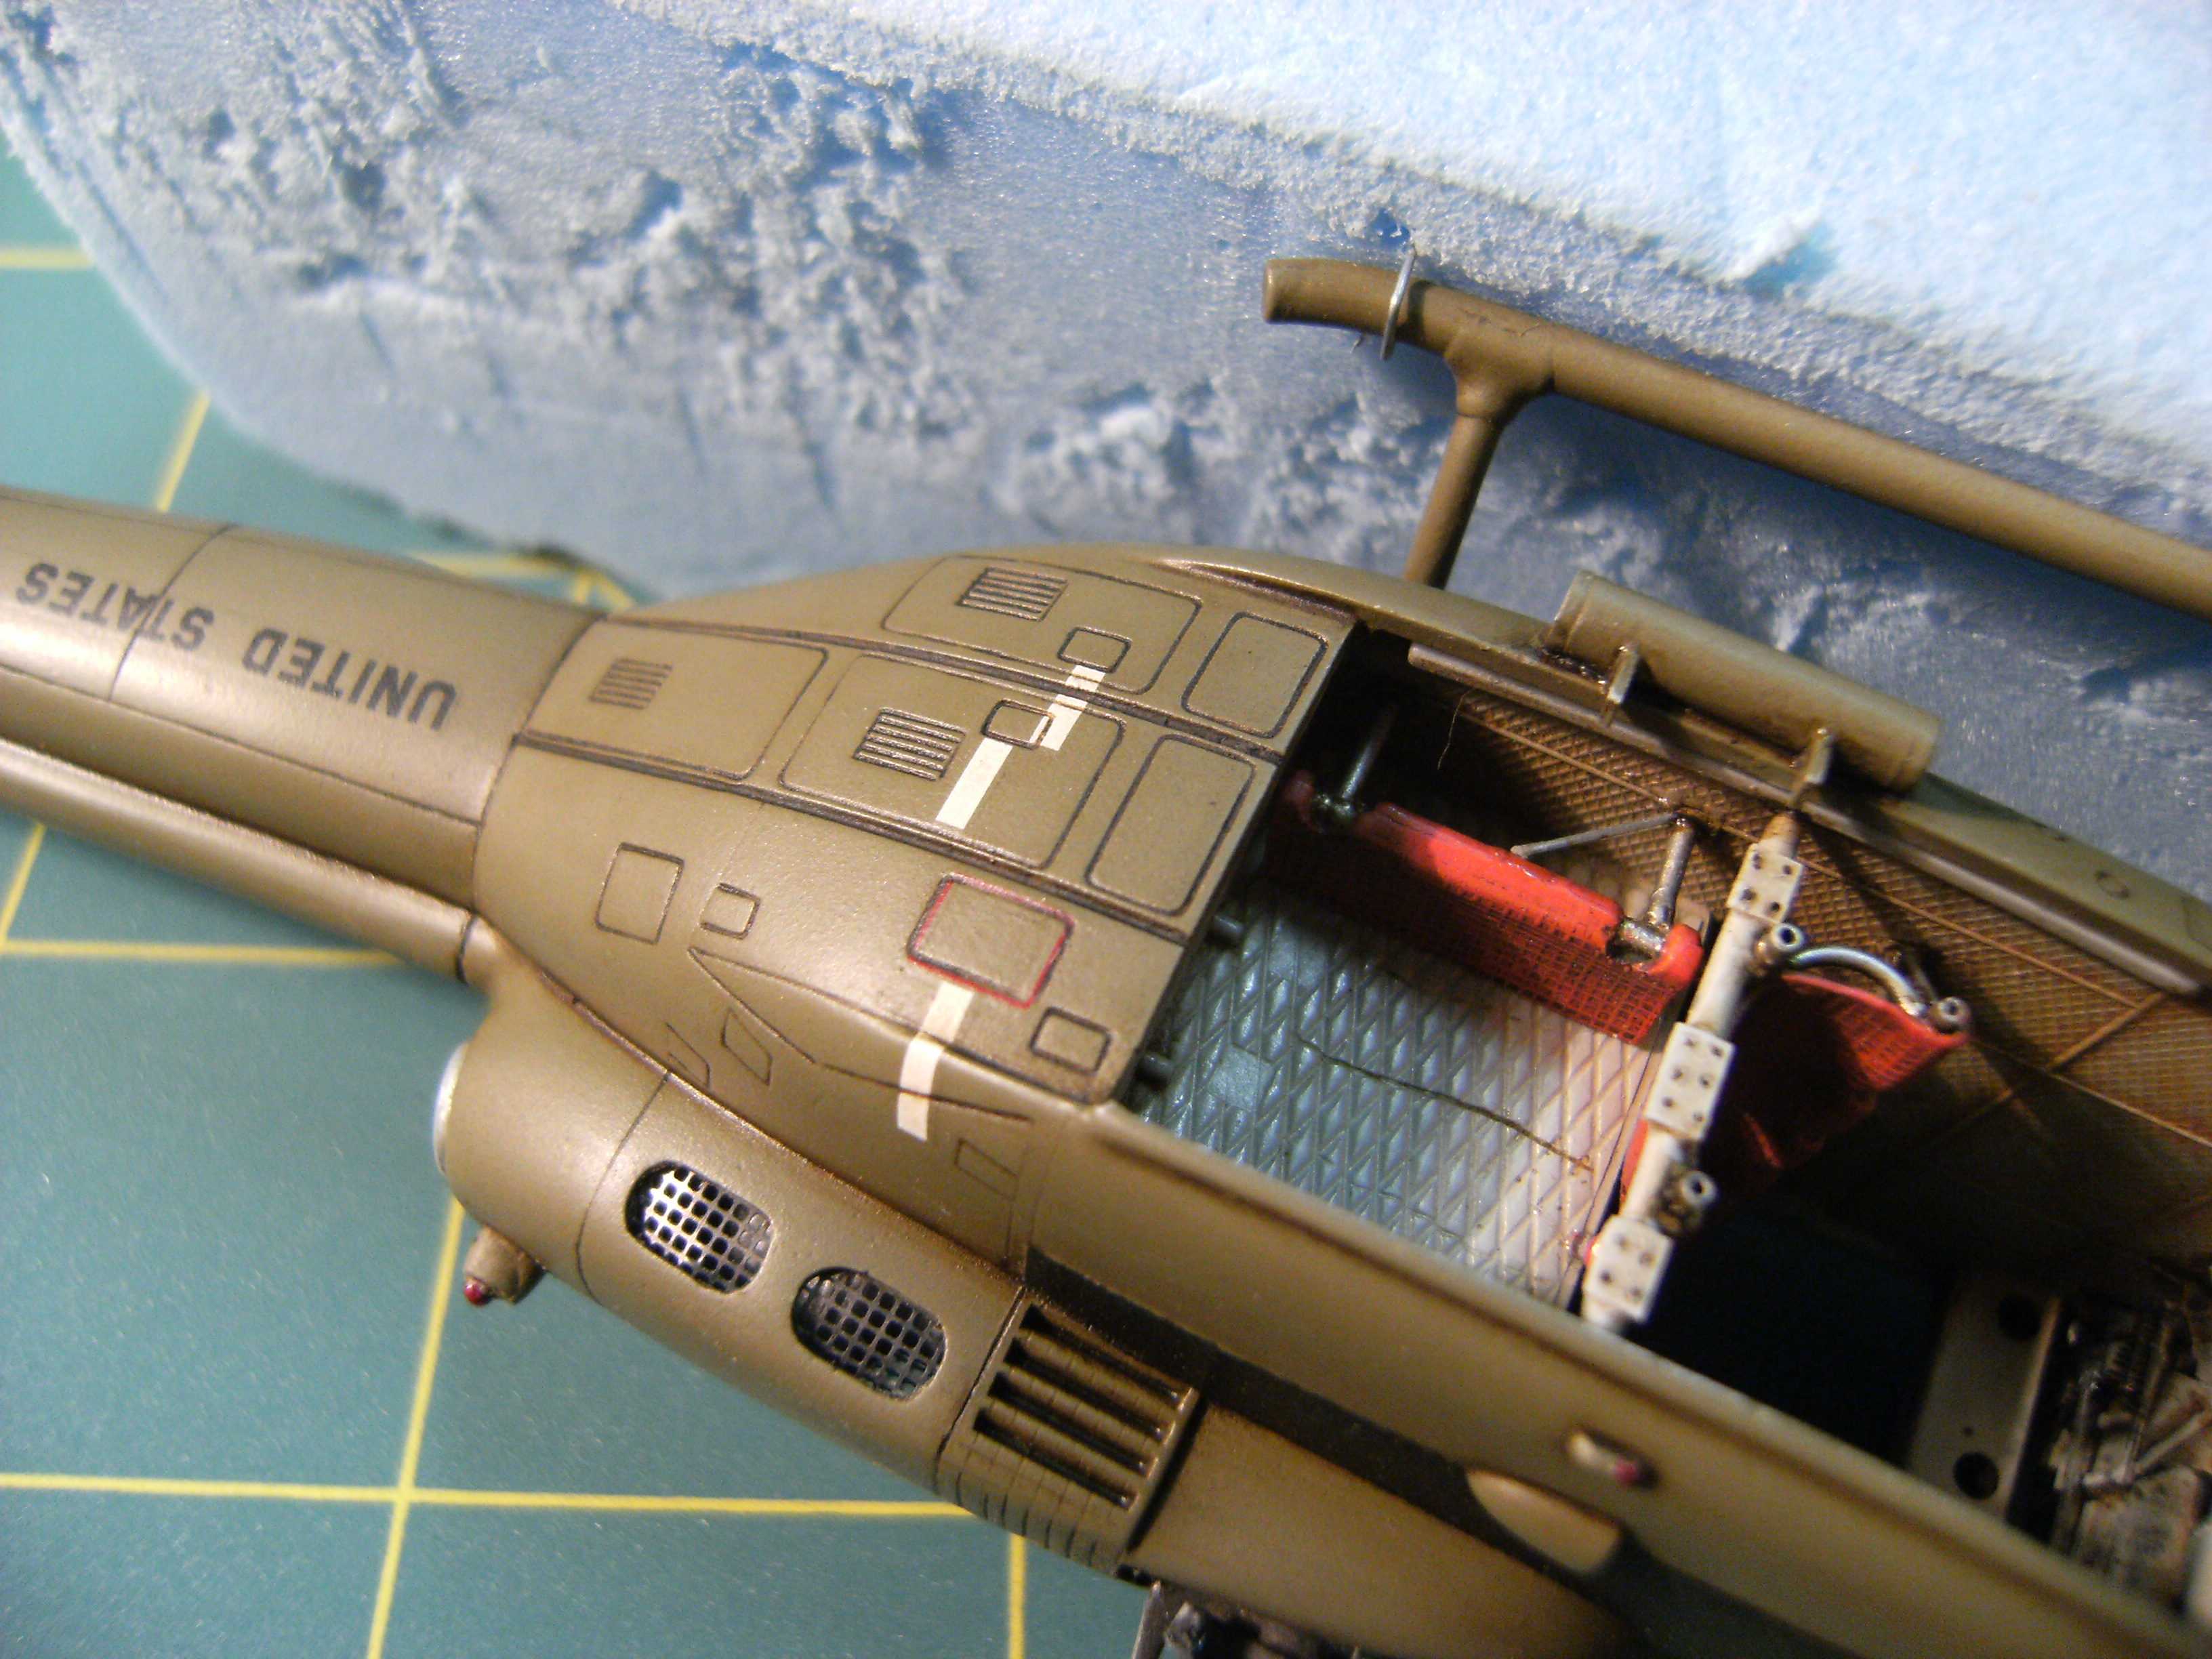
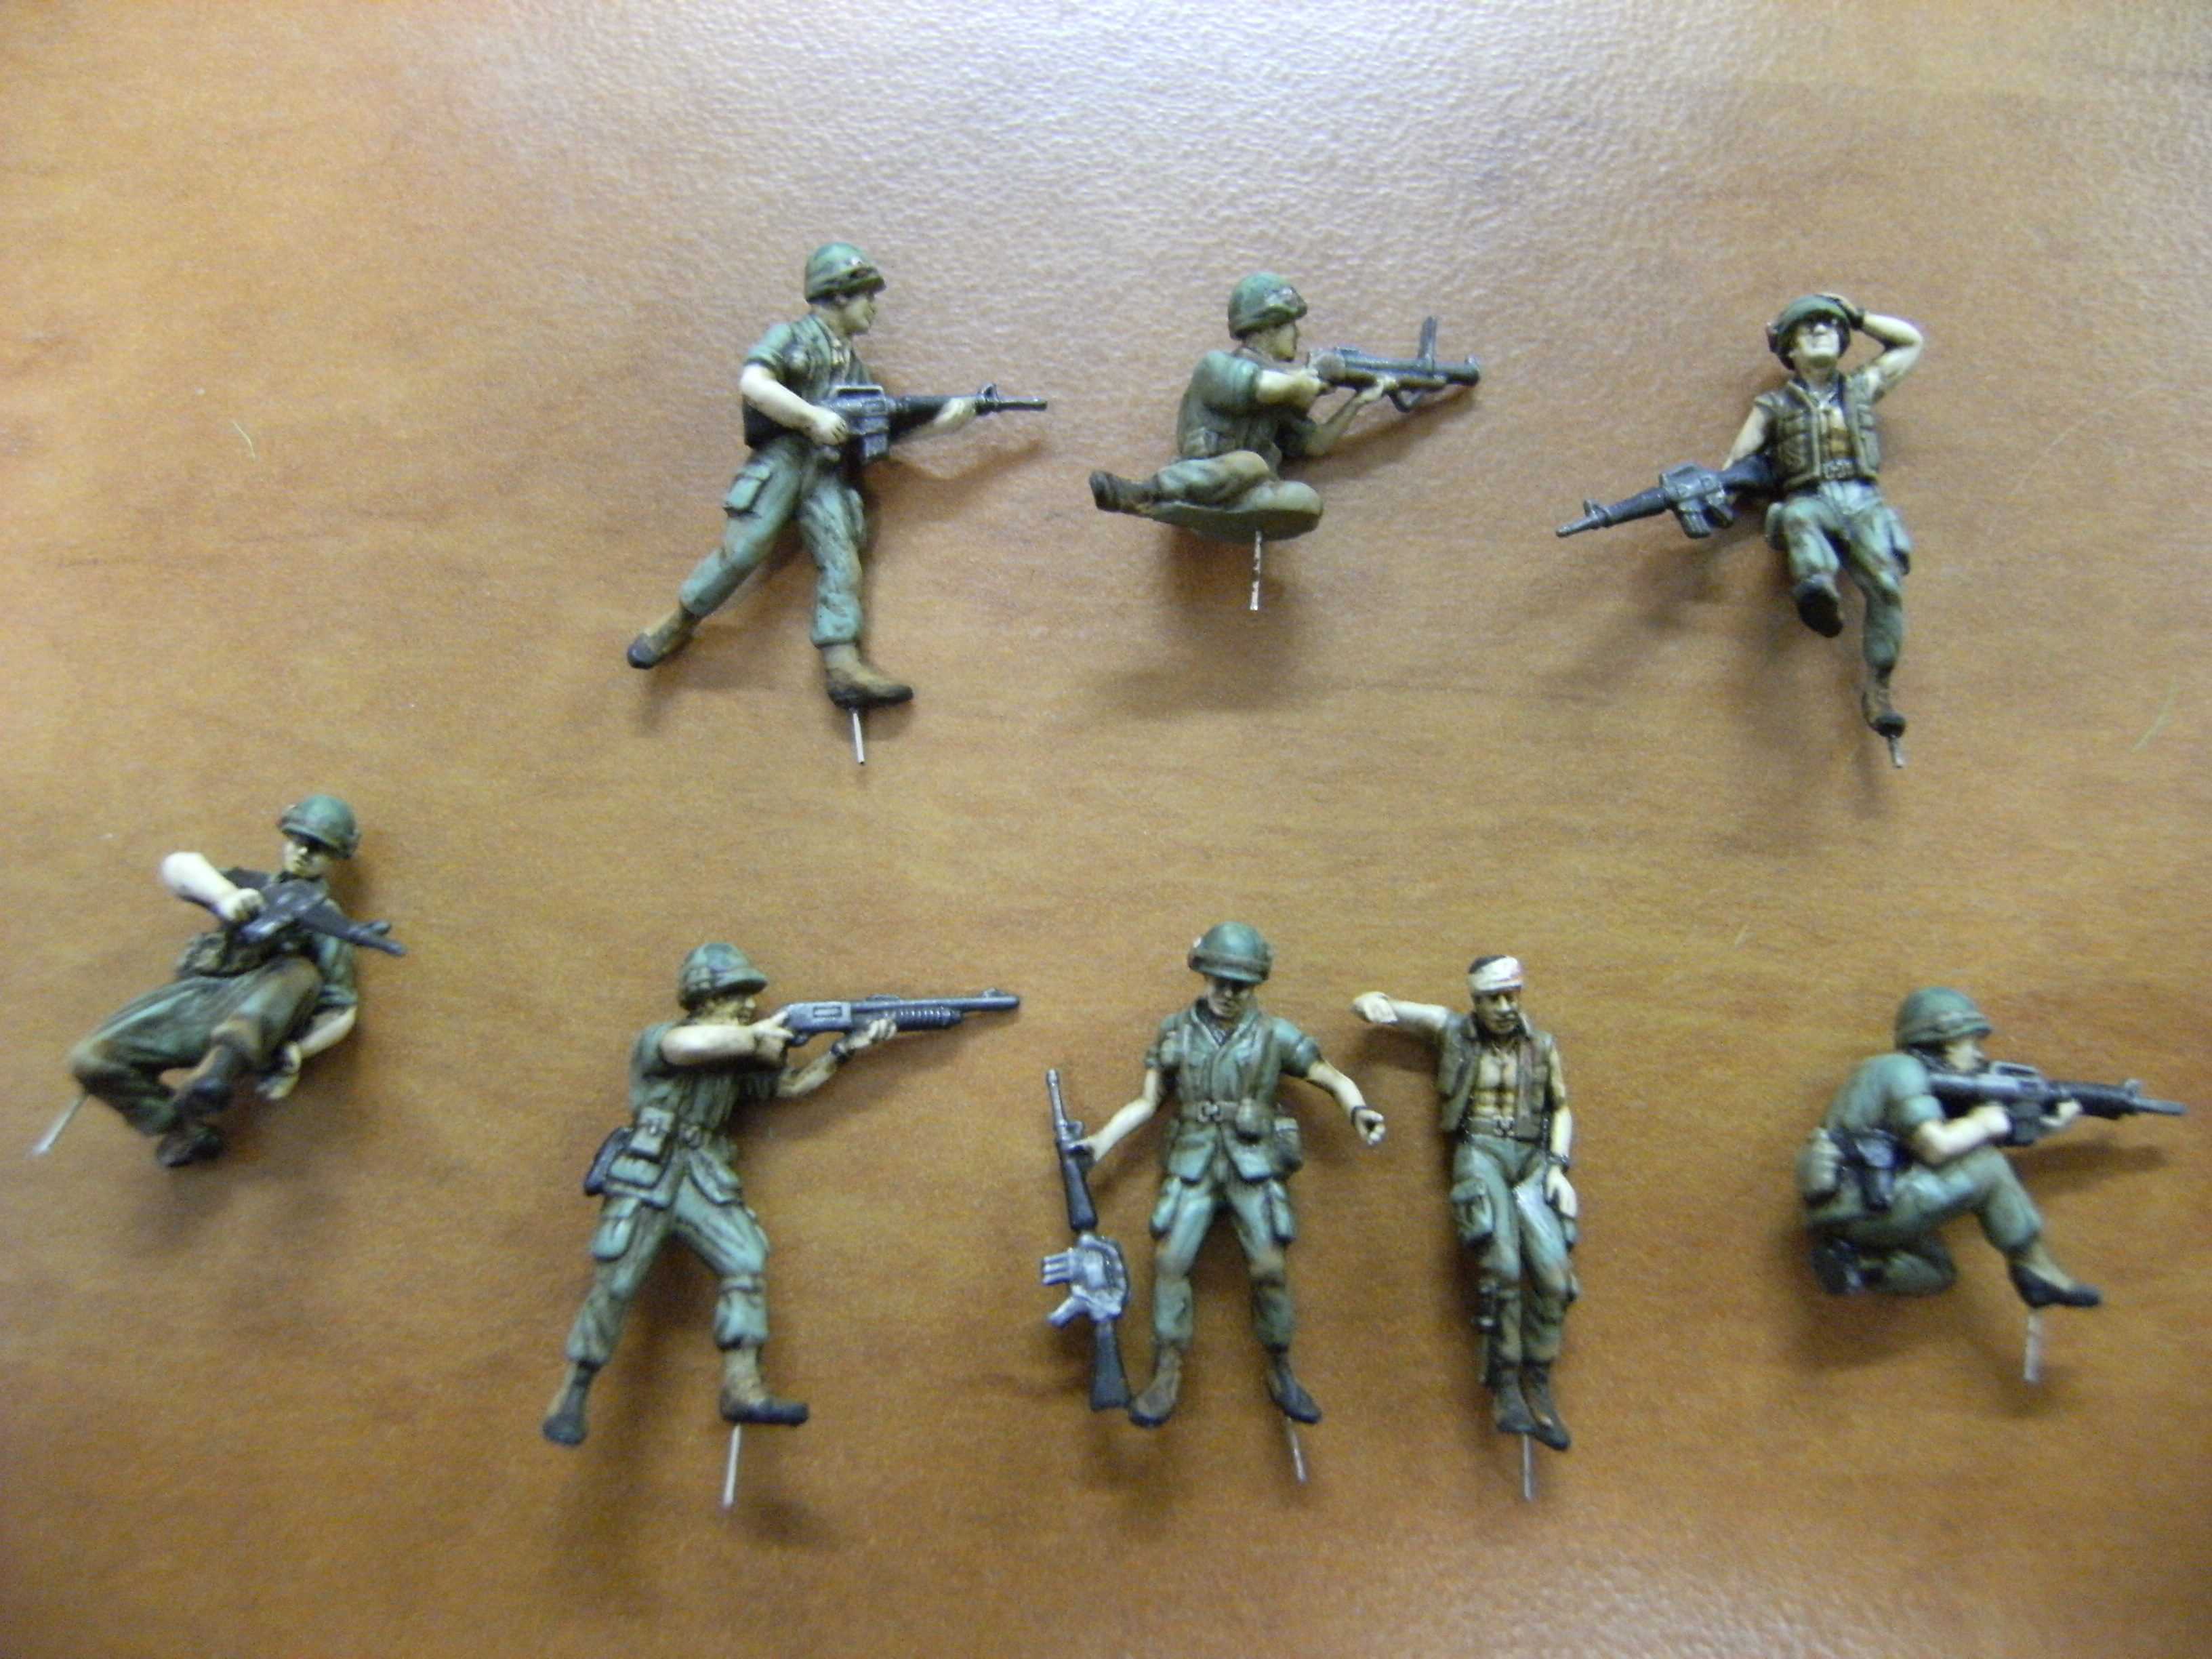
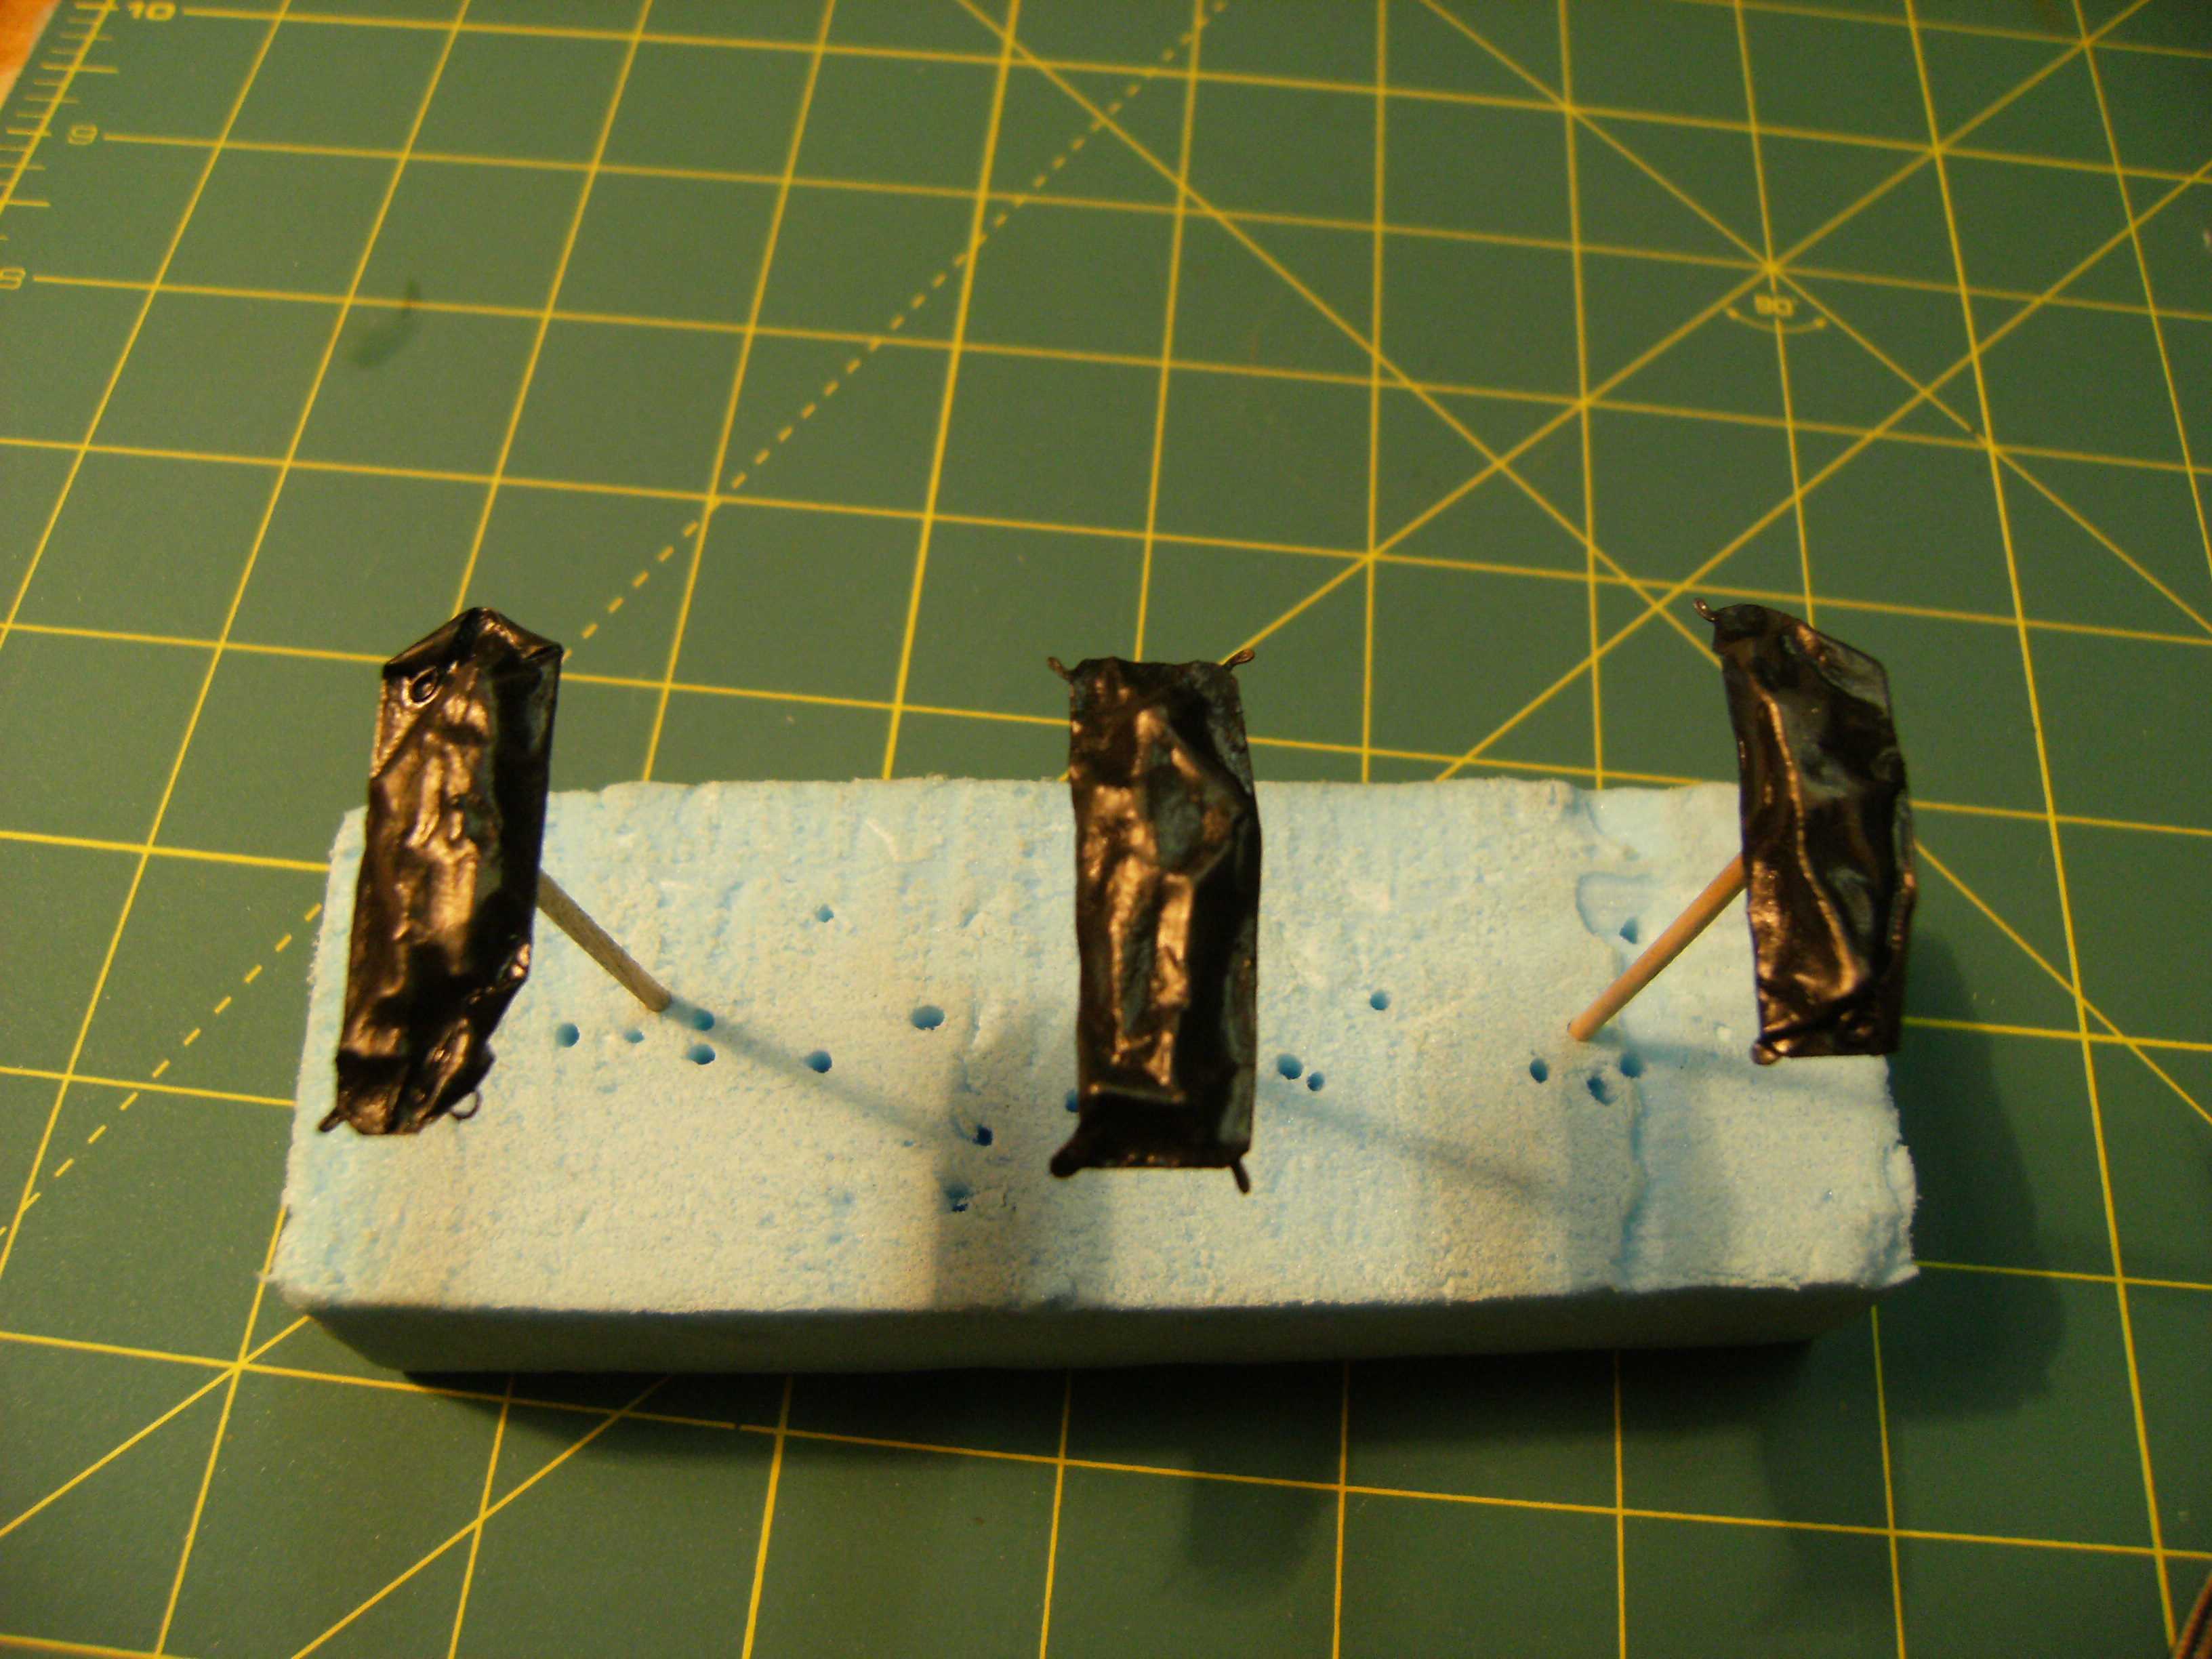
Next stage was painting – all of the helicopter was painted using Pactra paints. The decals were applied using Sol and Set fluids on a layer of clear gloss varnish. I used natural umbra artist’s oil paint to highlight the panel lines. The same paint was used for various stains and streaks on the airframe. The whole model was dry-brushed with MIG pigments and then sealed with MIG sealer applied by airbrush. After the helicopter was done I went on to build the remaining diorama components. I started with building the inserted troops and the soldiers waiting for the helicopter. Most of them is based on Italeri’s “US Special Forces” kit, mostly cut up and mixed with CMK’s “1st Cavalry” resin kit. I also made models of the body bags that I placed under a tarp, shown as being blown off by the rotor wash.

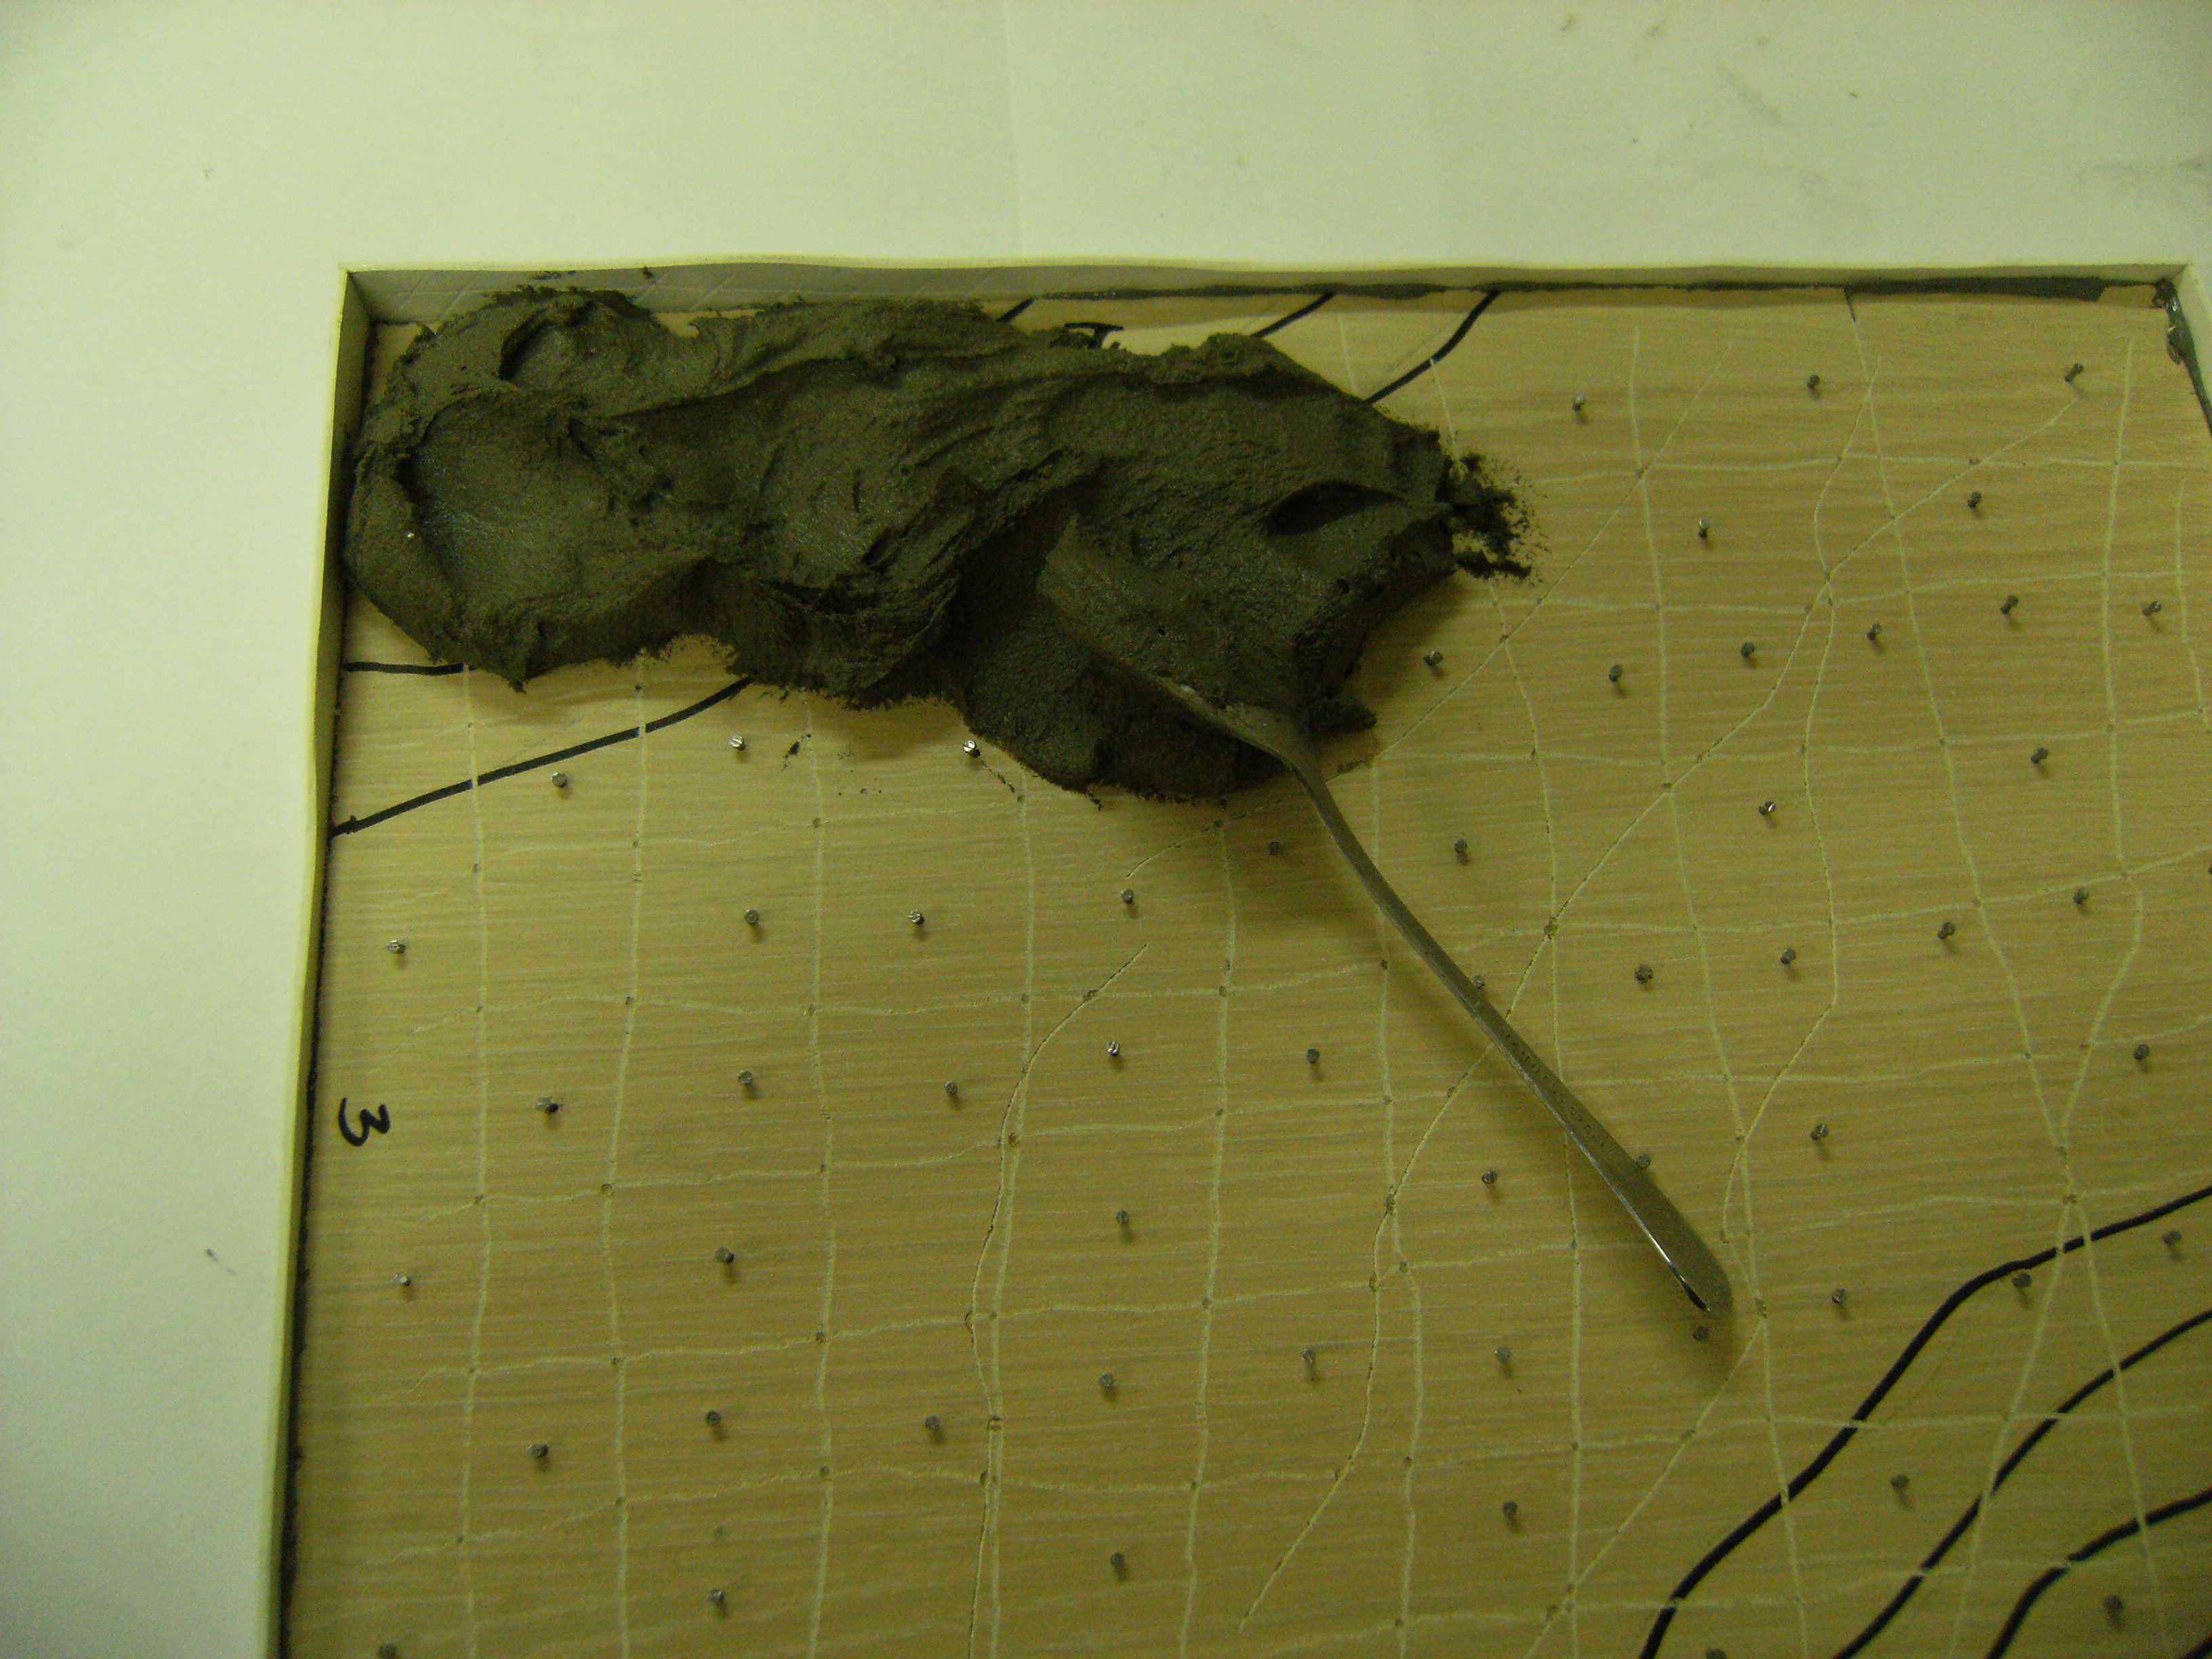
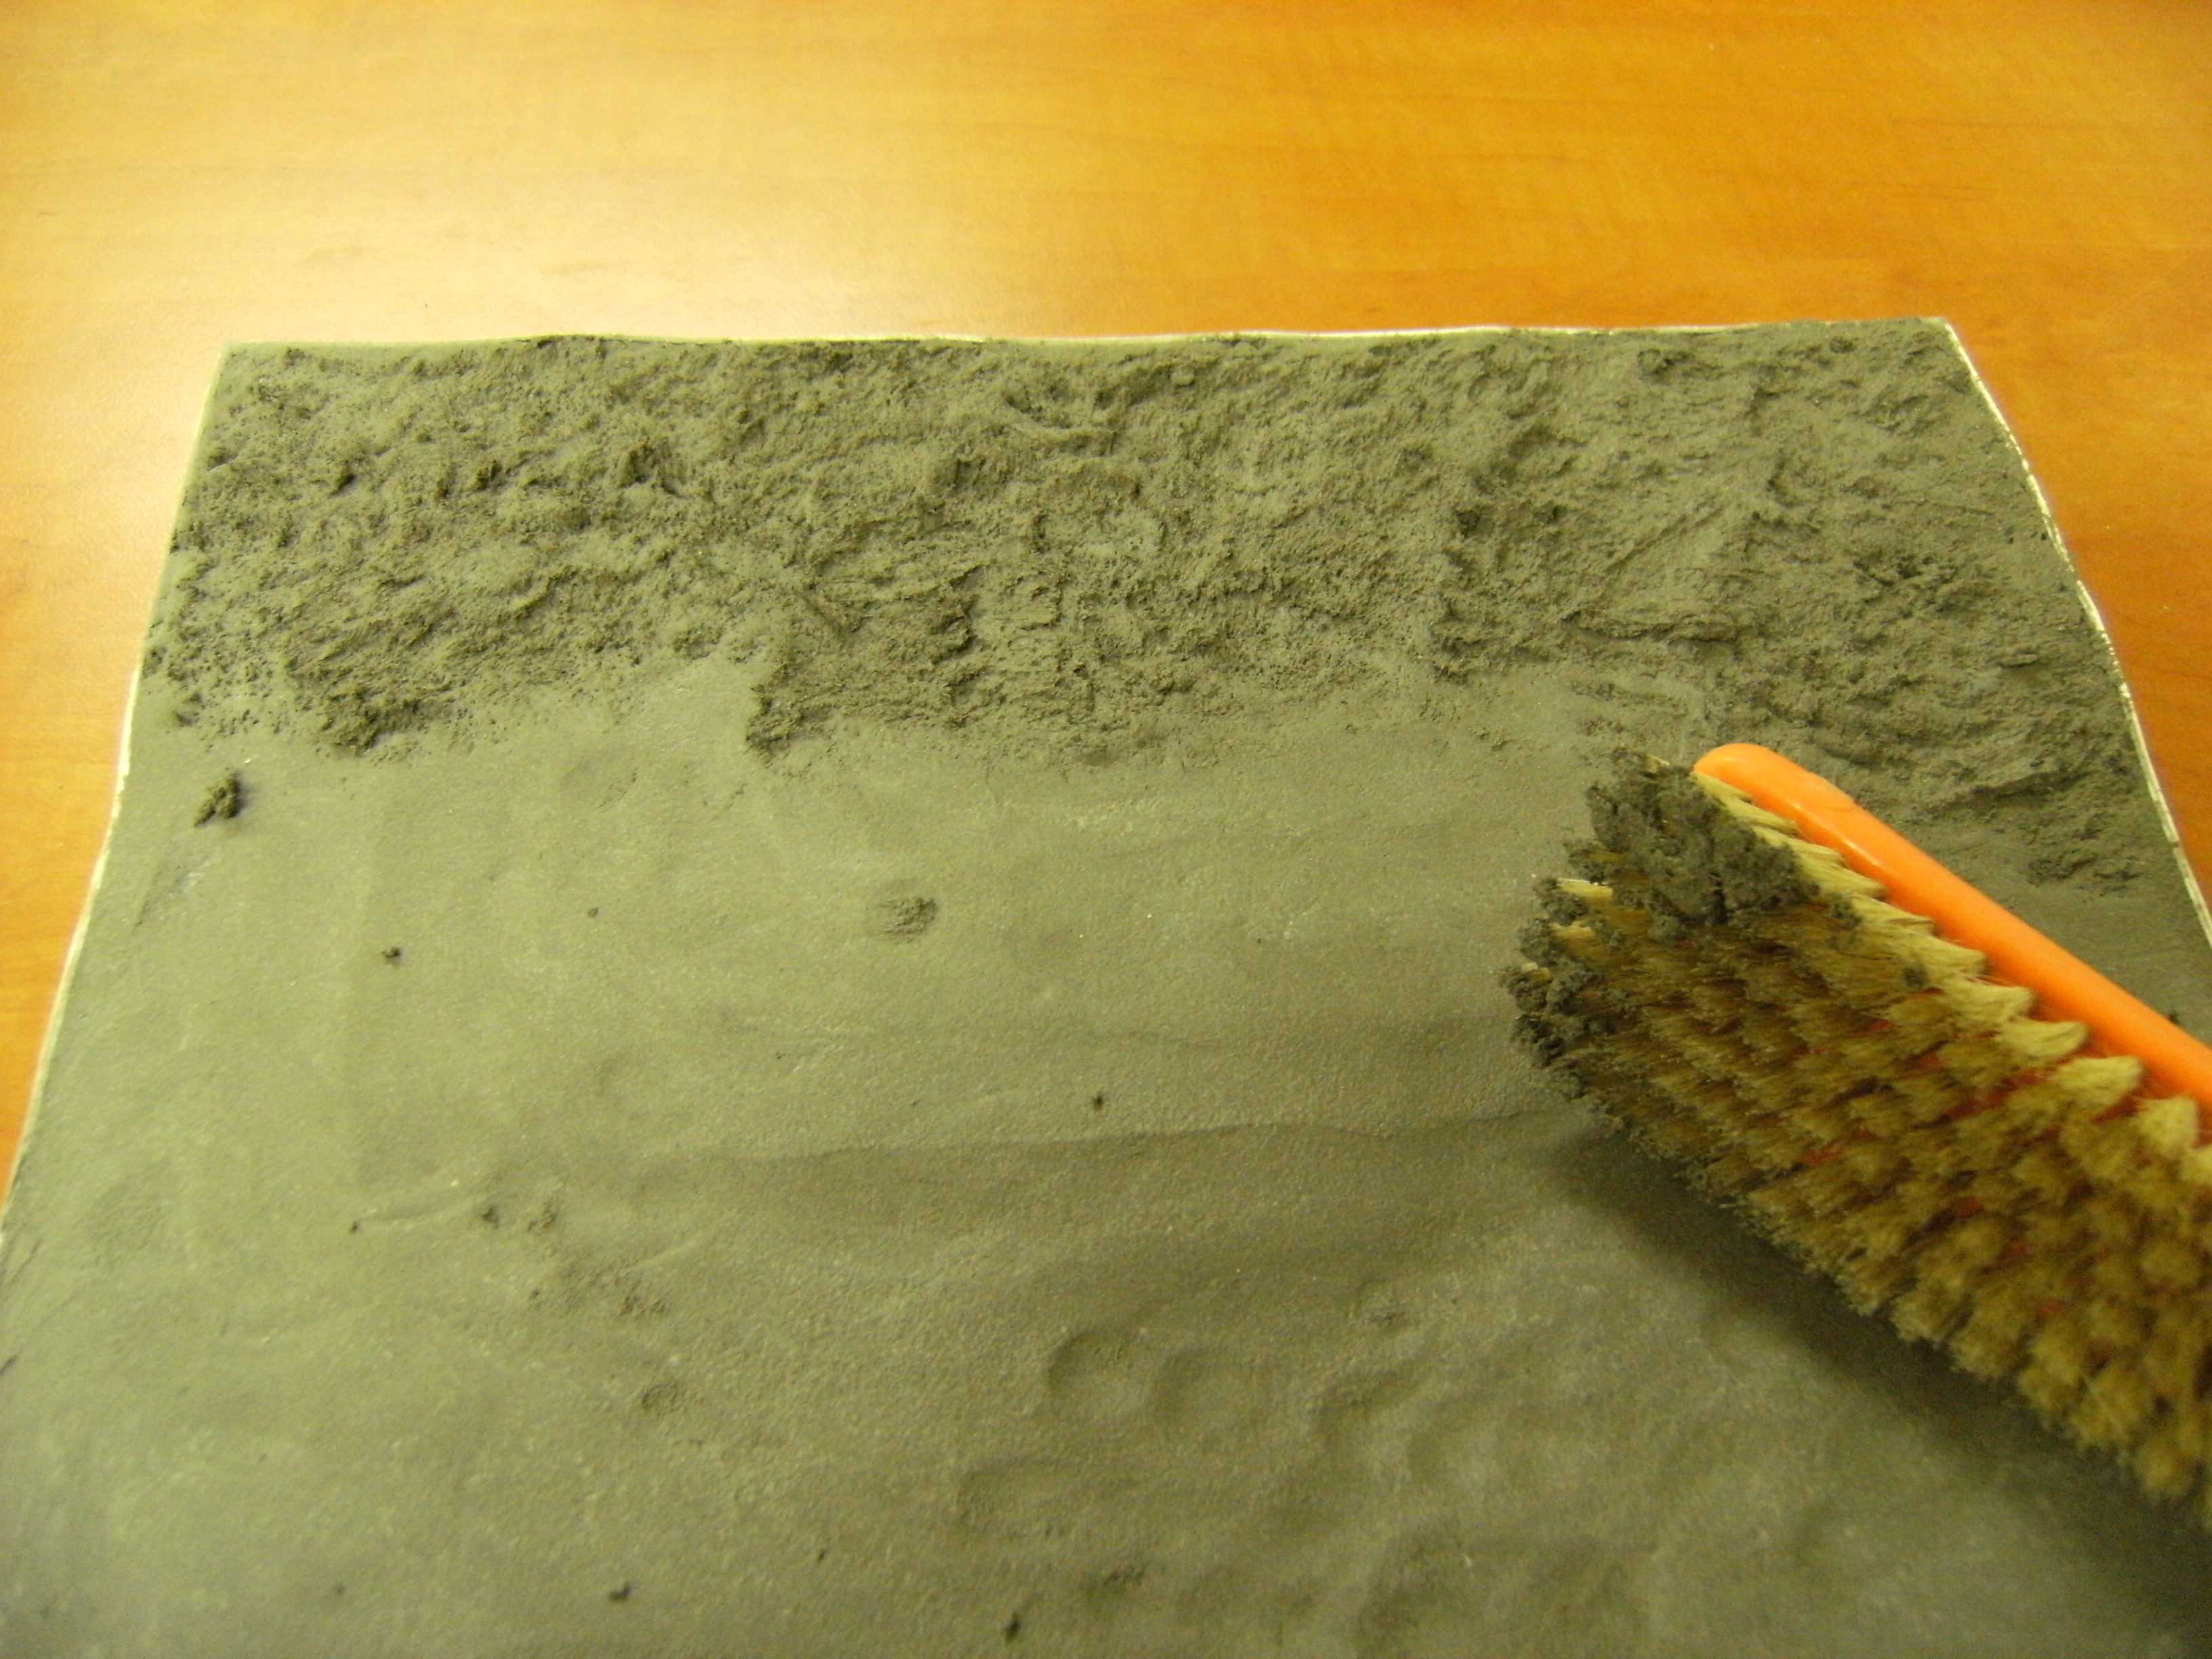
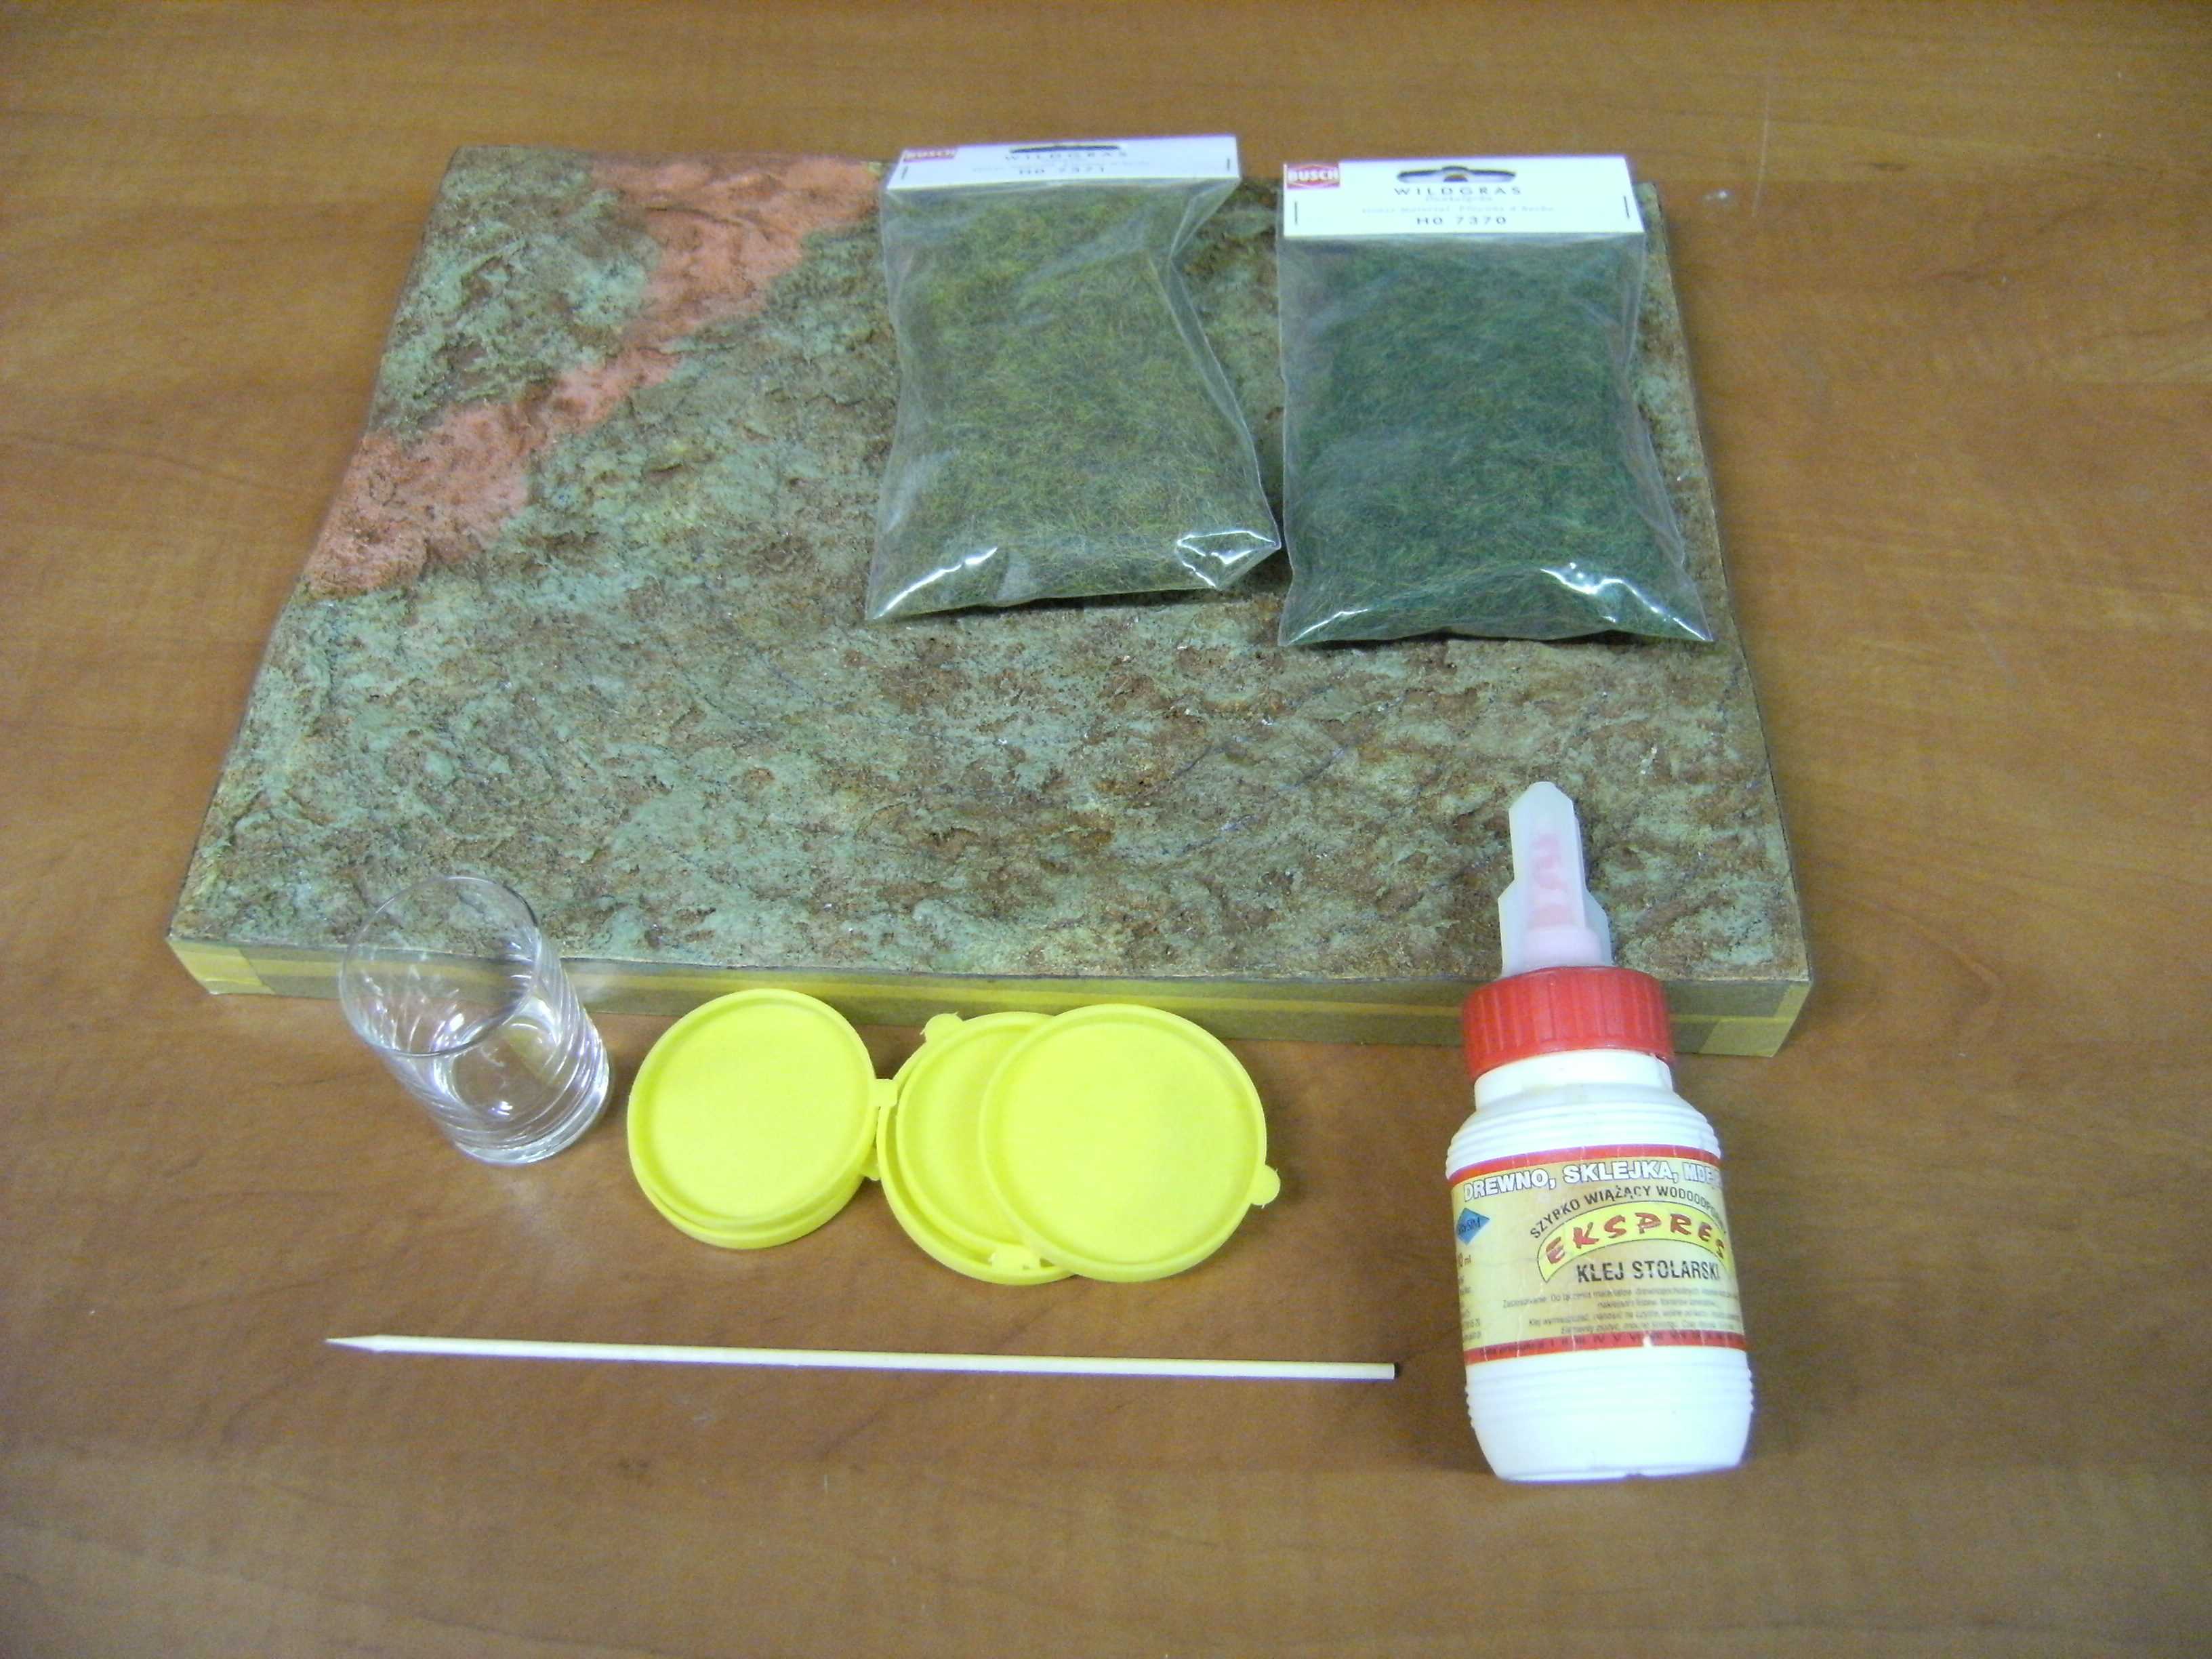
Having the principal components of the diorama I went on to build the diorama base. I took a piece of plywood and bordered it with styrene sheet pieces. The resulting cavity was filled with ceramic tile glue. I covered the top surface with a mixture of white glue, sand and static grass. Then came the time to do the actual grass. To highlight the dynamics of the scene I planted the grass along a circle, making it lean in a direction dictated by the rotor wash to be imitated. After the first layer of grass I planted the second one, which lent some plasticity to the landscape. The trees were created by covering dry meadow weeds with some white glue and green dyed sawdust, with some additional painting. Having done all that I started the final assembly. First, I installed the helicopter on a wire stand attached to its skids to make it seem suspended above the ground. The wire was then concealed with an imitation of a bush. Then I placed the figures, body bags under the tarp and planted the trees. Finally, following an advice of a friend, I replaced the main and tail rotors with portions of transparent sheet, to highlight their movement.